Creating a DIY garden well is a fantastic project that can enhance both the aesthetics and functionality of your outdoor space. Whether you’re looking to collect rainwater or simply add a charming focal point, a garden well can be a rewarding addition to your garden.
1. Choose the Right Location
Select a spot in your garden that is both visible and accessible. Look for a location that receives ample sunlight and is away from large trees to minimize debris.
2. Gather Your Materials
For your DIY garden well, you’ll need:
- Wooden planks or stones for the structure
- A sturdy post for support
- A bucket for collecting water
- Rope for lowering and raising the bucket
- Paint or stain (optional) for a decorative finish
3. Build the Structure
- Create the Base: Start by laying a solid foundation using wooden planks or stones.
- Construct the Walls: Build the sides of the well with your chosen materials, ensuring it is sturdy and can withstand the elements.
- Add the Roof: Place a roof over the well to protect it from rain and debris. This can be a simple wooden frame or a decorative thatch.
4. Install the Bucket System
Attach a sturdy post to the center of the well. Use a pulley system or a simple rope mechanism to lower and raise the bucket. Ensure that the rope is securely tied and can handle the weight of the bucket when filled.
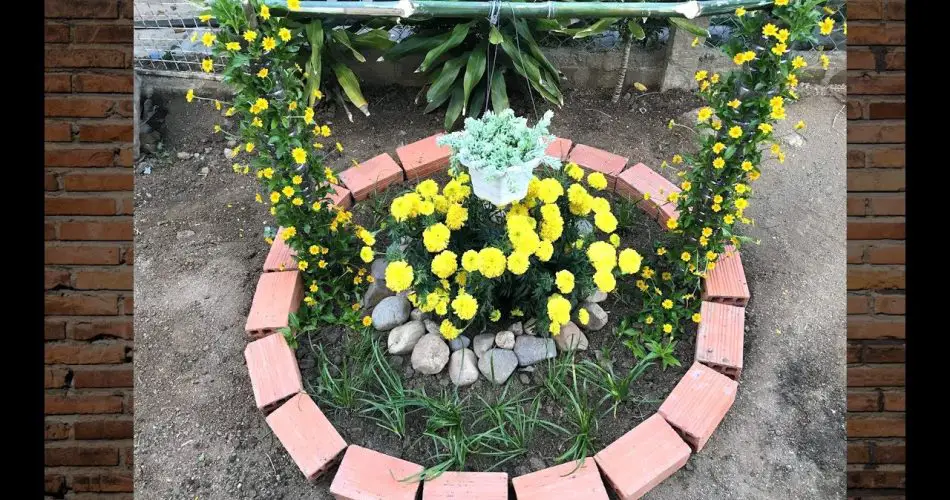
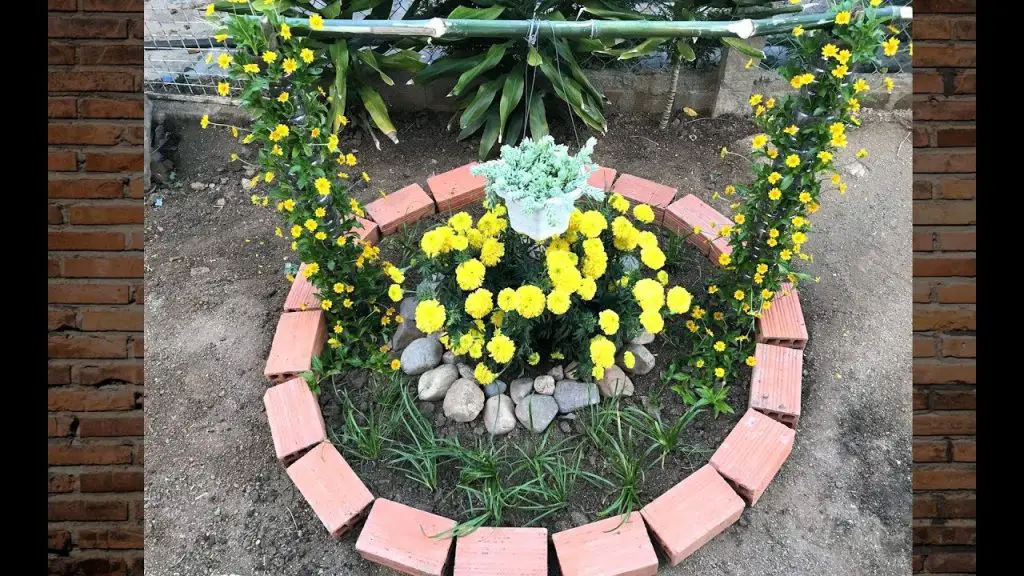
5. Decorate Your Well
Personalize your garden well with paint, flowers, or stones around the base. You can also plant climbing vines or flowers nearby to enhance its charm.
6. Consider Water Collection
If your well is designed for water collection, ensure it is covered to keep out debris and pests. You can use a mesh cover or a wooden lid.
Conclusion
A DIY garden well not only adds character to your outdoor space but also serves practical purposes. By following these steps, you can create a beautiful and functional feature that enhances your garden’s appeal. Enjoy the process and the satisfaction of a job well done!