If you’re looking to expand your garden with beautiful roses, propagating them from cuttings is an effective and rewarding method. You can easily buy roses at the market and transform them into a flourishing collection. Here’s a step-by-step guide on how to propagate roses using cuttings.
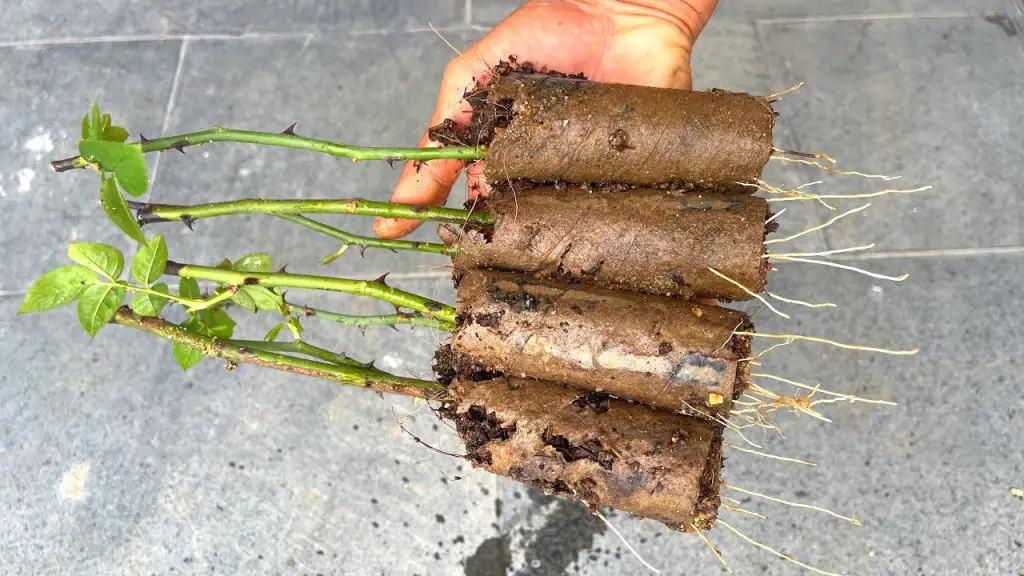
Why Propagate Roses from Cuttings?
- Cost-Effective: Propagating from cuttings is a budget-friendly way to increase your rose collection without spending on new plants.
- Preserving Varieties: You can replicate your favorite varieties, ensuring you have the same beautiful blooms in your garden.
- Personal Satisfaction: Watching your cuttings grow into thriving plants is incredibly fulfilling!
What You’ll Need
- Fresh rose cuttings from the market
- Sharp scissors or pruning shears
- Rooting hormone (optional)
- Small pots or trays
- Well-draining potting mix
- Plastic bags or a humidity dome
- Water
Step-by-Step Guide to Propagating Rose Cuttings
1. Selecting the Right Cuttings
When buying roses at the market, choose healthy stems that are about 6-8 inches long. Look for cuttings that are:
- Semi-hardwood (not too green, not too woody)
- Free of disease or pests
- From a strong, vigorous plant
2. Preparing the Cuttings
- Trim the Cuttings: Using sharp scissors, cut the stems just below a node (the bump where leaves emerge) at a 45-degree angle. Remove any lower leaves, leaving just a couple at the top.
- Optional Rooting Hormone: Dip the cut end of the cutting in rooting hormone to enhance root development, though this step is optional.
3. Planting the Cuttings
- Potting Mix: Fill your small pots or trays with a well-draining potting mix. You can also use a mix of perlite and peat for better drainage.
- Planting: Insert the cut end of the rose cutting into the soil about 2-3 inches deep. Firm the soil around the cutting to ensure good contact.
4. Creating a Humid Environment
To help your cuttings retain moisture and promote root growth:
- Cover the Cuttings: Use a plastic bag or a humidity dome over the pots to create a greenhouse effect. Make sure the cover doesn’t touch the leaves.
- Ventilation: Occasionally remove the cover to allow air circulation, preventing mold growth.
5. Watering and Light Conditions
- Watering: Keep the soil moist but not soggy. Overwatering can lead to rot, so check the moisture levels regularly.
- Light: Place the pots in a bright, indirect light location. Avoid direct sunlight, as it can scorch the cuttings.
6. Monitoring Growth
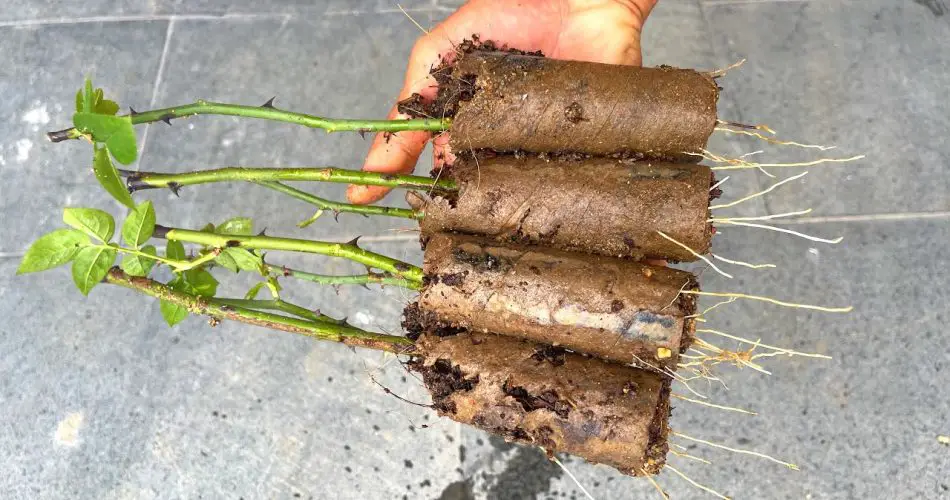
After a few weeks, check for root development by gently tugging on the cuttings. If you feel resistance, roots are forming. This process can take 4-6 weeks or longer, depending on the variety and conditions.
7. Transplanting
Once your cuttings have established a healthy root system:
- Transplant them into larger pots or directly into your garden.
- Gradually acclimate them to outdoor conditions if they’ve been indoors.
Conclusion
Propagating roses from cuttings is an enjoyable way to grow your garden with minimal investment. By purchasing roses at the market and following these steps, you’ll be well on your way to creating a stunning display of blooms. Happy gardening!