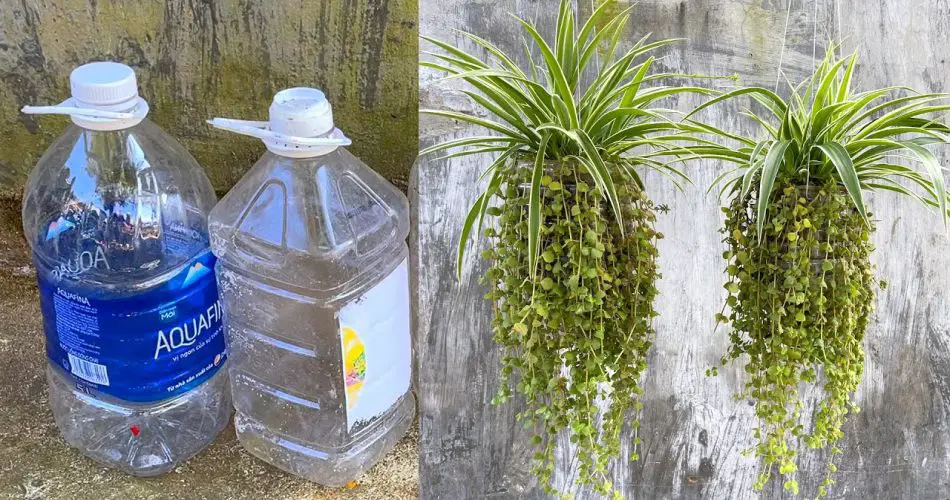
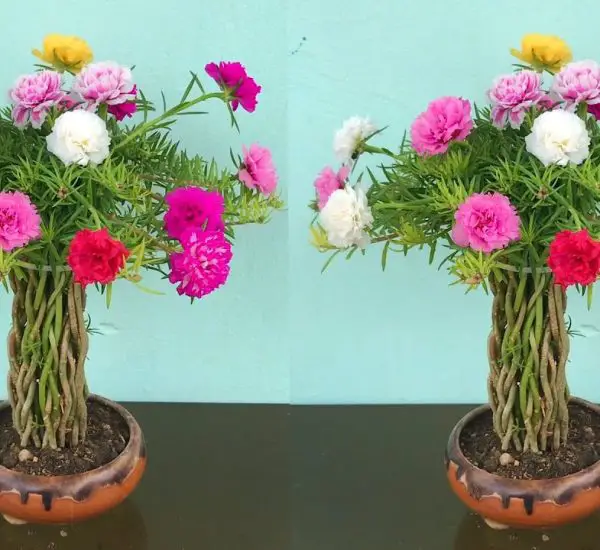
In a world where sustainability is becoming increasingly important, finding creative ways to reuse everyday materials is a fantastic way to reduce waste and help the environment. One such material that is both versatile and easy to repurpose is the plastic bottle. Instead of tossing them away, why not turn them into planters for growing your favorite flowers? Planting flowers in plastic bottles is not only a cost-effective way to add beauty to your garden or home, but it also allows you to contribute to sustainability by repurposing materials that would otherwise end up in landfills.
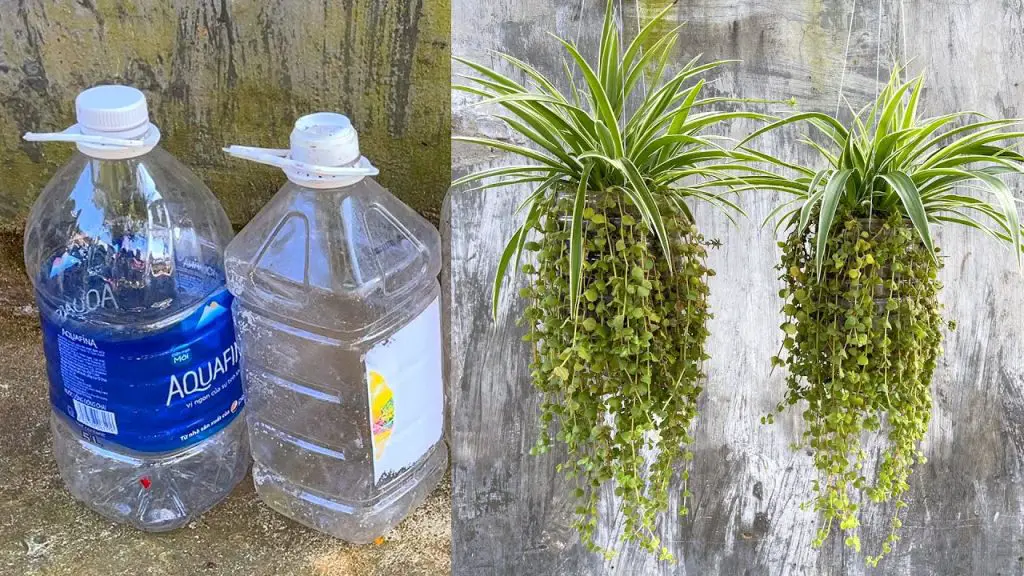
Here are some ideas for growing plants in plastic bottles, along with step-by-step instructions to help you get started on this eco-friendly gardening project.
Why Use Plastic Bottles for Planting?
Using plastic bottles as planters comes with a variety of benefits:
- Sustainability: Repurposing plastic bottles helps reduce waste and gives these containers a second life. Instead of sending them to landfills, you can recycle them into functional garden tools.
- Cost-Effective: Plastic bottles are widely available, often free, and make for an affordable alternative to buying traditional pots or planters.
- Space-Saving: Plastic bottles are perfect for small spaces such as balconies, apartments, or windowsills. You can create vertical or compact gardens using bottles, maximizing your growing area.
- Creative Designs: With a little imagination, plastic bottles can be turned into unique and decorative planters that add a touch of creativity to your gardening space.
Materials Needed for Planting Flowers in Plastic Bottles
To get started with planting flowers in plastic bottles, gather the following materials:
- Plastic Bottles: Empty plastic bottles, preferably clear, but opaque bottles also work fine. Choose bottles that are large enough for the types of flowers you want to grow.
- Sharp Scissors or a Craft Knife: You’ll need these to cut the bottles into the desired shape.
- Soil: Choose a good-quality potting soil appropriate for the flowers you’re planting. Some flowers might need well-drained soil, so be mindful of the soil type.
- Flower Seeds or Seedlings: Pick your favorite flowers to grow in plastic bottles. Some popular choices include petunias, marigolds, pansies, and sunflowers.
- Small Pebbles or Gravel: These can be used to create drainage at the bottom of the plastic bottle to prevent water from accumulating.
- Paints, Markers, or Decorative Items (optional): These are for personalizing the look of your planters and making them more visually appealing.
Step-by-Step Guide to Growing Flowers in Plastic Bottles
Now that you have your materials ready, follow these simple steps to start planting flowers in plastic bottles:
1. Prepare the Plastic Bottle
Start by cleaning the plastic bottle thoroughly. Remove any labels and wash it with soap and water to ensure it’s free from dirt and residues. If the bottle has a cap, you can keep it for now, but you may choose to cut it off later, depending on your design.
2. Cut the Bottle
Using your scissors or craft knife, cut the plastic bottle in half or at a level where it suits your design. You can either leave the top half as a hanging planter or use the bottom half for planting directly into the ground or a table.
- For a hanging planter: Cut the top third off and keep the top part as a planter. You can create holes near the neck to thread a string or rope for hanging.
- For a table planter: Cut the bottle in half and use the bottom part as a container. If you prefer, you can cut the bottom off completely, leaving just the top portion for your flowers.
3. Create Drainage Holes
To prevent waterlogging, which can damage your plants, you need to create drainage holes at the bottom of the bottle. Use a craft knife to carefully make several small holes in the bottom to allow excess water to drain out.
4. Add Pebbles or Gravel
Place a layer of small pebbles or gravel at the bottom of the bottle planter. This will help with drainage and ensure that the roots of the flowers don’t sit in water. It also prevents the soil from washing out through the drainage holes.
5. Fill with Soil
Now, fill the plastic bottle with potting soil, leaving some space at the top for your flowers. Press the soil down gently to remove any air pockets, but don’t compact it too much as the roots need some room to grow.
6. Plant the Flowers
Plant your flower seeds or seedlings in the soil, depending on your preference. If using seeds, follow the instructions on the seed packet for planting depth and spacing. If using seedlings, simply place them into the soil and gently pack the soil around the base of the plant.
7. Water the Flowers
Water the flowers gently after planting. Be sure not to overwater, as the plastic bottle will retain moisture. Keep the soil moist, but not soggy, to ensure the plants thrive.
8. Personalize Your Planter
To make your plastic bottle planter stand out, consider painting it with acrylic paints, using markers, or adding decorative ribbons or stickers. This adds a fun and creative touch, making it a unique and personalized addition to your garden.
9. Place Your Planter in the Right Location
Place your newly planted plastic bottle planters in a sunny spot, as most flowers need plenty of sunlight to grow. If you’re growing flowers indoors, find a bright windowsill or balcony where they can receive at least 6 hours of sunlight per day.
10. Maintain Your Plants
As your flowers grow, be sure to monitor them regularly. Water when necessary and make sure they are getting enough sunlight. As flowers bloom, deadhead them to promote new growth and prevent the plant from using up energy on spent blooms.
Creative Ideas for Using Plastic Bottles as Planters
Here are some fun and creative ideas for using plastic bottles to plant flowers:
- Vertical Gardens: Hang several plastic bottles in a vertical arrangement along a wall or fence. This will allow you to grow a variety of flowers in a small space.
- Hanging Planters: Cut plastic bottles into halves and attach string or wire to the neck to create hanging flower planters. These can be hung from tree branches, patios, or fences to add color to your outdoor space.
- Tiered Planters: Stack multiple plastic bottles on top of one another, cutting each one at a different level to create a tiered flower garden. This is a great way to display various flowers and create a visually interesting arrangement.
- Self-Watering Planters: Turn your plastic bottle into a self-watering planter by cutting it in half and inserting the top part upside down into the bottom part. Add a wick from the bottle’s neck to the soil, allowing the plant to draw water as needed.
Conclusion
Planting flowers in plastic bottles is a fun and sustainable way to get creative with your gardening. Not only does it help recycle waste materials, but it also allows you to create beautiful, unique planters for flowers in almost any environment. Whether you’re looking to add color to your windowsill, create a vertical garden, or simply enjoy the satisfaction of upcycling plastic bottles, this eco-friendly gardening project is a great way to make your green space even greener. So, grab those plastic bottles, get planting, and start enjoying your very own flower garden today!
