Growing watermelons in your backyard can be a fun and rewarding experience. With the right preparation and care, you can enjoy sweet, juicy watermelons straight from your garden. Here’s a comprehensive guide to help you grow watermelons successfully.
1. Choosing the Right Variety
- Seedless Varieties: For sweeter, smaller watermelons, consider varieties like Sugar Baby or Crimson Sweet.
- Seeded Varieties: If you prefer traditional large watermelons, Charleston Gray or Jubilee are excellent choices.
2. Starting Seeds Indoors
- Timing: Start seeds indoors 4-6 weeks before the last expected frost.
- Seed Trays: Use seed trays or small pots filled with a high-quality seed starting mix.
- Sowing Depth: Sow seeds about 1/2 inch deep.
- Germination Conditions: Keep the soil warm (80-90°F) and consistently moist. Seeds typically germinate in 5-10 days.
3. Transplanting Seedlings
- Hardening Off: Gradually acclimate seedlings to outdoor conditions by exposing them to the elements for a few hours each day over a week.
- Planting Site: Choose a sunny spot with well-draining soil. Watermelons need full sun to thrive.
- Soil Preparation: Enrich the soil with compost or well-rotted manure. Watermelons prefer slightly acidic to neutral soil (pH 6.0-7.0).
- Spacing: Space plants 3-5 feet apart in rows 6-8 feet apart. Watermelon vines need plenty of space to spread.
4. Direct Sowing in the Garden
- Timing: Direct sow seeds in the garden after the last frost when soil temperatures reach at least 70°F.
- Sowing Depth: Plant seeds 1 inch deep and cover lightly with soil.
- Thinning: Once seedlings have a few true leaves, thin them to the appropriate spacing to ensure healthy growth.
5. Providing Support
- Vine Support: If space is limited, consider growing watermelons on a sturdy trellis. Support the fruit with slings made from fabric or netting.
- Training Vines: Gently train the vines to climb the supports as they grow.
6. Watering and Mulching
- Consistent Moisture: Watermelons need consistent moisture, especially during flowering and fruit development. Water deeply and regularly, aiming for 1-2 inches of water per week.
- Mulching: Apply a layer of mulch around the plants to retain soil moisture, regulate temperature, and suppress weeds.
7. Fertilizing
- Initial Fertilization: Mix a balanced fertilizer into the soil before planting.
- Ongoing Feeding: Once vines start to run, apply a nitrogen-rich fertilizer. Switch to a phosphorus and potassium-rich fertilizer when the plants begin to flower.
8. Pest and Disease Management
- Common Pests: Watch for aphids, cucumber beetles, and squash bugs. Use organic pest control methods like neem oil or insecticidal soap if needed.
- Diseases: Prevent fungal diseases by ensuring good air circulation and avoiding overhead watering. Rotate crops yearly to reduce soil-borne diseases.
9. Pollination
- Hand Pollination: If you notice poor fruit set, you may need to hand-pollinate. Use a small brush to transfer pollen from male to female flowers.
- Encouraging Pollinators: Plant flowers nearby to attract bees and other pollinators.
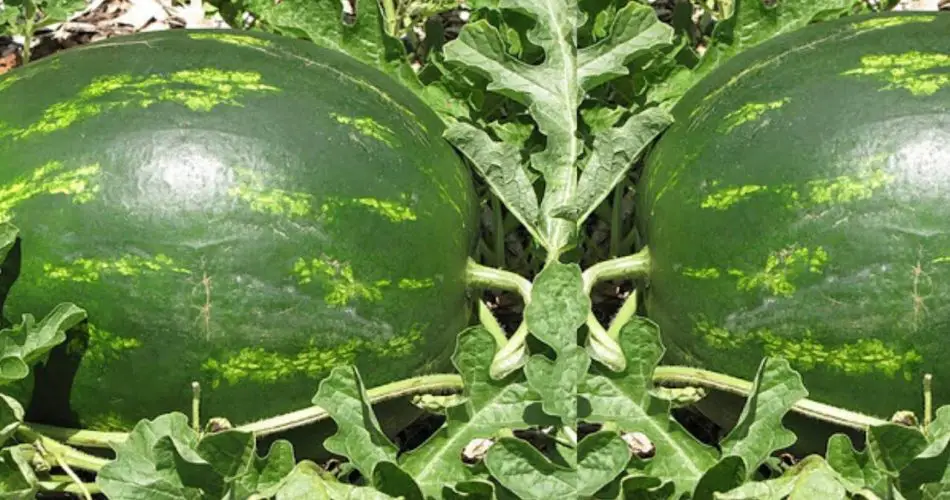
10. Harvesting Watermelons
- Ripeness Indicators: Check for a yellow spot on the underside of the watermelon, dull skin, and a hollow sound when tapped.
- Timing: Most watermelons are ready to harvest 80-90 days after planting. Check seed packets for specific maturity dates.
- Cutting: Use a sharp knife to cut the watermelon from the vine, leaving a small stem attached to the fruit.
Conclusion
Growing watermelons in your backyard is a rewarding experience that can yield delicious results. By selecting the right variety, providing proper care, and harvesting at the right time, you can enjoy sweet, juicy watermelons all summer long. Follow these steps, and you’ll be well on your way to a successful watermelon harvest. Happy gardening!
Copy
Show Comments


