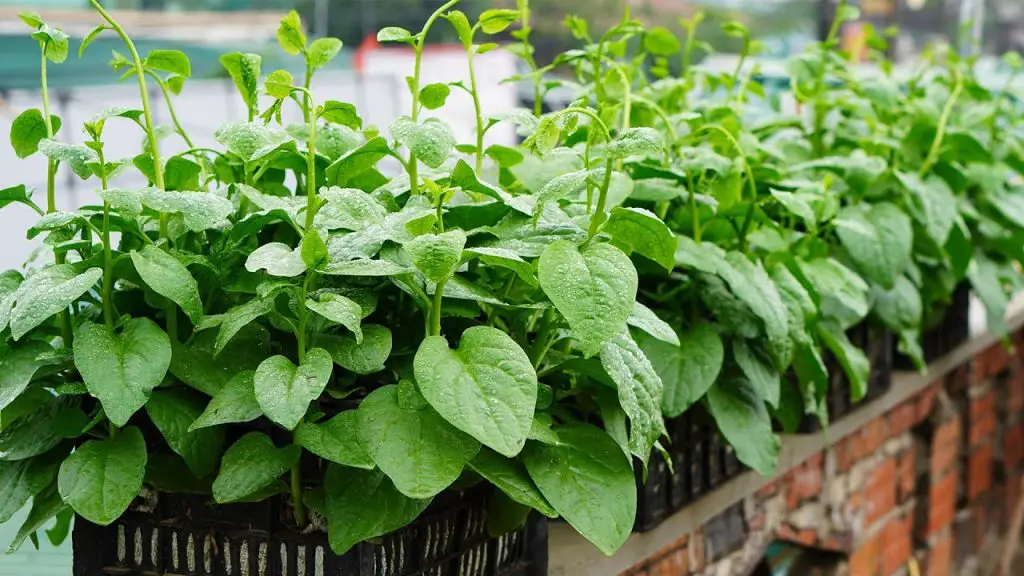
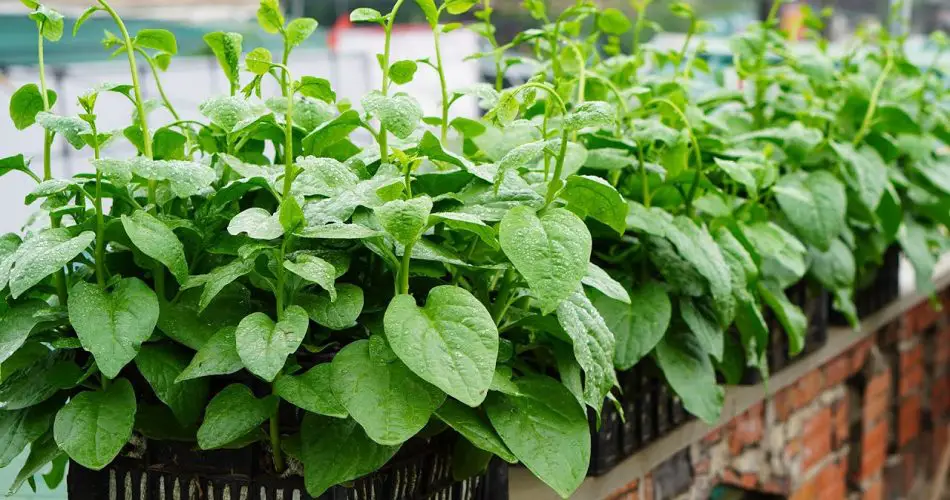
Growing spinach in a hanging garden is a space-saving, clean, and efficient way to provide fresh, organic vegetables for your family. This method is perfect for small spaces such as balconies, patios, and terraces. Plus, it helps keep plants off the ground, reducing exposure to pests and soil-borne diseases.
In this guide, you’ll learn how to grow spinach in a hanging garden, ensuring a high yield, minimal maintenance, and a sustainable food source for your household.

1. Why Choose a Hanging Garden for Growing Spinach?
✔ Space-Saving – Ideal for apartments, balconies, or areas with limited gardening space.
✔ Clean and Healthy – Protects spinach from soil contamination and pests.
✔ Water-Efficient – Hanging containers retain moisture effectively, reducing water waste.
✔ Easy to Maintain – No need for large garden beds or extensive weeding.
✔ Continuous Harvest – Provides a steady supply of fresh, nutritious spinach year-round.
💡 Tip: Choose fast-growing spinach varieties for quicker harvests and better adaptability to container gardening.
2. Materials Needed for Growing Spinach in a Hanging Garden
✅ Hanging baskets or recycled plastic bottles
✅ Nutrient-rich soil (compost-enriched)
✅ Spinach seeds or seedlings
✅ Watering can or drip irrigation system
✅ Organic fertilizer (such as compost or liquid seaweed fertilizer)
✅ Strong hooks or railing for hanging the containers
💡 Tip: Ensure the hanging containers have drainage holes to prevent excess water buildup.
3. Step-by-Step Guide to Growing Spinach in a Hanging Garden
🌱 Step 1: Preparing the Hanging Containers
- Use hanging baskets, plastic bottles, or repurposed containers with proper drainage.
- Fill them with lightweight, well-draining soil enriched with compost.
🌞 Step 2: Choosing the Right Location
- Hang the containers in a partially shaded area that receives 4-6 hours of sunlight daily.
- Ensure they are securely fastened to prevent movement from wind or rain.
🌿 Step 3: Planting the Spinach Seeds or Seedlings
- Sow spinach seeds about ½ inch deep, spacing them evenly.
- Water lightly and keep the soil moist but not soggy.
- If using seedlings, transplant them carefully into the containers.
💧 Step 4: Watering and Fertilizing
- Water the plants regularly, ensuring the soil stays evenly moist.
- Apply organic fertilizer every 2 weeks for strong, leafy growth.
- Use banana peels or eggshells as a natural fertilizer to boost nutrient levels.
🪴 Step 5: Harvesting Your Spinach
- Spinach is ready to harvest in 30-45 days after planting.
- Pick outer leaves first, allowing the inner ones to continue growing.
- Harvest regularly to encourage continuous leaf production.
4. Tips for Maximizing Spinach Growth in a Hanging Garden
✔ Use deep containers (at least 6 inches) to support root growth.
✔ Rotate the containers occasionally for even sunlight exposure.
✔ Water in the morning to prevent fungal issues.
✔ Avoid overcrowding – Thin seedlings to allow proper airflow.
✔ Protect from extreme heat by moving the containers to a shaded area.
5. Benefits of Growing Spinach in a Hanging Garden
✔ Fresh, clean vegetables grown without pesticides.
✔ Year-round harvest, ensuring a steady supply of nutritious greens.
✔ Eco-friendly gardening using recycled containers.
✔ Perfect for beginners – Simple, low-maintenance method.
✔ Great for families, teaching kids about gardening and sustainability.
Final Thoughts
Growing spinach in a hanging garden is a practical, sustainable, and rewarding way to ensure fresh, homegrown vegetables for your family. With minimal space and effort, you can enjoy nutrient-packed spinach right from your balcony or patio.
🌿 Try this easy method today and turn your home into a thriving green oasis! 🌱✨


