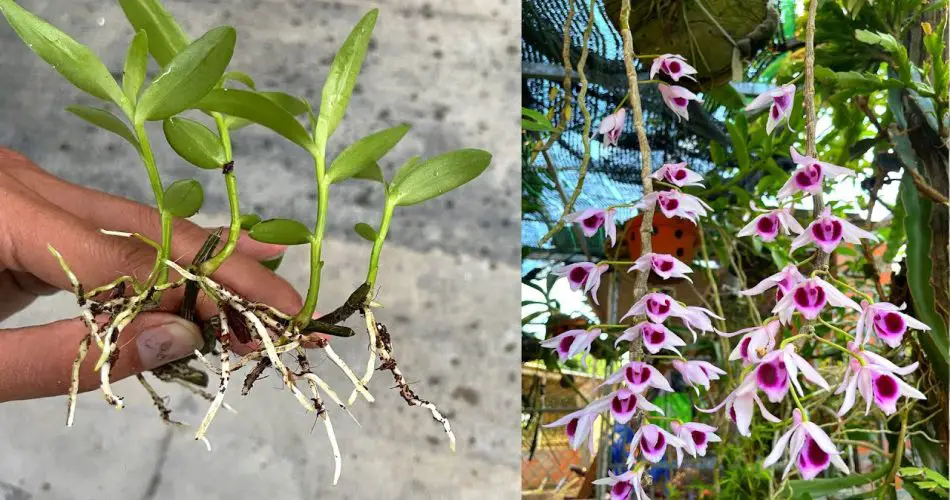
Orchids are one of the most elegant and exotic flowers you can grow, admired for their stunning blooms and intricate beauty. However, propagating orchids by cutting and rooting them is a fantastic way to grow new plants and create a beautiful orchid pot. If you want to expand your orchid collection or create a thriving garden, here’s a step-by-step guide on how to cut orchids for rooting and how to care for them.
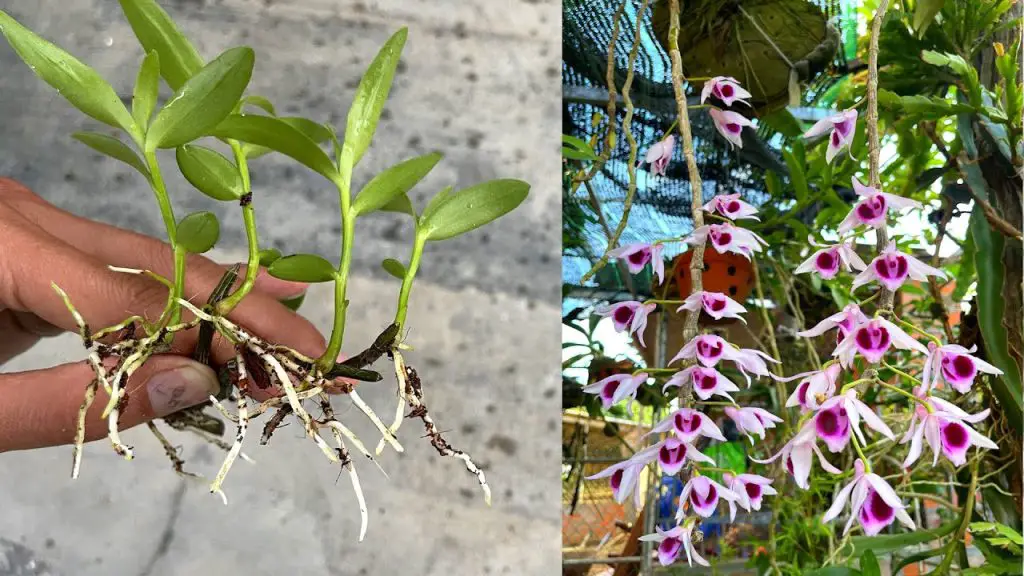
Why Cut Orchids for Rooting?
Cutting orchids and propagating them allows you to grow new plants from a healthy parent orchid. Not only does it give you more beautiful orchids to display, but it’s also a cost-effective way to increase your collection. Moreover, rooting orchids from cuttings ensures you get strong, healthy plants. The process can be very rewarding when done properly.
Step-by-Step Guide: How to Cut Orchids for Rooting
Follow these steps to successfully propagate orchids and create a stunning orchid pot filled with new plants:
1. Choose the Right Orchid
Before cutting, ensure that your orchid is healthy and in good condition. Look for mature orchids that have at least a few flower stems with nodes that are ready for propagation. These nodes are the places from which new roots and shoots will emerge.
2. Sterilize Your Tools
To avoid the risk of spreading disease or bacteria, sterilize your tools before cutting your orchid. Use rubbing alcohol or a bleach solution to wipe down scissors or pruning shears. This will prevent any potential infections from harming your orchid.
3. Cut the Orchid Stem
Carefully cut the orchid stem using sharp, clean scissors just above a node (the small, raised bumps on the stem where leaves or roots can grow). You can cut the stem into sections if it has multiple nodes. Each cutting should have at least one healthy node to ensure successful propagation.
4. Let the Cutting Dry
After cutting the orchid stem, allow it to dry out for about 24 hours. This helps prevent any rot or infections from setting in while the cutting establishes roots. You can place the cutting in a cool, dry area away from direct sunlight.
5. Prepare the Potting Mix
For rooting the orchid cutting, use a well-draining orchid potting mix, such as one made from bark, perlite, and sphagnum moss. Orchids require a loose mix that allows air to reach the roots. Fill a clean, sterilized orchid pot with this mix, leaving enough room for the cutting to sit upright.
6. Plant the Orchid Cutting
Once the cutting has dried, gently place it in the potting mix. Insert the cut end into the mix, ensuring that the node is buried deep enough to encourage root growth but not too deep. You should leave the upper part of the cutting exposed.
7. Water and Humidity
After planting, water the cutting lightly, making sure not to over-saturate the soil. Orchids thrive in high humidity, so place the pot in a location with good air circulation but where humidity is high enough to help the cutting root. Consider using a humidity dome or covering the pot with a plastic bag to maintain moisture. Be sure to ventilate the area occasionally to prevent mold or mildew from developing.
8. Wait for Roots to Form
Roots should start to form within a few weeks to a couple of months. During this time, continue to keep the cutting in a warm, bright area with indirect sunlight. Once you notice healthy roots growing, the cutting can be transplanted into a new orchid pot to continue its growth.
Tips for a Beautiful Orchid Pot
To ensure that your orchid pot thrives and your cutting grows successfully, here are some helpful tips:
- Proper Lighting: Orchids need bright but indirect sunlight. Avoid placing them in direct sunlight as it may cause sunburn on the leaves or slow down root development.
- Watering: Orchids prefer to dry out slightly between waterings. Ensure the potting mix is moist but never waterlogged.
- Fertilizing: Use a balanced orchid fertilizer to provide the necessary nutrients for healthy growth. Fertilize once every 2-4 weeks during the growing season.
- Repotting: Once the orchid cutting has developed enough roots, it may need to be repotted into a larger container. Be sure to use a well-draining orchid mix for optimal growth.
- Humidity: Orchids love humidity! If you live in a dry climate, you can increase the humidity around your orchid pot by placing a shallow dish of water nearby or using a humidifier.
Why Use Orchid Cuttings for Propagation?
Cutting orchids for propagation is beneficial for several reasons:
- Faster Growth: Orchid cuttings can sometimes grow faster than growing from seeds, as they are already mature plants ready to root.
- Cost-Effective: Propagating your orchids from cuttings reduces the need to buy new plants, making it a budget-friendly option for expanding your collection.
- Preserve Parent Plant: By cutting the orchid, you are giving the parent plant a chance to grow new shoots while also expanding your collection.
Conclusion
Propagating orchids through cutting and rooting is an incredibly rewarding process that lets you create a beautiful orchid pot filled with new plants. By following these steps and tips, you can successfully grow and care for orchids, enhancing your indoor space with their stunning flowers. The process of rooting orchids may take some patience, but the results are well worth the wait. Happy gardening!
