If you’ve ever wanted to propagate your favorite roses without the hassle of soil, you’ll be thrilled to know that it’s possible! Propagating roses through cuttings is an easy and effective way to grow new rose plants, and it can be done with minimal equipment. In this guide, we’ll explain how to cut roses without soil, using water as a medium to encourage your rose branches to take root and grow into thriving plants.
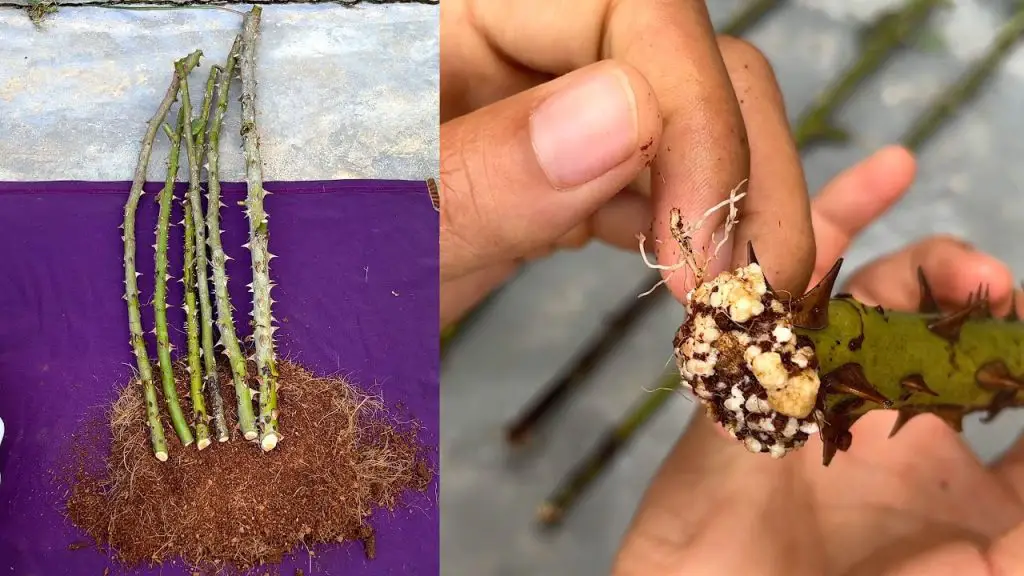
Why Propagate Roses Without Soil?
Propagation without soil offers several advantages:
- Convenience: You don’t need a garden or planting beds to propagate roses. Just a jar or glass of water will do!
- Visibility: When propagating in water, you can easily see the roots developing, which is especially satisfying for beginners.
- Faster Rooting: Some rose varieties take root more quickly in water than in soil, making this method a great choice for impatient gardeners.
Step-by-Step Guide to Cutting Roses Without Soil
To propagate roses without soil, you’ll need a few simple tools and some basic knowledge. Follow these easy steps to cut roses and help the branches take root in water.
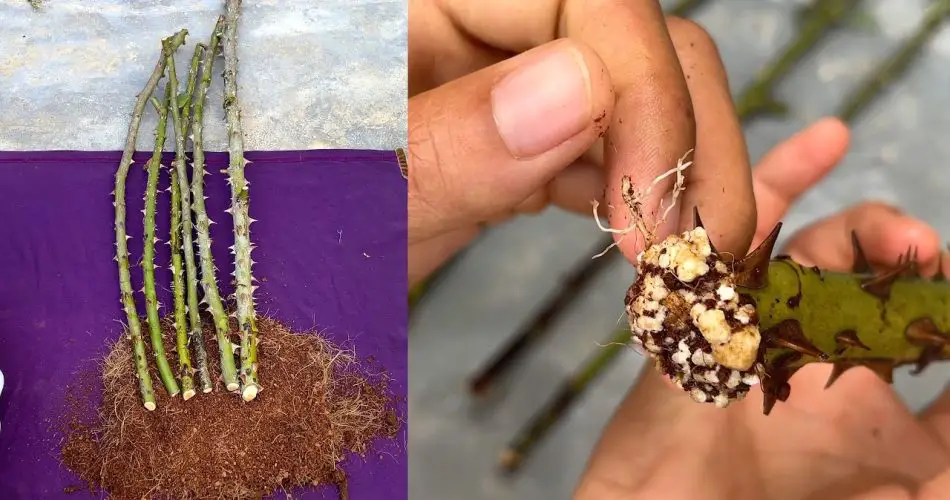
Step 1: Choose the Right Rose Stem
Select a healthy rose stem from a mature plant. The best stems for propagation are typically:
- Semi-woody stems: Choose a stem that is partially matured (not too young and tender, but not fully woody either).
- Approximately 6 to 8 inches long: The stem should be long enough to cut and still have room to develop roots.
- Free from disease: Look for stems without pests, spots, or signs of disease.
Step 2: Make the Cut
Use a sharp, clean pair of scissors or pruning shears to make the cut. You should:
- Cut just below a leaf node (the point where leaves grow from the stem). This is where roots are most likely to form.
- Remove the bottom leaves from the stem, leaving only a few leaves at the top. This reduces water loss and helps the plant focus energy on root development.
- Trim the top leaves slightly if they are large, as they can dehydrate the cutting.
Step 3: Prepare the Water
- Choose a clean jar, glass, or vase to hold the rose cutting. It’s important that the container is tall enough to submerge the stem up to the leaf node.
- Fill the container with clean water. Make sure the water covers the bottom few inches of the stem, but not the leaves themselves, as this can cause rot.
Step 4: Place the Cutting in Water
Place the rose cutting in the container of water, ensuring that the cut end is submerged, but the leaves are above the waterline. Place the jar in a spot that receives bright, indirect light—a windowsill with some shade is perfect.
Step 5: Change the Water Regularly
To keep the water clean and prevent bacterial growth, change the water every two days. Make sure that the cutting stays submerged in fresh water and that no leaves are touching the water, as this can cause rot.
Step 6: Watch for Root Growth
It can take 2 to 6 weeks for roots to start developing, depending on the rose variety and environmental conditions. You’ll notice small white or brown root tips starting to emerge from the base of the stem.
- Be patient: It’s important to give the cutting enough time to form roots. Roots should be at least 1 to 2 inches long before you attempt to transplant the cutting into soil.
Step 7: Transplant into Soil (Optional)
Once the rose cutting has developed a healthy root system, you can transplant it into soil. Here’s how to do it:
- Prepare a pot with well-draining soil, such as a mix of potting soil and perlite or sand.
- Create a small hole in the soil and carefully place the rooted rose cutting into the pot.
- Gently cover the roots with soil and water thoroughly.
- Keep the new rose cutting in a warm, sunny location with indirect light, and water regularly.
If you prefer to keep your roses in water, you can also leave the rooted cutting in the jar indefinitely, although it may eventually need nutrients from soil.
Tips for Success
- Humidity: While propagating in water, it’s important to keep the environment humid to prevent the cutting from drying out. You can create a small greenhouse effect by covering the cutting with a clear plastic bag (with holes for airflow), or using a plastic dome.
- Avoid Direct Sunlight: While roses need light, direct sunlight can stress the cutting. Place it in indirect light for the best results.
- Use Rooting Hormone: If you’re looking to speed up the process, you can dip the cut end of the rose stem in rooting hormone before placing it in water. This can promote faster root development.
- Monitor for Rot: If you notice any signs of rot on the stem, such as darkened or mushy spots, remove the cutting immediately and start over with a fresh one.
Why This Method Works
Rose cuttings placed in water naturally begin to develop roots from the part of the stem that is submerged. By providing a clean, nutrient-free environment, the cutting focuses on root production rather than growing new leaves or stems. Once the roots are strong enough, the cutting is ready to transition into soil, where it can grow into a full-fledged plant.
Conclusion: Grow Roses Without Soil!
By following these simple steps, you can successfully propagate roses without soil and watch them take root in water. This method is not only convenient and effective, but it also offers the opportunity to grow multiple rose plants from just one cutting! Whether you’re looking to expand your rose garden or simply enjoy the beauty of newly rooted plants, this method is a fantastic way to grow roses with minimal effort.
So, next time you have a beautiful rose branch or stem, give it a try—your new rose plant could be just a few weeks away from blooming in your home or garden!