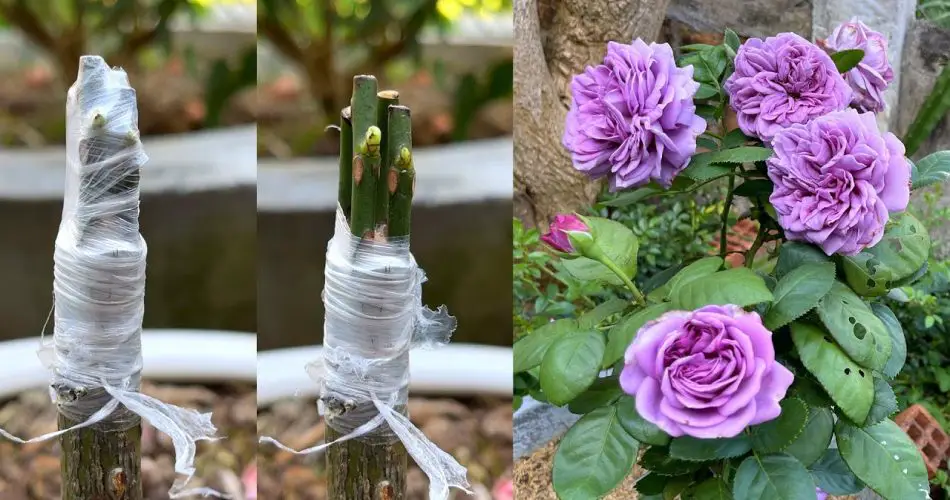
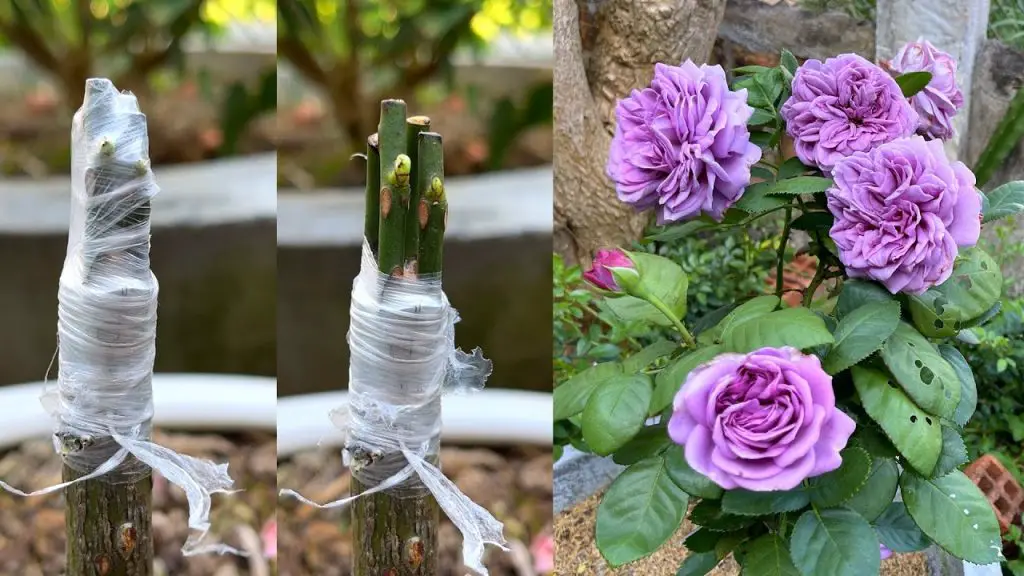
Rose grafting is a fascinating technique that allows gardeners to combine multiple rose varieties into a single plant. This method not only results in a beautiful, diverse rose tree but also helps promote stronger growth and improve flowering. In this guide, we’ll walk you through the process of grafting rose branches onto one tree, so you can enjoy a unique rose garden with different colors, shapes, and fragrances all in one plant.
Why Graft Roses?
Grafting is a technique used to join two different rose plants together to combine their strengths. Here are some reasons why you might want to graft multiple rose branches onto a single tree:
- Variety: You can create a single plant that produces different types of roses, offering a variety of colors, forms, and fragrances.
- Improved Health: Grafting allows you to choose a strong, disease-resistant rootstock while preserving the beauty of the desired rose variety.
- Space Efficiency: If you have limited garden space, grafting multiple rose varieties onto one tree saves room while providing an impressive display of blooms.
What You’ll Need for Rose Grafting
Before you start grafting rose branches, make sure you have the following materials:
- Rose rootstock: Choose a healthy, vigorous rose plant as the base of your grafting.
- Rose cuttings (scions): Select healthy, well-developed rose branches from the variety you want to graft onto the rootstock.
- Sharp knife or pruning shears: To make clean cuts.
- Grafting tape or rubber bands: To secure the grafts in place.
- Grafting wax (optional): To seal the grafts and prevent moisture loss.
- Sterile scissors: To prevent infection.
Step-by-Step Guide to Grafting Many Rose Branches on One Tree
1. Select the Right Rootstock and Scions
The first step in grafting is choosing the right rootstock and scions. The rootstock is the base of the tree, while the scions are the rose branches you will graft onto it.
- Rootstock: Choose a rose plant that is disease-resistant and suited to your climate. Common rootstocks include Dr. Huey, Rosa multiflora, and Rosa canina.
- Scions: Select healthy, dormant rose cuttings from the variety you want to graft. Ideally, the scions should be about the same thickness as the rootstock’s stem to ensure a strong connection.
2. Prepare the Rootstock and Scions
Once you’ve chosen your rootstock and scions, prepare them for grafting.
- Rootstock Preparation: Using a sharp knife, make a clean, diagonal cut at a slight angle on the rootstock, just above the ground level. This cut should be about 2 to 4 inches above the soil surface.
- Scion Preparation: Take a healthy rose cutting and cut it into pieces that are about 3 to 4 inches long, with at least 2-3 buds on each piece. Cut the base of the scion at a matching angle to the rootstock.
3. Grafting the Scions onto the Rootstock
Now it’s time to graft the scions onto the rootstock.
- Match the Cut Surfaces: Line up the cut surfaces of the rootstock and scion, ensuring they fit tightly together. The key is to ensure the vascular cambium (the layer just under the bark) of both the rootstock and the scion align. This is where the graft will take.
- Secure the Graft: Once the cuts are aligned, wrap the graft junction tightly with grafting tape or rubber bands to hold them together. Make sure the graft is firm and stable.
4. Sealing and Protecting the Graft
To prevent the graft from drying out and to promote successful union, you need to protect the graft site.
- Grafting Wax: Apply grafting wax over the graft junction if desired to help seal the area and retain moisture.
- Covering the Graft: After sealing, cover the entire grafted area with a plastic bag or create a mini-greenhouse effect by placing a plastic cup over the graft. This will help retain humidity and promote healing.
5. Caring for the Grafted Tree
After you’ve grafted the rose branches, it’s important to provide proper care to ensure the grafts take hold.
- Watering: Keep the soil moist, but not soggy. Ensure the plant receives consistent moisture, especially during the growing season.
- Avoid Disturbance: Avoid disturbing the grafted tree for at least 4 to 6 weeks. During this period, the scions will begin to establish a connection with the rootstock.
- Sunlight: Place the grafted rose tree in a location where it receives indirect sunlight. Too much direct sun can stress the graft.
- Pruning: As the grafts take, remove any unwanted growth from the rootstock to ensure the grafts are the dominant growth.
6. Watch for New Growth and Blooms
As the grafts establish themselves, you should begin to see new growth. The scions will start to sprout new branches and eventually bloom. Be patient, as grafting takes time, but once successful, your rose tree will flower profusely with a mix of rose varieties.
- Check for Success: After about 6 weeks, gently remove the grafting tape. If the grafts are successful, the union will be firm and the scions will have started to grow.
- Final Pruning: Once the grafted branches have started to grow well, prune away any excess stems or weak growth to encourage a healthy structure.
Tips for Successful Rose Grafting
- Timing: The best time for rose grafting is during late winter or early spring, when the plants are dormant but just beginning to come out of dormancy.
- Clean Tools: Always sterilize your tools to avoid spreading disease between plants.
- Multiple Grafts: If you want to graft multiple branches, repeat the process on the same rootstock. Just be sure to leave enough space between grafts for proper growth.
Conclusion
Grafting multiple rose branches onto one tree is a fantastic way to grow a diverse and beautiful rose garden. By carefully following the steps outlined above—selecting the right rootstock, preparing your scions, and taking care of the grafts—you’ll be able to enjoy a lush rose tree that produces a variety of stunning blooms. Happy grafting! 🌹🌿
