Propagating the Garlic Orchid, also known as the Purple Garlic Vine, is a rewarding way to expand your collection of these stunning plants. With its unique appearance and vibrant blooms, the Garlic Orchid is a favorite among gardeners. Here’s a detailed guide on how to propagate this beautiful orchid by cuttings, ensuring you achieve success and enjoy a thriving garden of Purple Garlic Vines.
Why Propagate Garlic Orchids by Cuttings?
Propagating by cuttings is a popular method because it’s straightforward and efficient. This technique allows you to create new plants with the same characteristics and vibrancy as the parent plant. By using cuttings, you can quickly expand your garden or share this exquisite plant with friends and family.
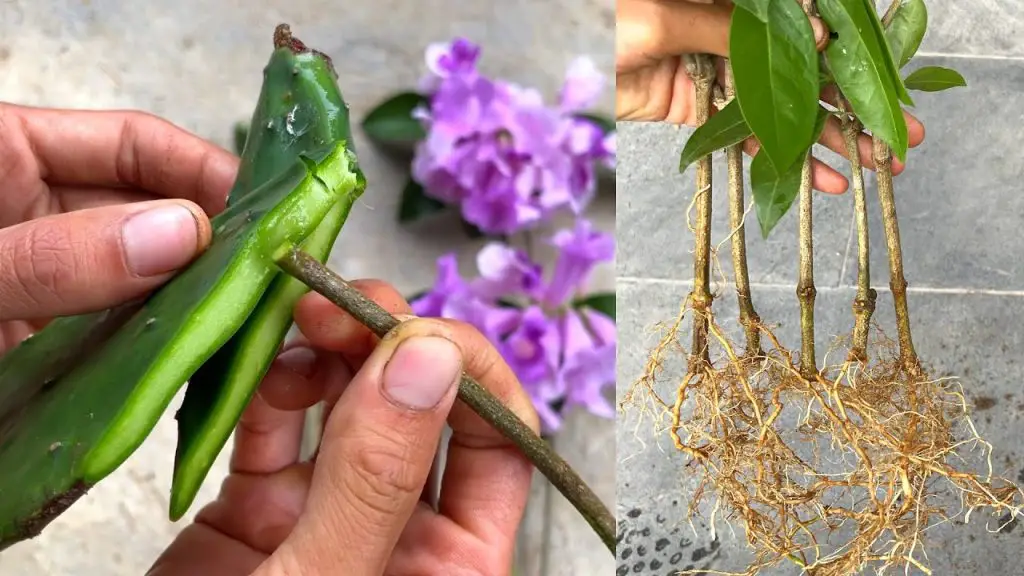
Step-by-Step Guide to Propagate Garlic Orchid by Cuttings
- Choose the Right Time: The best time to take cuttings is during the growing season, typically in spring or early summer. This ensures the cuttings have a better chance of developing healthy roots.
- Select Healthy Cuttings: Choose a healthy, mature Garlic Orchid plant. Look for stems that are free of disease and pests. Ideally, select stems that are 6 to 8 inches long and have several nodes (the small bumps where leaves attach).
- Prepare the Cuttings:
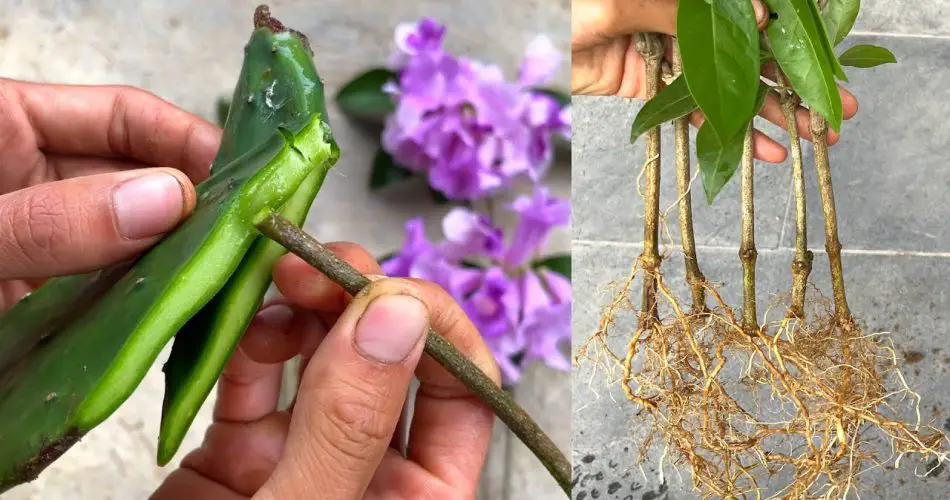
- Make Clean Cuts: Use a sharp, sterilized knife or scissors to make clean cuts just below a node. Ensure each cutting has at least 2-3 nodes.
- Remove Excess Leaves: Trim any excess leaves or flowers from the cutting, leaving just a few leaves at the top. This helps the cutting focus its energy on root development.
- Prepare the Potting Medium: Use a well-draining potting mix, such as a combination of perlite, sand, and peat moss. This mix helps ensure proper root aeration and prevents root rot.
- Plant the Cuttings:
- Dip in Rooting Hormone: For better success, dip the cut end of each cutting in a rooting hormone powder. This promotes faster and more robust root growth.
- Plant in Pots: Insert the cuttings into the prepared potting medium, burying the nodes just below the surface. Space the cuttings about 2 inches apart to avoid overcrowding.
- Create a Humid Environment: Cover the pot with a clear plastic bag or a plastic dome to create a humid environment. This helps prevent the cuttings from drying out and encourages rooting.
- Provide Proper Care:
- Light: Place the pots in a bright, indirect light location. Avoid direct sunlight, which can scorch the cuttings.
- Water: Keep the soil moist but not soggy. Water the cuttings regularly, ensuring the potting medium remains consistently damp.
- Ventilation: Open the plastic cover occasionally to provide fresh air and prevent mold growth.
- Monitor and Transplant: After about 6-8 weeks, check the cuttings for root development. Gently tug on the cuttings to feel for resistance, indicating that roots have formed. Once well-rooted, transplant the new Garlic Orchids into individual pots or directly into your garden.
Why It Works
The propagation by cuttings method is effective because it allows the new plants to develop with the same genetic traits as the parent. The use of rooting hormone speeds up root development, and the controlled environment created by the plastic cover promotes successful establishment of new roots.
In summary, propagating Garlic Orchids by cuttings is a gratifying way to multiply your collection of these magnificent plants. By following these steps, you can ensure healthy, vibrant Purple Garlic Vines that will enhance your garden with their beauty. Happy propagating!