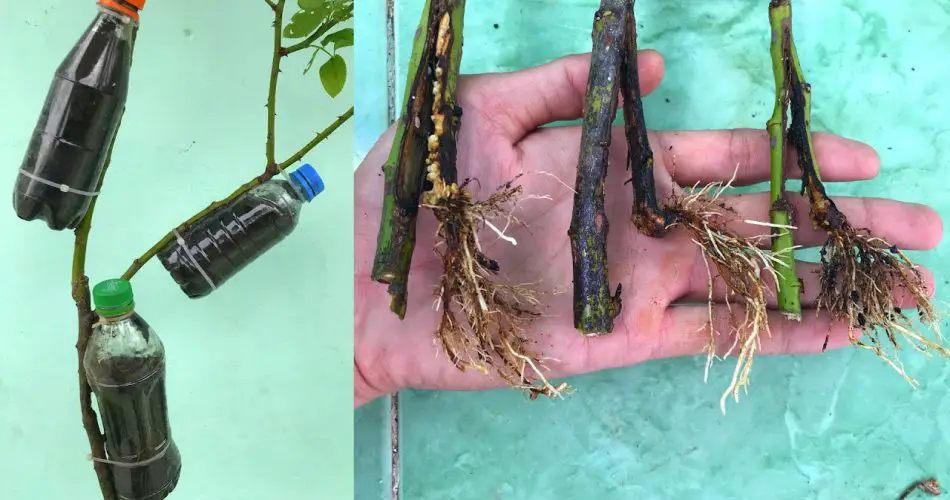
If you’re looking to grow roses from cuttings, you’re in for a rewarding experience. Propagating roses is an easy and cost-effective way to multiply your favorite rose varieties and expand your garden. One of the most innovative and practical methods for rooting rose cuttings at home is by using a plastic bottle. This method creates a controlled environment that encourages root growth, allowing your cuttings to establish themselves before transplanting into the soil.
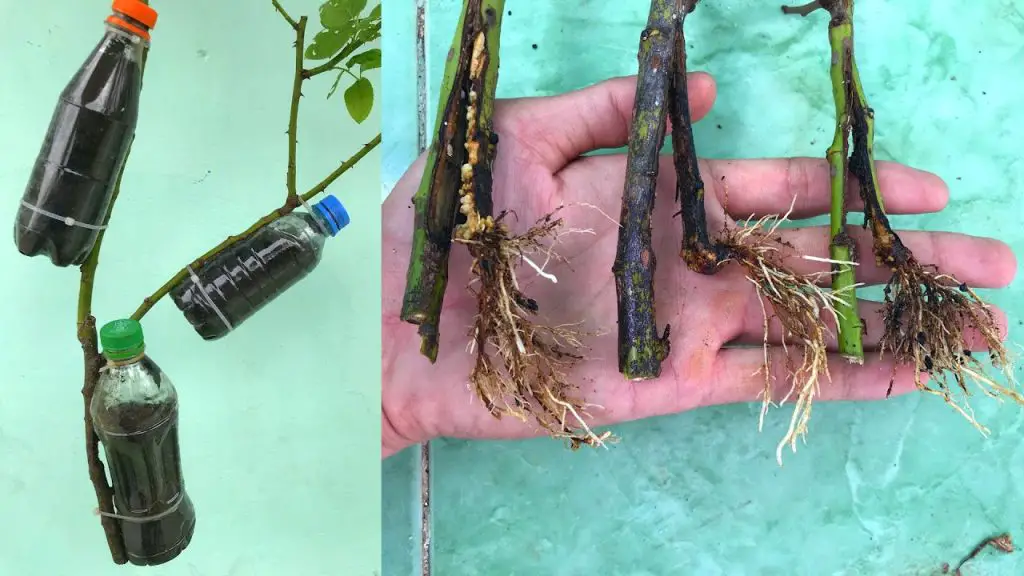
In this article, we will guide you step-by-step on how to propagate roses using plastic bottles and provide tips on ensuring they take root successfully.
Why Propagate Roses by Cuttings?
Rose propagation by cuttings is a popular method because it allows you to grow roses exactly like the parent plant. Unlike growing roses from seeds, which can take longer and may not produce the same quality flowers, propagating roses from cuttings is more reliable and faster.
Additionally, this technique helps you save money, as you can propagate multiple plants from a single cutting without the need to buy new rose bushes.
What You’ll Need for Propagating Roses with Plastic Bottles
Before you begin, gather the following materials for the process:
- Healthy rose cutting (around 6-8 inches long)
- Plastic bottle (large enough to cover the cutting, ideally a 2-liter bottle)
- Sharp knife or scissors (for cutting)
- Rooting hormone (optional, but it can speed up root development)
- Clean water
- Soil or potting mix
- Elastic bands or string (to secure the bottle)
Step-by-Step Guide to Propagate Roses Using Plastic Bottles
1. Select a Healthy Cutting
To start, choose a healthy rose cutting. It should be taken from a mature plant that is disease-free. A good cutting should have at least two or three nodes (the part of the stem where leaves and roots will emerge). The cutting should be 6-8 inches long and taken from the stem of the plant, preferably from the tip or just below a leaf node.
2. Prepare the Cutting
- Trim the cutting just below a node (where leaves grow) using a sharp knife or scissors.
- Remove any lower leaves from the cutting, leaving just one or two leaves at the top. This helps the plant conserve energy while it focuses on rooting.
- Optionally, dip the end of the cutting in rooting hormone to encourage faster root growth.
3. Prepare the Plastic Bottle
Next, you’ll need a plastic bottle to create a mini greenhouse for your cutting.
- Take a clean plastic bottle (a 2-liter bottle works well) and cut the bottom off. You’ll be using the top part of the bottle to create a protective covering for your rose cutting.
- Clean the bottle thoroughly before use to remove any residual chemicals or dirt.
4. Fill the Bottle with Water
- Fill the bottom of the plastic bottle with clean water.
- Place the rose cutting in the bottle with the cut end submerged in water. The water level should cover the lower part of the cutting where the roots will grow.
5. Create a Mini Greenhouse
Now, place the top part of the plastic bottle over the cutting. The bottle will act as a greenhouse by trapping heat and moisture, creating a humid environment for your cutting to thrive.
- Secure the plastic bottle to the base using elastic bands or string, making sure there are no gaps where air can escape. You want to keep the humidity high, but still allow some air circulation to avoid mold growth.
- If needed, you can cut small holes in the bottle to allow airflow while maintaining humidity.
6. Place the Bottle in a Bright, Warm Location
- Find a bright, warm spot for your rose cutting, but avoid direct sunlight as it could overheat the cutting.
- The plastic bottle will protect the cutting from extreme conditions and maintain the right amount of humidity to stimulate root growth.
- Check the water level periodically and add more water as needed. It’s essential to keep the cutting’s base submerged in water.
7. Monitor the Progress
- After about 2-4 weeks, you should begin to see roots emerging from the bottom of the cutting.
- Be patient, as it can take time for the roots to form. Keep the cutting in its plastic bottle until the roots are well-established.
8. Transplant the Rose Cutting
Once the roots have grown sufficiently, the rose cutting is ready to be transplanted into soil. Gently remove the cutting from the plastic bottle and place it in a small pot with well-draining potting mix. Continue to care for it like a normal rose plant, ensuring it gets enough sunlight and water.
Additional Tips for Successful Rose Propagation
- Choose the Right Time: The best time to propagate roses is during the spring or summer when the plant is actively growing. However, cuttings can also be taken in late fall.
- Use Fresh Cuttings: Ensure that your cutting is fresh and has not been sitting around for too long, as older cuttings have less chance of rooting.
- Check for Root Development: Make sure that your rose cutting has a healthy root system before transplanting it into a pot.
- Be Patient: Propagating roses can take time, but with proper care and attention, your rose cutting will eventually thrive.
Conclusion
Propagating roses with plastic bottles is a simple and effective method for beginners. It creates the perfect environment for rooting rose cuttings without the need for complicated equipment or techniques. By following the steps outlined in this article, you can propagate your favorite rose varieties at home and enjoy their beautiful blooms year after year.
So, grab a plastic bottle and start propagating your roses today — you’ll be amazed at how easy and rewarding it can be!
