Bougainvillea, with its vibrant, colorful bracts, is a stunning addition to any garden or balcony. Known for its hardy nature and lush growth, Bougainvillea can be propagated easily through cuttings. If you’re looking to grow your own Bougainvillea, rooting cuttings is an excellent and cost-effective method. In this guide, we will walk you through the process of rooting Bougainvillea cuttings to ensure a successful growth process.
Why Choose Bougainvillea Cuttings?
Rooting Bougainvillea cuttings is a popular method because it allows you to grow plants with exactly the same traits as the parent plant, including its color and growth habits. The method of rooting cuttings is ideal for those looking to expand their Bougainvillea collection or share the beauty of this flower with friends and family.
The best part? Bougainvillea cuttings are easy to root and require very little maintenance. With the proper steps, you can have a healthy new plant in no time.
Step-by-Step Guide on Rooting Bougainvillea Cuttings
1. Choose the Right Cutting
To start, select a healthy Bougainvillea plant with strong branches. For successful propagation, look for young, semi-hardwood stems that are about 4 to 6 inches long. These should be free from flowers or buds, as the cutting will have more energy for root development.
- Cutting Tip: Always use a sharp knife or pruners to make a clean, straight cut. This reduces the chance of introducing infections to the cutting.
2. Prepare the Cutting
After taking your cutting, strip off the lower leaves (about 1 to 2 inches from the bottom) to expose the stem. You want to make sure that the cutting is free of any leaves that might rot when placed in the soil.
- Cut the Cutting at a Node: The node is where the roots will develop, so it’s important to ensure your cutting has one or two nodes exposed. The node is usually a small bump or scar on the stem.
3. Apply Rooting Hormone (Optional)
While not always necessary, rooting hormone can increase the chances of successful rooting. Dip the cut end of the cutting in a rooting hormone powder before planting it. The hormone helps stimulate root growth and prevents rot.
4. Prepare the Potting Medium
Bougainvillea cuttings thrive in a well-draining medium. You can use a mix of perlite and sand, or a peat-based potting mix with added sand for drainage. The key is to make sure that the medium retains moisture but does not get soggy.
- Tip: If using regular soil, mix it with some sand or perlite to improve aeration and drainage.
5. Plant the Cutting
Create a small hole in the potting mix and insert the cutting, making sure the cut end is buried 1 to 2 inches deep in the soil. Gently press the soil around the cutting to ensure it’s secure.
- Ensure Stability: The cutting needs to stand upright, so you may want to use a small stick or a piece of wire to support it during the rooting process.
6. Provide the Right Environment
Bougainvillea cuttings need warm, humid conditions to root successfully. Place the pot in a warm, well-lit area, but avoid direct sunlight, as it can dry out the cutting.
- Cover the Cutting: To increase humidity, you can cover the pot with a plastic bag or place it in a propagation dome. Make sure the plastic does not touch the cutting, as it can cause rot. You can also use a transparent plastic bottle with the bottom cut off as a mini greenhouse.
- Maintain Temperature: The ideal temperature for rooting Bougainvillea cuttings is around 70-75°F (21-24°C).
7. Watering the Cutting
Keep the soil consistently moist but not soggy. Water the cutting gently to keep it hydrated. Mist the cutting with water every day to maintain humidity. However, be careful not to overwater, as this can cause root rot.
- Tip: Use a fine mist sprayer to moisten the soil and the air around the cutting without soaking it.
8. Monitor for Roots
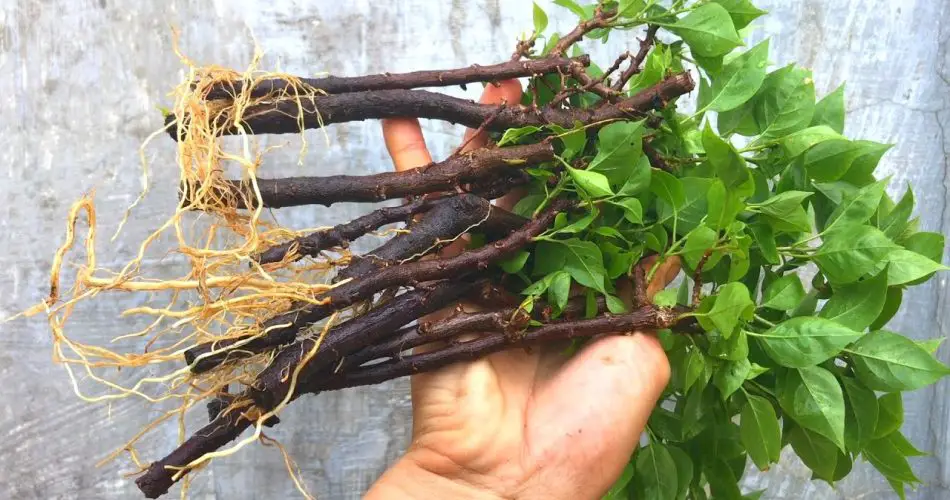
Bougainvillea cuttings typically start developing roots in about 3-4 weeks. To check for root growth, gently tug on the cutting. If you feel resistance, roots have started forming. You can also check by carefully pulling back the soil to see the root development.
- Signs of Success: Once you notice roots forming, you can start reducing humidity by removing the plastic cover gradually.
9. Transplanting Your Cutting
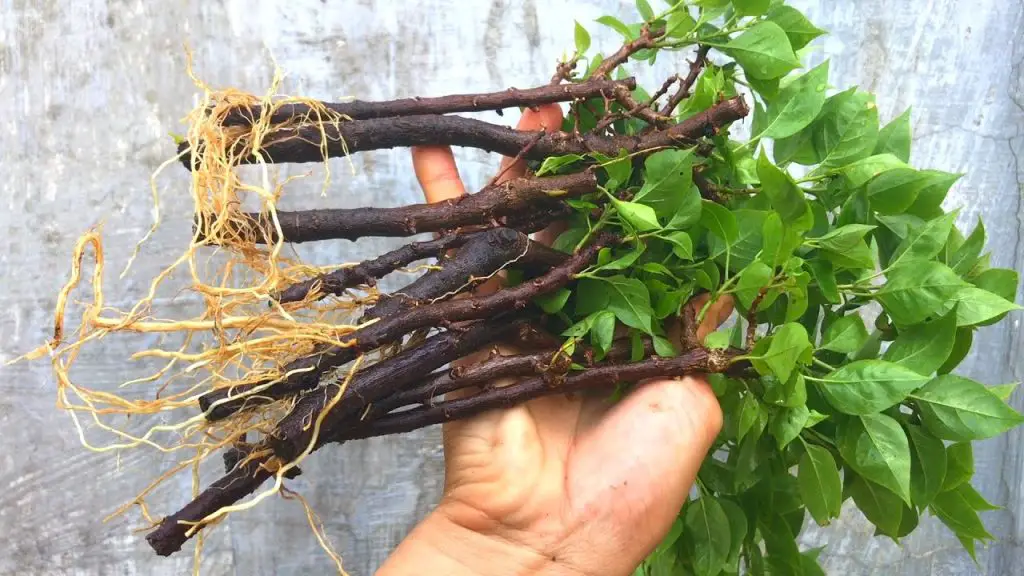
Once your cutting has developed a strong root system (usually after 4 to 6 weeks), it’s time to transplant it into a larger pot or directly into your garden. Choose a location with full sunlight as Bougainvillea plants thrive in bright, sunny areas.
- Tip: When transplanting, ensure the root ball is intact to minimize stress on the cutting. Water it well after transplanting to help it settle into its new home.
Caring for Your New Bougainvillea Plant
After your cutting has rooted, continue to care for your Bougainvillea by following these steps:
- Watering: Keep the plant well-watered, but allow the soil to dry out between waterings. Bougainvilleas don’t like to sit in wet soil.
- Sunlight: Bougainvilleas love full sun, so make sure your plant receives at least 6 hours of direct sunlight a day.
- Fertilizing: Feed your new plant with a balanced fertilizer every 4-6 weeks during the growing season to encourage strong growth.
Conclusion
Rooting Bougainvillea cuttings is an easy and rewarding process that can help you expand your collection of this beautiful flowering plant. By following the steps outlined in this guide, you can enjoy new Bougainvillea plants thriving in your home or garden. Remember to be patient, provide the right conditions, and your Bougainvillea will reward you with vibrant blooms and lush growth for years to come. Happy gardening!


