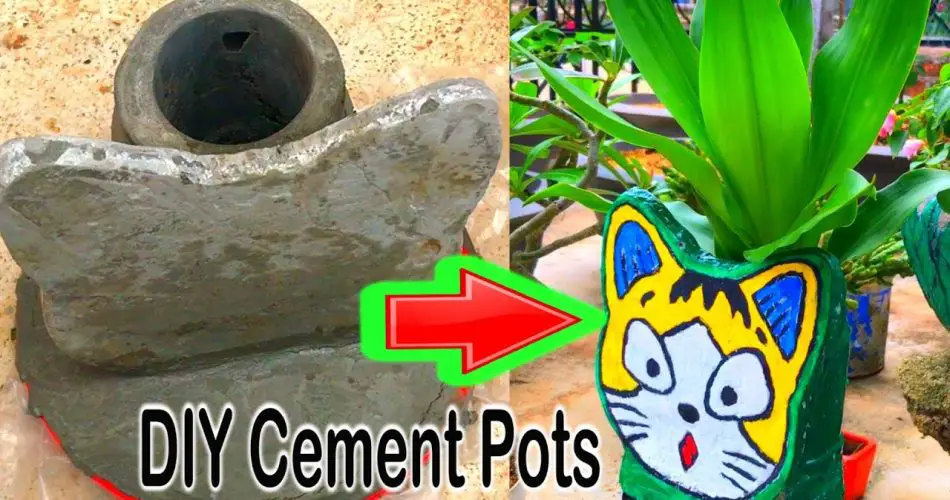
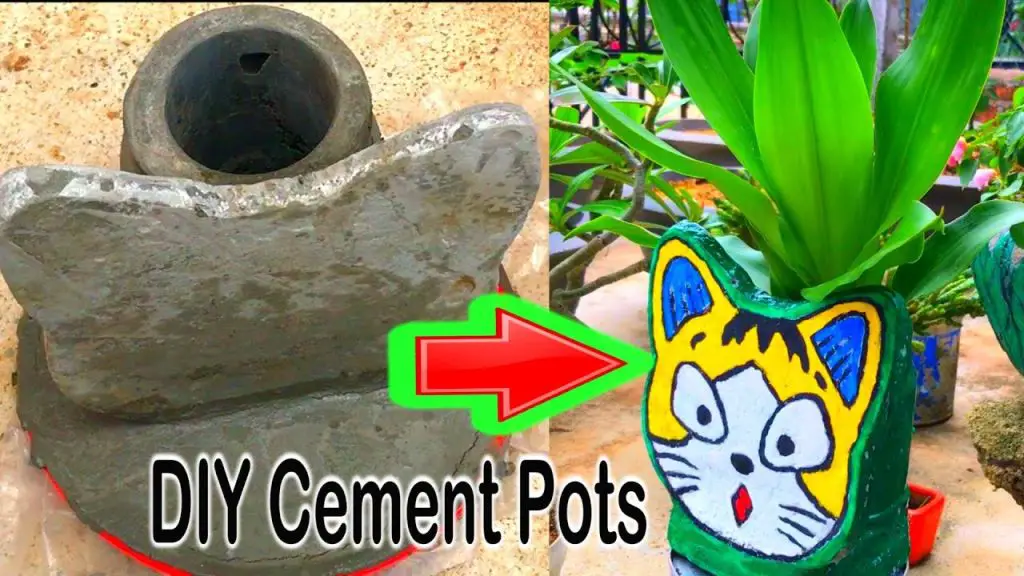
Creating flower pots using cement is a fantastic way to add a touch of creativity to your garden or indoor space. This DIY project is not only budget-friendly but also allows you to experiment with unique designs and artistic styles.
Materials You’ll Need
- Cement mix
- Water
- Molds (plastic containers, bowls, or custom-made shapes)
- Cooking oil (for easy removal)
- Paints & decorations (optional)
Step-by-Step Guide to Making Creative Cement Flower Pots
- Prepare the Mold – Choose a mold shape that fits your design idea. Coat the inside with a thin layer of cooking oil to make it easier to remove the cement later.
- Mix the Cement – Combine cement and water in a bucket, stirring until you get a smooth, thick paste.
- Pour into Mold – Fill the mold with the cement mixture, then press a smaller container inside to create space for the plant.
- Let It Dry – Allow the cement to cure for at least 24–48 hours until it hardens completely.
- Remove & Decorate – Carefully remove the pot from the mold. You can leave it with a natural cement look or paint it with bright colors and patterns for a more artistic touch.
Creative Ideas for Unique Flower Pots
- Textured Designs – Use bubble wrap, leaves, or fabric to create stunning surface textures.
- Handmade Patterns – Carve designs into the wet cement before it dries for a custom look.
- Recycled Mold Shapes – Repurpose old plastic bottles, baskets, or boxes for an eco-friendly touch.
- Dual-Tone Effects – Use two different cement colors for a stylish gradient effect.
Why DIY Cement Flower Pots?
- Durable & Long-Lasting – Cement pots withstand harsh weather conditions.
- Customizable – You can create any size, shape, or design that fits your style.
- Eco-Friendly – Reusing household items as molds reduces waste.
With a little creativity and patience, you can craft stunning flower pots that bring life and charm to your home or garden! 🌸🌿
Copy
Show Comments