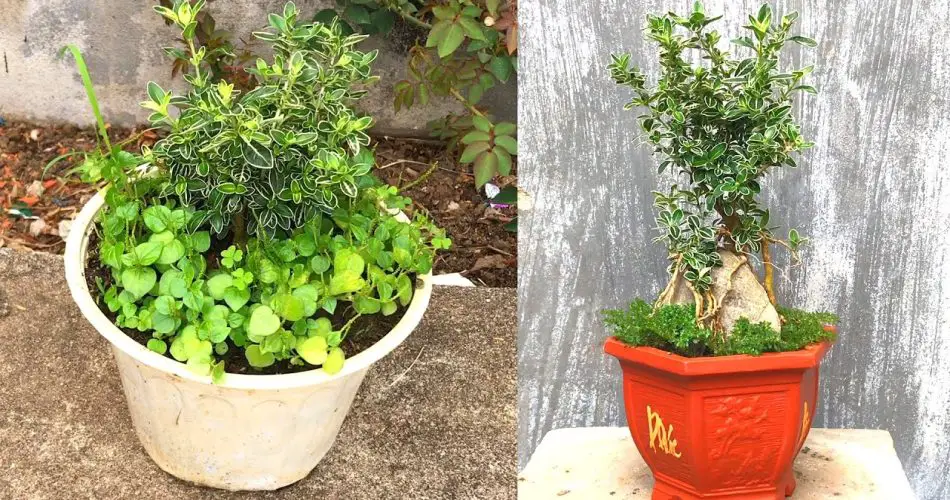
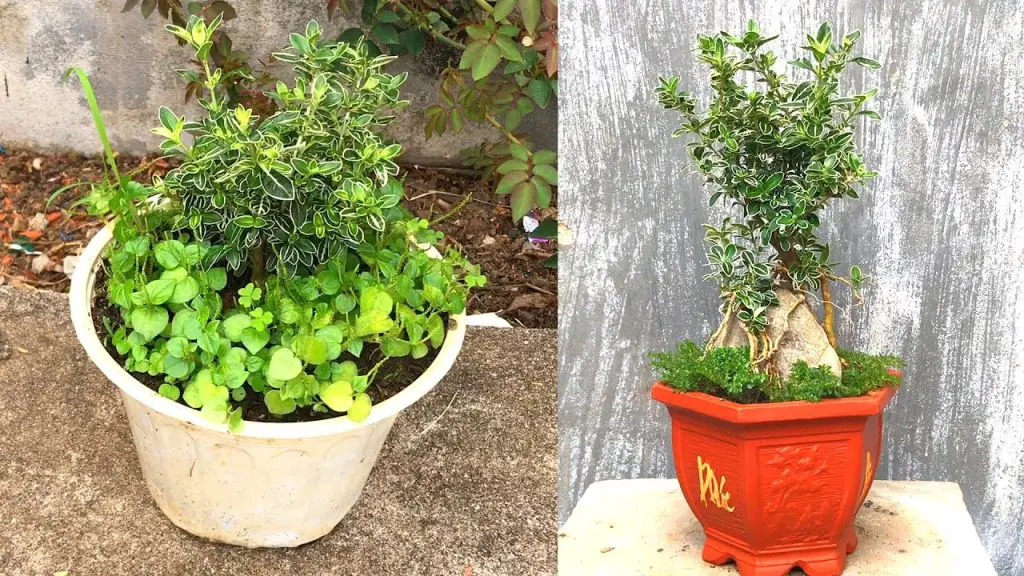
Flower pots are an essential part of any garden or home decor, but sometimes, they can get old, cracked, or worn out. Rather than throwing them away, you can renovate your bad flower pots and transform them into beautiful and functional pieces for your plants. With a little creativity and effort, you can give new life to those old, unattractive pots. This article will guide you through some easy and effective ways to renovate bad flower pots and make them shine once again.
Why Renovate Old Flower Pots?
Renovating flower pots is not only a great way to save money, but it’s also an excellent opportunity to showcase your creative skills. Here are some reasons to renovate your old flower pots:
- Reduce Waste: Instead of throwing away your damaged pots, you can reuse them, helping to reduce waste and promote sustainability.
- Personalize Your Garden: Renovated pots allow you to infuse your personality into your garden decor. Whether you like a rustic look, modern design, or something artistic, you can create unique pots that fit your style.
- Cost-Effective: Buying new flower pots can be expensive, but renovating old ones is a budget-friendly option to refresh your garden without breaking the bank.
- Customization: Renovating flower pots gives you the freedom to choose colors, patterns, and materials that best suit your plants and garden design.
Step-by-Step Guide to Renovating Bad Flower Pots
Here are some easy techniques to turn your old, unattractive flower pots into beautiful, eye-catching planters for your garden.
1. Painting Your Flower Pots
One of the simplest and most effective ways to renovate flower pots is by painting them. Painting allows you to completely transform a pot, making it look new and vibrant. You can choose any color or pattern that fits your style and the overall aesthetic of your garden.
What You’ll Need:
- Old flower pots
- Acrylic paint (weather-resistant)
- Paintbrushes (various sizes)
- Painter’s tape (optional, for clean lines)
- Clear sealer (optional, for added durability)
Steps:
- Clean the Pots: Start by cleaning your old pots. Remove any dirt, dust, or debris. If the pots are very dirty, scrub them with soap and water and let them dry completely.
- Prime the Surface: If the pot has a smooth surface, apply a primer to help the paint stick better. Let the primer dry before moving on.
- Paint the Pot: Use acrylic paint to coat the pot with a base color. You can apply multiple coats for a solid finish. If you want to add patterns, use painter’s tape for clean edges or create designs freehand.
- Seal the Pot: Once the paint has dried, you can apply a clear sealer to protect the paint from the elements, especially if the pot will be placed outdoors.
- Let It Dry: Allow the pot to dry completely before planting anything in it.
2. Using Decoupage for a Stylish Look
If you’re looking for something a little more intricate, decoupage is a great option. You can apply decorative paper, fabric, or napkins to your flower pots to give them a personalized and artistic touch.
What You’ll Need:
- Old flower pots
- Decoupage glue (or white school glue diluted with water)
- Decorative paper or fabric (such as tissue paper, napkins, or old maps)
- Scissors
- Paintbrush
Steps:
- Clean the Pot: Start by cleaning your pot to remove any dirt and debris.
- Prepare the Paper: Cut your decorative paper into small pieces or patterns. This could be a floral print, vintage newspaper, or even a modern geometric design.
- Apply the Glue: Use a paintbrush to apply a thin layer of decoupage glue onto the surface of the pot.
- Place the Paper: Place the cut paper onto the glued surface, smoothing out any wrinkles or bubbles. Apply another layer of decoupage glue over the paper to seal it in place.
- Finish the Pot: Allow the glue to dry, and then apply additional coats of decoupage glue to ensure the paper is fully sealed and protected. Let it dry completely before using the pot.
3. Adding Texture with Fabric or Rope
For a rustic or bohemian look, you can wrap your old flower pots in fabric or rope. This adds texture and can turn a plain pot into a statement piece.
What You’ll Need:
- Old flower pots
- Fabric (scrap fabric, burlap, or felt)
- Jute rope or twine
- Hot glue gun or strong adhesive
Steps:
- Clean the Pot: Ensure your pot is clean and dry before starting the renovation process.
- Cut the Fabric: Measure the fabric or rope around your pot and cut it to fit. If you’re using fabric, leave enough extra to wrap around the pot easily.
- Apply Glue: Use a hot glue gun or strong adhesive to attach the fabric or rope to the pot. Start from the bottom and work your way up, wrapping and gluing as you go.
- Finish the Look: If you’re using rope, you can also create designs or patterns by overlapping the rope. Once the fabric or rope is attached, press it down to ensure it sticks well.
- Let It Dry: Allow the pot to dry completely before using it for plants.
4. Creating a Mosaic Flower Pot
For a more artistic and colorful renovation, consider making a mosaic flower pot. You can use old tiles, glass pieces, or even broken pottery to create a unique design.
What You’ll Need:
- Old flower pot
- Tiles, glass pieces, or broken pottery
- Tile adhesive or strong glue
- Grout
- Grout sponge
Steps:
- Prepare the Pot: Clean your flower pot and make sure it’s completely dry.
- Cut and Arrange Pieces: Cut your tiles or glass pieces into small shapes and arrange them on the surface of the pot. Plan your design before gluing them down.
- Glue the Pieces: Once you’re happy with the arrangement, use tile adhesive or strong glue to stick the pieces onto the pot.
- Apply Grout: After the adhesive has dried, apply grout between the pieces using a grout sponge. This will fill the gaps and give the pot a smooth, finished look.
- Clean and Dry: Wipe off any excess grout and allow the pot to dry completely.
5. Adding Plant Markers and Accessories
For an extra touch, you can personalize your renovated flower pots by adding plant markers or other accessories, such as decorative stones, ribbons, or charming figurines. This small addition can make your pots even more unique.
Conclusion
Renovating your old flower pots is a fun and rewarding project that can breathe new life into your garden or home decor. Whether you choose to paint, decoupage, or add texture with fabric or rope, the possibilities for creativity are endless. By following these simple steps, you can turn your bad flower pots into beautiful, functional planters that will enhance your garden and bring out your personal style. So, start renovating today, and give your old pots a new lease on life!


