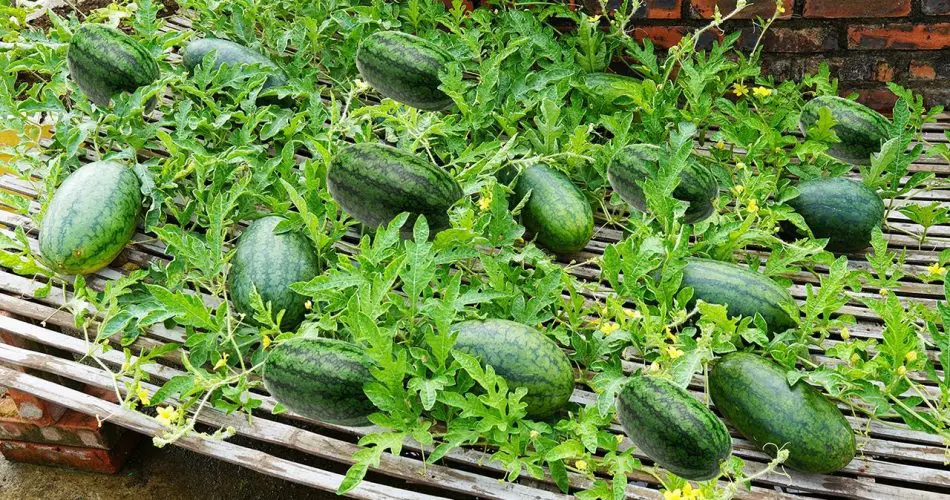
Watermelons are one of the most refreshing and delightful fruits of summer. But did you know you can easily grow them in foam containers? This innovative gardening method is perfect for those with limited space, such as apartment dwellers, or anyone looking for a cost-effective and efficient way to grow their own juicy watermelons. Here’s a step-by-step guide to help you get started on growing watermelons in foam containers, ensuring a high-yield harvest!

🌱 Why Choose Foam Containers for Growing Watermelons?
Foam containers, often referred to as styrofoam boxes, offer numerous advantages for watermelon cultivation:
- Lightweight: Foam containers are easy to move around, making it perfect for growing watermelons on balconies or patios.
- Insulation: These containers provide good insulation, protecting the roots from temperature fluctuations and helping maintain consistent soil moisture.
- Affordable and Recyclable: Foam containers are often free or inexpensive, making them a cost-effective option for growing watermelons.
- Space-saving: Unlike traditional garden beds, foam containers allow you to grow watermelons in small spaces, ideal for urban gardening.
🌿 Step-by-Step Guide to Growing Watermelons in Foam Containers
1. Choose the Right Foam Container
The first step is selecting the right foam container. Look for a box or container that is at least 12-15 inches deep and 18-24 inches wide. Watermelons have long taproots, so the container needs to provide enough room for the plant to grow.
- Ensure that the container has drainage holes at the bottom to prevent waterlogging, which can lead to root rot.
2. Prepare the Soil
Watermelons thrive in well-drained, fertile soil. Use a high-quality potting mix and consider mixing in some organic compost for added nutrients.
- Mix in organic compost: This will improve soil structure and provide the necessary nutrients for your watermelon plant.
- Ensure good drainage: If the foam container doesn’t have enough drainage holes, you can add gravel or small stones at the bottom to help with drainage.
3. Planting the Watermelon Seeds
Watermelons need a warm growing environment, so make sure to plant them during the warm season when temperatures are consistently above 70°F (21°C).
- Sow the seeds: Plant 2-3 watermelon seeds about 1-2 inches deep in the center of the container.
- Spacing: Space each plant about 12 inches apart if you’re growing more than one. For better results, allow one plant per container to grow to full maturity.
4. Set Up the Proper Growing Environment
Watermelons love full sunlight and need around 6-8 hours of direct sunlight per day to thrive.
- Choose a sunny spot on your balcony or patio to place your foam containers.
- Support the vines: As the watermelon plant grows, it will need some support. Use a trellis, garden netting, or stakes to train the vines vertically. This helps the plant save space and prevents the fruit from resting directly on the ground.
5. Watering and Fertilizing
Watermelons need consistent moisture, but they don’t like soggy roots. Ensure the soil stays moist but not waterlogged.
- Water regularly: Water the plants deeply, but avoid over-watering. Check the soil moisture regularly to ensure it’s neither too dry nor too wet.
- Fertilize: After the plant starts growing, apply a balanced fertilizer that is rich in potassium and phosphorus. These nutrients are essential for fruit production and flowering.
6. Maintaining the Plant
Watermelon plants grow fast, and you’ll need to regularly check for any signs of pests or diseases. Common problems include aphids, spider mites, and powdery mildew.
- Prune regularly: To encourage better airflow and focus the plant’s energy on fruit production, prune any unnecessary vines or leaves.
- Mulch: Adding a layer of mulch around the base of the plant helps retain moisture, keep the roots cool, and suppress weeds.
7. Harvesting Your Watermelons
Watermelons are ready to harvest when they reach their full size and the skin starts to turn from green to the variety’s characteristic color.
- Check the sound: Tap the watermelon and listen for a hollow sound. This indicates that the fruit is ripe and ready to be picked.
- Color: The fruit should also have a matte finish, and the spot where it touches the ground should be yellowish rather than white.
🌿 Tips for a Successful Watermelon Harvest in Foam Containers
- Monitor the temperature: Watermelon plants thrive in warm temperatures but be mindful of extreme heat. If necessary, use shade cloths during the hottest part of the day.
- Mulch generously: Applying mulch around the base of the plant will help conserve moisture and keep the soil temperature consistent.
- Avoid overcrowding: Watermelons need room to spread out, so don’t overcrowd the containers. This will ensure that each plant has enough space to grow large, juicy fruit.
🌟 Conclusion: Growing Watermelons in Foam Containers is Easy and Rewarding
By using foam containers, you can grow delicious watermelons even in the smallest of spaces! This innovative gardening method offers many benefits, including space efficiency, low cost, and a high yield of fresh fruit. With proper care and attention to watering, sunlight, and nutrition, you can enjoy the satisfaction of growing juicy watermelons right at home. Get started today and watch your watermelons thrive!
Happy gardening, and enjoy your fresh, homegrown watermelons! 🍉🌱


