Monstera plants are one of the most popular houseplants, known for their large, glossy leaves and unique split patterns. If you want to expand your Monstera collection, propagation is an easy and rewarding way to do it!
In this guide, I’ll share how I successfully propagated my Monstera plant and achieved strong, healthy growth.
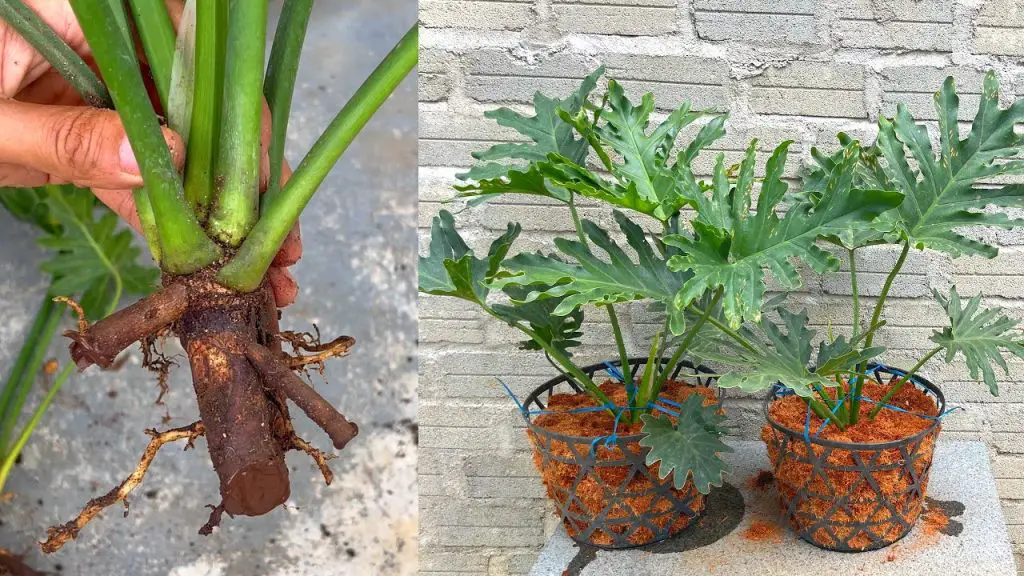
1. Choosing the Right Cutting
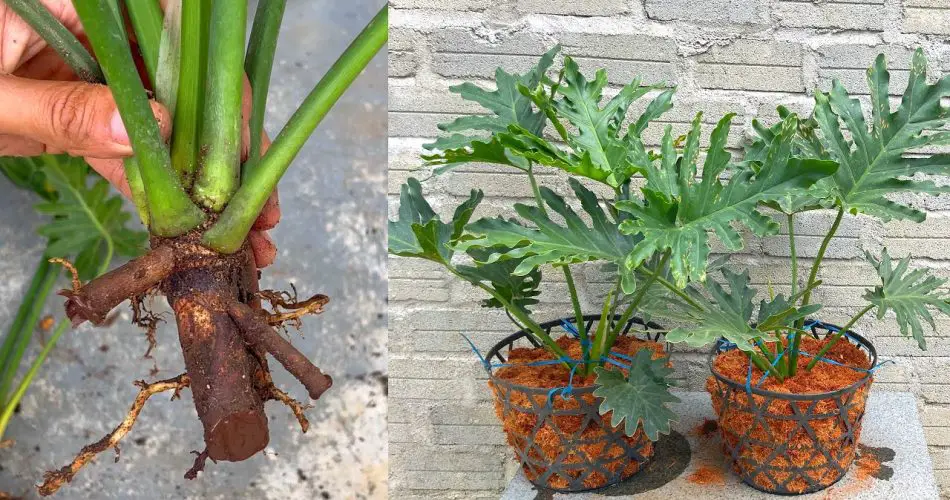
To ensure successful propagation, choose a healthy Monstera stem with:
✔ A node (small bump on the stem where roots will grow).
✔ At least one or two leaves for energy production.
✔ An aerial root (optional, but it speeds up rooting).
💡 Tip: Use clean, sharp scissors or pruning shears to make a precise cut!
2. Propagation Methods
🌊 Water Propagation (Easiest Method)
1️⃣ Fill a glass jar with room-temperature water.
2️⃣ Place the Monstera cutting in the jar, ensuring the node is submerged.
3️⃣ Keep the jar in bright, indirect sunlight.
4️⃣ Change the water every few days to prevent bacteria buildup.
5️⃣ In 2-4 weeks, you should see new roots forming!
🌱 Soil Propagation (Faster Growth)
1️⃣ Dip the cut end of the Monstera stem in rooting hormone (optional but helpful).
2️⃣ Plant the cutting directly in well-draining soil.
3️⃣ Keep the soil moist but not soggy.
4️⃣ Place in bright, indirect light for healthy growth.
5️⃣ Roots should establish in about 3-6 weeks!
3. Caring for the New Monstera Plant
✔ Watering – Keep the soil slightly moist, but avoid overwatering.
✔ Light – Place in bright, indirect light to encourage new leaf growth.
✔ Humidity – Monstera thrives in high humidity, so mist the leaves occasionally.
✔ Repotting – Once the roots are strong, move to a larger pot for more space to grow.
Watch Your Monstera Grow! 🌿
With the right care and patience, your Monstera propagation will turn into a lush, thriving plant!
Have you ever tried propagating Monstera? Share your experience in the comments! 💬👇