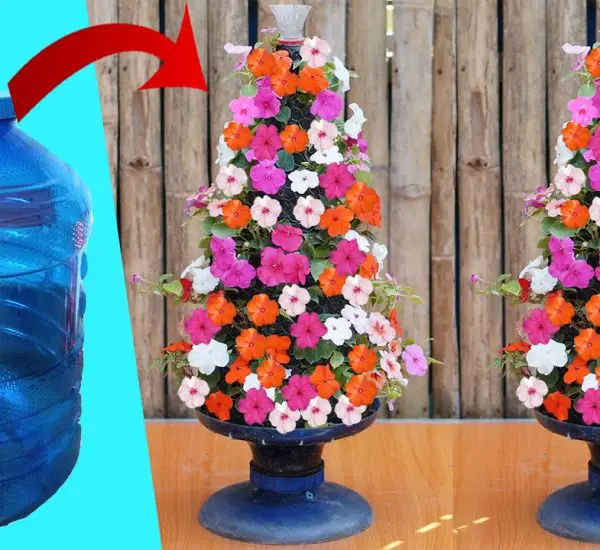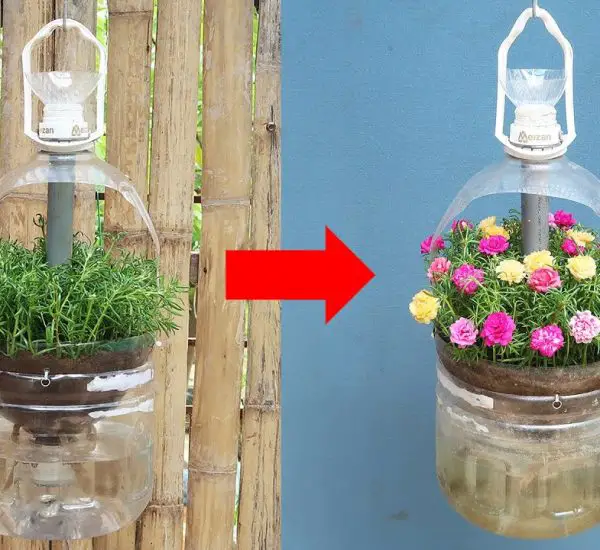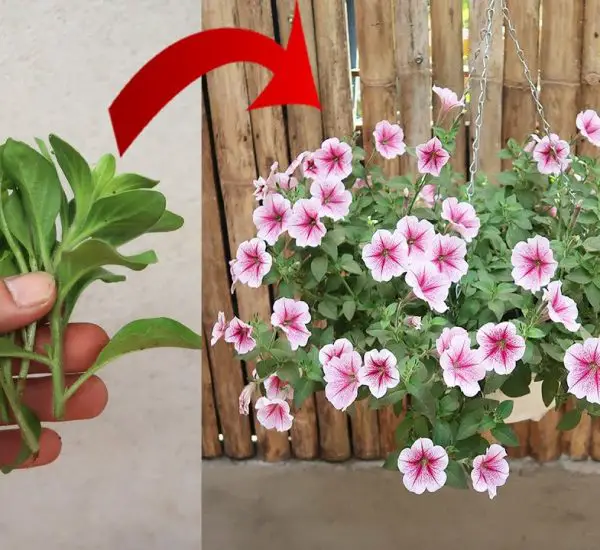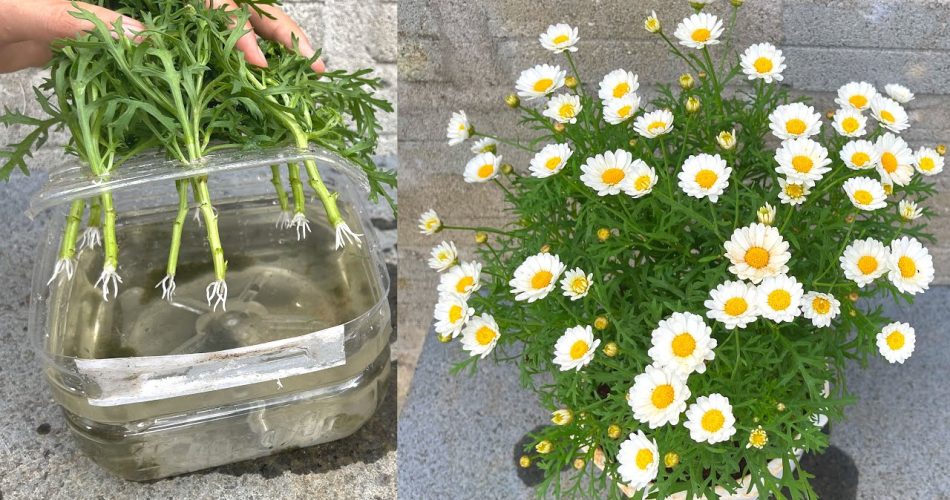
Chrysanthemums, often referred to as mums, are one of the most popular flowering plants known for their vibrant colors and long-lasting blooms. They come in a variety of colors and are easy to grow in your garden or as houseplants. One of the best and easiest ways to propagate chrysanthemums is by using cuttings in water, and you don’t need anything fancy—just a plastic bottle!
In this article, we’ll walk you through the process of growing chrysanthemums from cuttings using water in a plastic bottle. It’s a simple and cost-effective method that even beginners can try with success.
Why Use Water and Plastic Bottles for Chrysanthemum Cuttings?
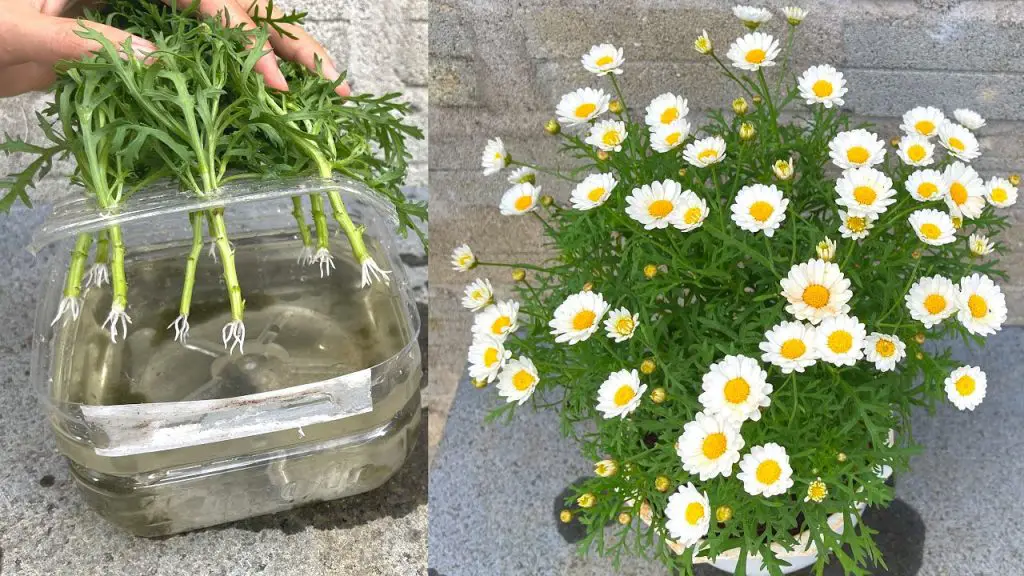
Using water to propagate chrysanthemum cuttings is an excellent way to produce new plants without the need for soil, and plastic bottles provide the perfect environment for this process. Here’s why this method works so well:
- Easy Root Development: Water helps the cuttings form strong roots quickly, giving you a head start before transplanting the cuttings into soil.
- Clear View: The transparent nature of the plastic bottle allows you to easily monitor the root development.
- Sustainable: Using a plastic bottle for this method is an eco-friendly way to recycle while nurturing your plants.
How to Grow Chrysanthemums from Cuttings in Water
Follow these simple steps to propagate chrysanthemums from cuttings using water and a plastic bottle.
1. Select Healthy Chrysanthemum Plants
Choose a healthy chrysanthemum plant that is free from disease or damage. The ideal plant for taking cuttings from is one that is actively growing, preferably during spring or early summer.
2. Prepare the Cutting
- Using a clean, sharp knife or scissors, take a cutting from the plant. The cutting should be around 4 to 6 inches long and taken from a non-flowering stem.
- Remove the leaves from the lower half of the cutting, leaving only a few leaves at the top.
- Optionally, you can dip the cut end of the stem into rooting hormone to encourage faster rooting, although this is not essential.
3. Place the Cutting in a Plastic Bottle
- Cut the plastic bottle in half to create a small container. The top half of the bottle can be used to hold the cutting in place, while the bottom half will hold water.
- Fill the bottom of the bottle with enough water to submerge the bottom 2-3 inches of the cutting.
- Place the cutting into the bottle, ensuring that only the cut end is submerged in the water. The top leaves should stay above the waterline to prevent rot.
4. Create a Humid Environment
- To help maintain the humidity around the cutting, cover the top of the bottle with a plastic bag or the top half of the bottle (if you left it attached).
- This will create a mini greenhouse effect, keeping the cutting warm and moist while it develops roots.
5. Place the Bottle in a Bright Location
- Place the bottle in a bright location with indirect sunlight. Avoid direct sunlight, as this can heat the water and harm the cutting.
- Keep an eye on the water level and add more water as needed to ensure the bottom of the cutting stays submerged.
6. Wait for Roots to Develop
- Within 1 to 3 weeks, you should see roots forming on the cutting. Once the roots are about 1 to 2 inches long, it’s time to transfer the cutting into soil.
Transplanting Chrysanthemum Cuttings into Soil
Once your chrysanthemum cutting has developed a healthy root system, it’s time to move it to its permanent home.
- Prepare a small pot with well-draining soil, such as a potting mix designed for indoor plants or a mix of perlite and peat moss.
- Gently remove the cutting from the plastic bottle and plant it into the pot, making sure the roots are covered with soil.
- Water the plant gently, and continue to keep it in a bright, indirect light spot.
- Continue to care for your new chrysanthemum plant by providing regular watering, fertilizing, and pruning to encourage healthy growth.
Tips for Success
- Monitor Root Health: If you see the water turning cloudy, change it regularly to prevent the growth of harmful bacteria.
- Use Clean Containers: Make sure the plastic bottle or container is clean to prevent contamination that could harm your cuttings.
- Watch for Pests: Keep an eye on your cuttings for any signs of pests, such as aphids or spider mites.
Why Choose This Method?
Using plastic bottles and water for propagating chrysanthemums is not only simple but also efficient and cost-effective. You don’t need special gardening equipment or expensive supplies—just a cutting, some water, and a recycled plastic bottle. This method works for many other plants too, making it a versatile technique for home gardeners looking to expand their collections.
Conclusion
Growing chrysanthemums from cuttings in a plastic bottle is a fun, beginner-friendly way to propagate these stunning flowers. By using water and a recycled plastic bottle, you can create new plants without the need for soil, and with patience, you’ll soon have new chrysanthemums thriving in your garden or home. Try this simple method and watch your chrysanthemum collection bloom!