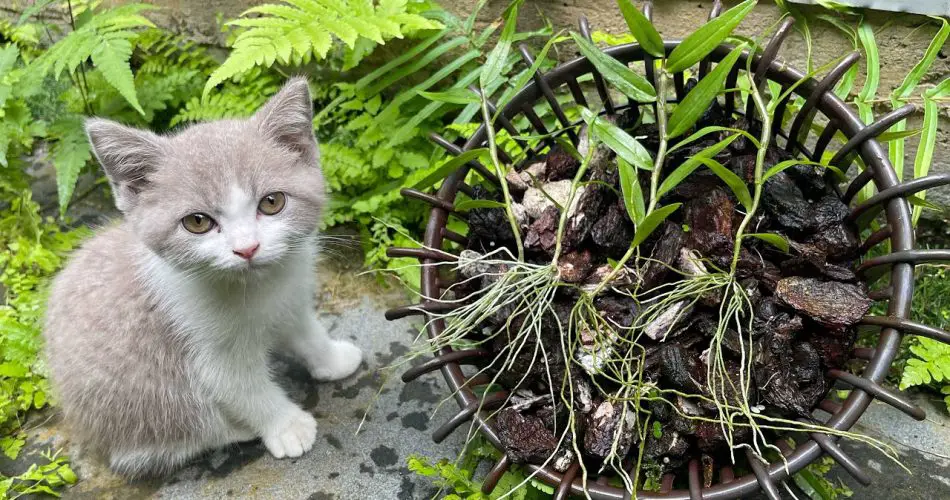
If you love gardening and want a creative, eco-friendly way to grow your orchids, making a cage from plastic bottles is the perfect solution! This DIY project not only helps repurpose waste but also provides an ideal environment for your orchids to thrive.
Why Use a Plastic Bottle Cage for Orchids?
✅ Eco-Friendly – Recycles plastic bottles instead of throwing them away.
✅ Affordable – No need to buy expensive orchid pots or baskets.
✅ Better Airflow – Encourages healthy roots and prevents overwatering.
✅ Customizable – Design the cage to fit any space in your garden or home.
How to Make an Orchid Cage from Plastic Bottles
1. Gather Materials
- Plastic bottles (2-liter or larger work best)
- Scissors or a sharp knife
- Wire or strong string
- Drill or hot needle (for making holes)
2. Cut and Shape the Cage
- Cut the top and bottom off the plastic bottle to create an open cylinder.
- Make slits or holes along the sides to improve airflow.
- If using multiple bottles, cut and attach them together with wire or string.
3. Prepare for Planting
- Place a layer of coconut husk, bark, or moss inside for good drainage.
- Carefully place your orchid inside the plastic cage and secure it.
- Attach the cage to a hanging hook or mount it on a garden wall.
4. Provide Proper Care
- Hang or place the orchid cage in a bright area with indirect sunlight.
- Water sparingly, ensuring the roots dry out between watering.
- Mist occasionally to maintain the right humidity levels.
Enjoy Beautiful Orchids in a Unique Cage! 🌸
By using plastic bottles, you create a sustainable gardening solution while giving your orchids a healthy and stylish home. Try this DIY project and see your orchids flourish in their new eco-friendly cage! 🌿✨
Copy
Show Comments