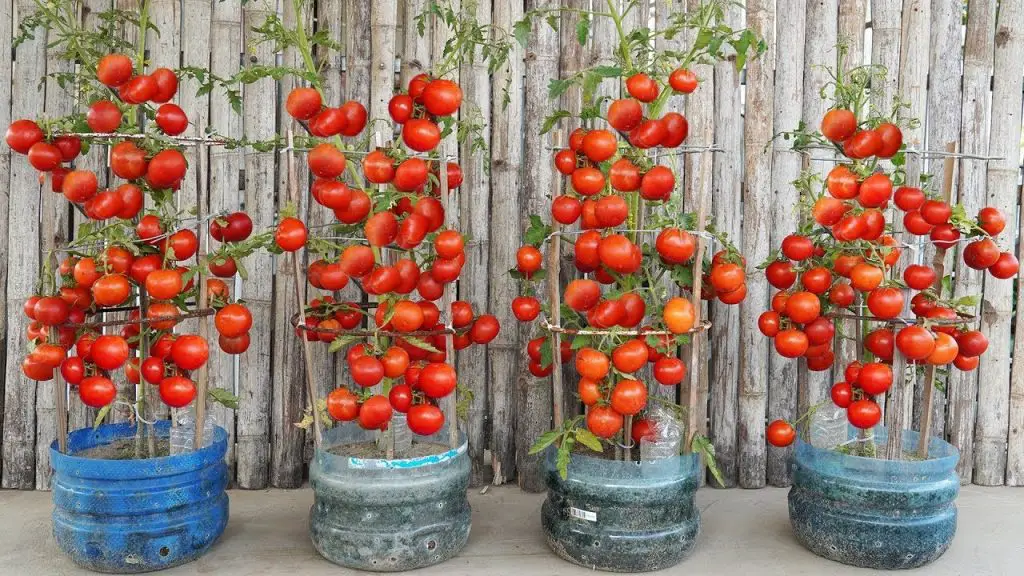
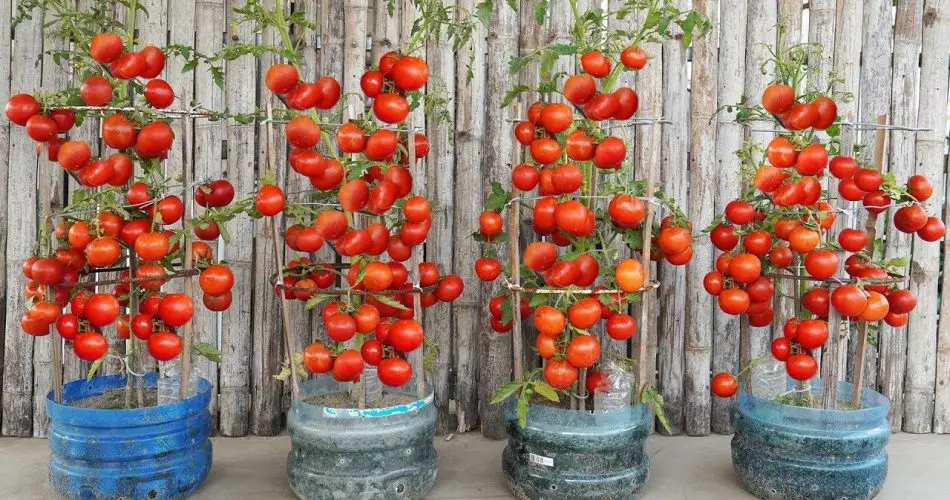
Want to grow fresh, juicy tomatoes but don’t have a garden? No problem! With this easy DIY plastic bottle garden, you can cultivate delicious homegrown tomatoes on your balcony, patio, or even indoors. This space-saving, eco-friendly method is perfect for anyone looking to reuse plastic bottles while growing their own nutritious veggies at home.
🌱 Why Grow Tomatoes in Plastic Bottles?

✔ Saves space – Ideal for small apartments, balconies, or patios.
✔ Eco-friendly – Reuse plastic bottles instead of throwing them away.
✔ Cost-effective – No need for expensive gardening pots.
✔ High yield – Tomatoes thrive in containers and produce lots of fruit.
✔ Easy to maintain – Less weeding and pest control required.
💡 Did you know? Tomatoes are one of the easiest and fastest-growing vegetables to cultivate in containers!
🛠 Materials Needed
🔹 Large plastic bottles (2-liter or 5-liter bottles work best)
🔹 High-quality potting soil – Loose, nutrient-rich soil for healthy growth
🔹 Tomato seedlings or seeds – Choose compact or cherry tomato varieties
🔹 Organic compost or fertilizer – Helps promote strong root growth
🔹 Wooden sticks or a small trellis – Supports the plant as it grows
🔹 Drill or knife – To make drainage and planting holes
🔹 Watering can or spray bottle – For keeping the soil moist but not soggy
💡 Tip: Add crushed eggshells to the soil to boost calcium levels and prevent blossom-end rot!
🌿 How to Set Up Your DIY Plastic Bottle Tomato Garden
Step 1: Prepare the Plastic Bottles
1️⃣ Cut the top off the plastic bottle to create an open-top planter.
2️⃣ Poke small drainage holes at the bottom to prevent water buildup.
3️⃣ Fill the bottle with nutrient-rich potting soil, leaving some space at the top.
💡 Tip: You can also hang the bottles upside-down for a creative hanging tomato garden!
Step 2: Planting the Tomatoes
1️⃣ If using seeds, plant 2-3 seeds half an inch deep in the soil.
2️⃣ If using seedlings, gently transplant them into the bottle.
3️⃣ Lightly water the soil to keep it evenly moist.
💡 Tip: Place the bottles in a sunny location—tomatoes need 6-8 hours of sunlight daily!
Step 3: Caring for Your Tomato Plants
✔ Water consistently – Keep the soil moist but not waterlogged.
✔ Support the plant – Use a wooden stake or trellis to help the plant grow upright.
✔ Fertilize every 2 weeks – Use organic compost or a balanced fertilizer.
✔ Prune excess leaves – Remove yellowing or lower leaves for better air circulation.
✔ Watch for pests – Check for aphids or caterpillars, and use natural pest control methods.
💡 Tip: Mulching with straw or dried leaves helps retain moisture and keeps weeds away!
🍅 Harvesting Your Homegrown Tomatoes
🔹 Cherry tomatoes – Ready in 8-10 weeks, pick when bright red.
🔹 Larger tomato varieties – Harvest when fully ripened for the best flavor.
💡 Tip: Pick tomatoes gently by hand to avoid damaging the plant.
🌿 Final Thoughts
With this DIY plastic bottle tomato garden, anyone can enjoy homegrown, chemical-free tomatoes right from their own home! This simple, budget-friendly method is perfect for beginners and experienced gardeners alike. Try it today and enjoy the taste of fresh, organic tomatoes in your favorite dishes! 🍅🌱


