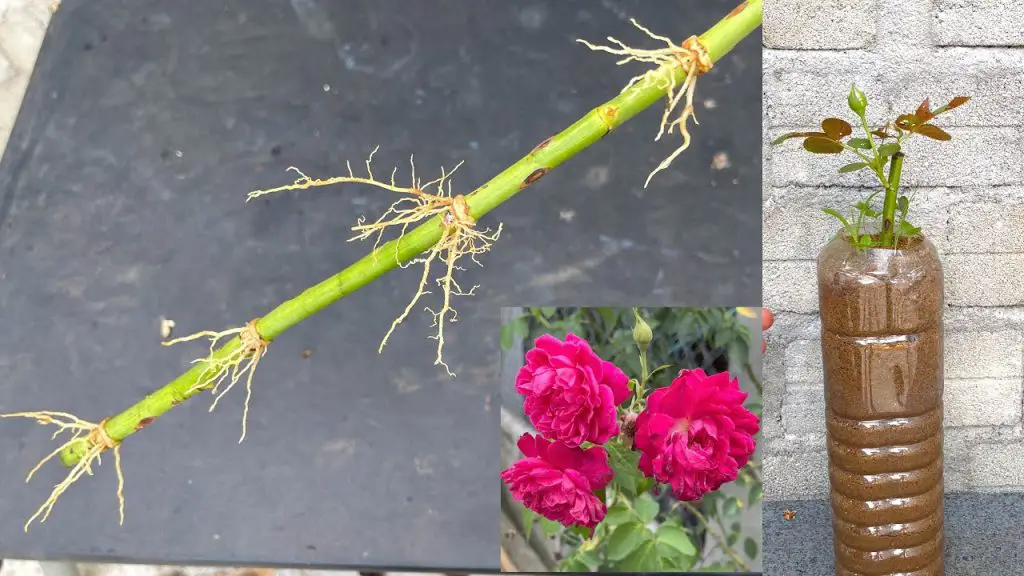
Rose propagation is one of the most satisfying gardening experiences, allowing you to grow beautiful roses from just a single cutting. While many gardeners use traditional methods, there’s a surprising way to propagate rose cuttings that yields incredible results. If you’ve ever struggled with getting your rose branches to take root, this method might just change everything. Discover how doing this simple trick with your rose cuttings can lead to unexpected success!
Why Propagate Roses from Cuttings?
Roses are a classic garden favorite, admired for their vibrant colors, fragrant blooms, and symbolic significance. Whether you want to create new rose plants from your favorite variety or expand your garden, propagating roses from cuttings is an efficient and affordable method. Unlike buying new plants, propagation lets you clone your roses, ensuring that the new plants will have the same traits as the parent plant.
However, not all rose cuttings root easily. Many gardeners face difficulties getting cut branches to develop strong, healthy roots. The key to successful rose cutting propagation lies in the right technique. Let’s dive into this unexpected method that can help your rose cuttings thrive!
What You Need to Propagate Roses
Before we get into the method, make sure you have the following materials on hand:
- Healthy rose branches (preferably from a non-flowering rose)
- Sharp pruning shears or a clean knife
- Rooting hormone (optional, but can boost success rates)
- A small pot or container
- Well-draining soil (a mix of peat, perlite, and sand works well)
- A clear plastic bag or plastic wrap (to create humidity)
- A container of water
The Surprising Trick for Propagating Rose Cuttings
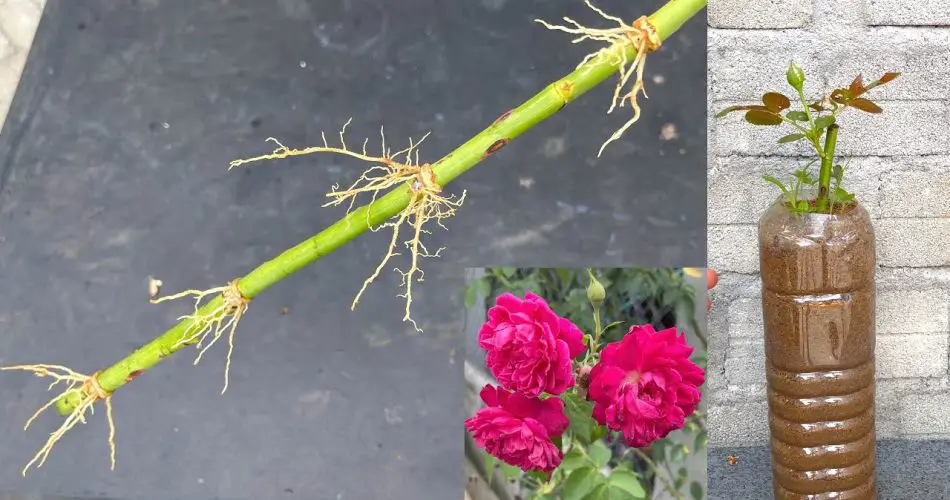
Here’s the unexpected method that can work wonders when propagating rose branches. It involves soaking the rose cuttings in water before planting them in soil. While most people typically place rose cuttings directly into the soil, soaking the stems for a brief period can encourage faster root development and higher success rates.
Step 1: Prepare the Rose Cuttings
- Select healthy rose branches: Choose non-flowering stems that are about 6 inches long and free from disease or pests. Cut the stem just below a leaf node using sharp pruning shears. Remove any leaves from the lower half of the stem, leaving a few leaves on the upper part.
- Optional: Use rooting hormone: You can dip the bottom of the cutting in rooting hormone to encourage faster and more vigorous root growth, though this step is optional.
Step 2: Soak the Rose Cuttings
- Place the cut ends of the rose branches in water: Submerge the lower 2 inches of the stem in a container of water. Ensure the leaves don’t touch the water, as this can cause them to rot. Let the rose cutting sit in the water for 12-24 hours. The water will encourage the stem to begin forming roots more quickly than if placed directly into soil.
Step 3: Prepare the Pot for Planting
- Prepare a pot with well-draining soil: After soaking the rose cutting, prepare a small container with a well-draining soil mix. A combination of peat moss, perlite, and sand is ideal for encouraging root growth without causing the cutting to rot. Make a hole in the soil with your finger or a stick.
- Plant the cutting in the soil: After soaking the cutting, remove it from the water and place the bottom into the prepared hole in the soil. Firm the soil around the stem to ensure it stands upright.
Step 4: Create a Humid Environment
- Cover the cutting with a plastic bag or plastic wrap to create a humid environment. This will help the cutting retain moisture while it develops roots. Ensure the bag or wrap doesn’t touch the cutting directly by using a small stick or wire to hold it up. If using a plastic bag, make sure to poke small holes for ventilation to avoid mold growth.
- Place the pot in a warm, bright location: Roses need indirect sunlight to encourage rooting, but too much direct sun can dry out the cutting. Keep the pot in a warm spot, ideally between 65°F and 75°F (18°C – 24°C).
Step 5: Monitor and Care for the Rose Cutting
- Water regularly: Check the moisture level in the soil every few days. Keep the soil lightly moist, but never waterlogged. Overwatering can cause the cutting to rot.
- Wait for roots to develop: After 10 to 14 days, the cutting should begin to form roots. You can check for root development by gently tugging on the stem. If there’s resistance, roots have started to form. The cutting should ideally root within 2-4 weeks.
Step 6: Transplanting the Rose Cutting
- Once the cutting has a healthy root system, you can transplant it into a larger pot or directly into the ground. Make sure to harden off the plant by gradually exposing it to outdoor conditions for a few hours a day over the course of a week before planting it permanently.
Why This Method Works
Soaking the rose cutting in water before planting it in soil mimics the natural rooting process, allowing the cutting to establish roots more easily. By providing a humid environment and a moist medium, you’re creating optimal conditions for the cutting to thrive. This method is especially beneficial for varieties of roses that are known to have difficulty rooting in the traditional way.
Troubleshooting and Tips
- Too much sunlight: If the cutting starts to yellow or dry out, it could be getting too much direct sunlight. Move it to a location with indirect light.
- Mold or rot: Ensure the cutting doesn’t stay too wet for too long. If you see mold or signs of rot, replace the water and remove the affected parts of the cutting.
- Lack of roots: If the cutting hasn’t rooted after a few weeks, try taking a new cutting from a different rose branch, as some cuttings may simply be more difficult to propagate.
Conclusion
With this surprising technique, you can easily propagate your rose cuttings and watch them grow into stunning, flowering plants. By soaking the rose branches in water before planting, you’re giving them an extra boost that encourages faster rooting and helps prevent the leaves from wilting. This method is simple, effective, and offers a great way to clone your favorite roses for a beautiful, thriving garden.
Happy planting! 🌹