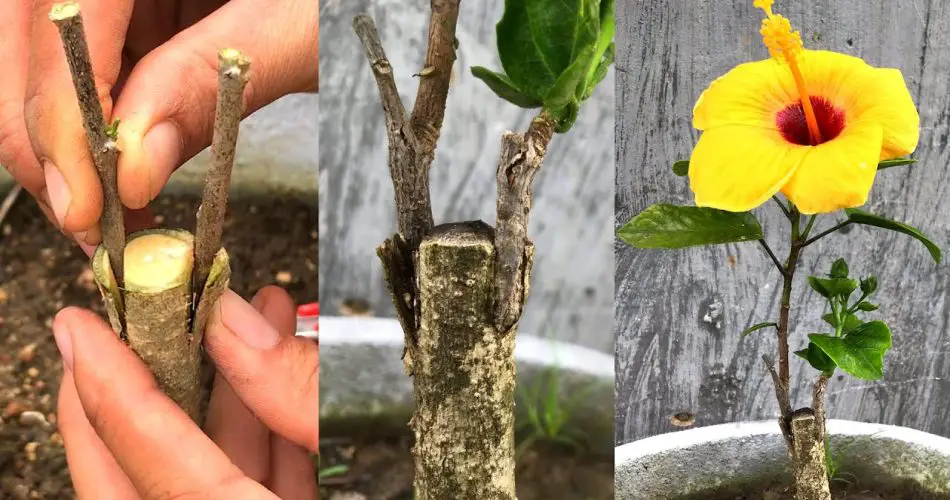
Transplanting yellow hibiscus can rejuvenate your garden and ensure that these stunning flowers thrive in the best conditions. Whether you’re moving them to a new location or repotting them, knowing how to do it correctly is essential for their health and blooming potential. Here’s your complete guide to transplanting hibiscus flowers!
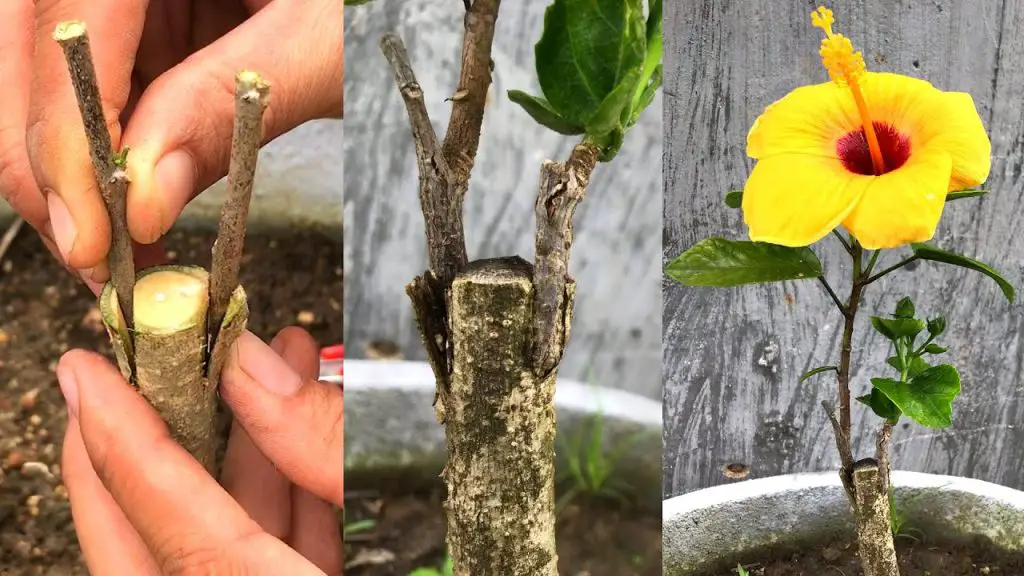
Why Transplant Yellow Hibiscus?
Transplanting is crucial for several reasons:
- Better Growing Conditions: Moving hibiscus to a sunnier spot or more fertile soil can enhance growth.
- Space Management: If your plants are overcrowded, transplanting helps maintain adequate spacing for air circulation and sunlight.
- Healthier Plants: Removing diseased or damaged plants from overcrowded areas promotes overall garden health.
When to Transplant
The best time to transplant yellow hibiscus is during the spring or early summer when the plant is actively growing. Avoid transplanting during extreme temperatures or the blooming season to minimize stress on the plant.
Steps to Transplant Yellow Hibiscus
1. Prepare the New Location
- Choose the Right Spot: Select a location with well-draining soil and plenty of sunlight (at least 6 hours of direct sunlight daily).
- Soil Preparation: Enrich the soil with organic matter, such as compost, to improve fertility and drainage.
2. Gather Your Tools
You’ll need:
- Shovel or Trowel: For digging up the plant and creating a hole in the new location.
- Watering Can: To keep the soil moist during and after the transplanting process.
- Mulch: To help retain moisture after planting.
3. Water the Hibiscus
Before transplanting, thoroughly water the hibiscus a day before. This helps reduce stress on the plant and makes it easier to dig up.
4. Dig Up the Hibiscus
- Loosen the Soil: Use your shovel or trowel to carefully loosen the soil around the base of the plant.
- Extract the Plant: Gently lift the hibiscus from the ground, making sure to keep as much of the root ball intact as possible. This helps minimize root damage.
5. Transplanting Process
- Create a New Hole: Dig a hole in the new location that is twice as wide and deep as the root ball of the hibiscus.
- Position the Plant: Place the hibiscus in the center of the hole, ensuring that the top of the root ball is level with the surrounding soil.
- Backfill: Fill in the hole with soil, gently packing it down to remove air pockets.
6. Water and Mulch
- Water Generously: After planting, water the hibiscus thoroughly to help settle the soil around the roots.
- Add Mulch: Apply a layer of mulch around the base to retain moisture and suppress weeds.
Post-Transplant Care
- Monitor Watering: Keep the soil consistently moist, especially during the first few weeks as the plant establishes itself.
- Avoid Fertilizers Initially: Wait a month before applying fertilizer to avoid stressing the plant further.
- Watch for Pests: Keep an eye out for pests or diseases that may affect the newly transplanted hibiscus.
Conclusion
Transplanting yellow hibiscus can significantly improve their growth and flowering potential when done correctly. By following this guide, you can ensure that your hibiscus not only survives the transplant but thrives in its new environment. Enjoy the vibrant blooms and lush greenery that come with properly transplanted hibiscus! Happy gardening!