Creating a DIY garden well is a fantastic way to enhance your garden’s aesthetic appeal while providing a functional water source. A garden well can become a charming focal point and improve the sustainability of your garden by offering easy access to water for your plants. Here’s a step-by-step guide to building a garden well that adds both beauty and practicality to your outdoor space.
1. Planning Your DIY Garden Well
A. Choosing the Location
- Visibility: Select a spot where the well will serve as a central feature in your garden, perhaps near a seating area or flower bed.
- Accessibility: Ensure the location is easily accessible for watering purposes and doesn’t interfere with other garden elements.
- Safety: Avoid areas with high water tables or potential flooding.
B. Design Considerations
- Style: Decide on a design that complements your garden’s theme—whether it’s rustic, modern, or vintage.
- Size: Determine the size of the well based on available space and how prominently you want it to feature in your garden.
- Materials: Choose materials that match the aesthetic of your garden and are durable enough to withstand the elements.
2. Gathering Materials
A. Essential Materials
- Brick or Stone: For the well’s structure, use brick, stone, or cinder blocks for a durable and attractive finish.
- Concrete: Concrete may be used for the base and to seal the structure.
- Wood: For a rustic look, consider using treated wood for accents or the top cover.
B. Tools Needed
- Shovel: For digging the hole.
- Level: To ensure the well is even and straight.
- Trowel: For applying mortar and concrete.
- Saw: For cutting wood, if used in the design.
3. Building the Garden Well
A. Digging the Hole
- Depth: Dig a hole to the desired depth, typically about 3-4 feet, depending on how deep you want the well to be.
- Width: Make sure the hole is wide enough to accommodate the well structure and allow for easy installation.
B. Constructing the Well
- Base: Lay a concrete or stone base at the bottom of the hole to provide a stable foundation.
- Walls: Begin building the walls using bricks or stones. Apply mortar between the bricks or stones to secure them in place. Ensure the walls are level and plumb.
- Top: Construct a sturdy top cover for the well using wood or additional stone. This cover can also serve as a decorative element.
C. Finishing Touches
- Seal: Apply a sealant to protect the well from water damage and weathering.
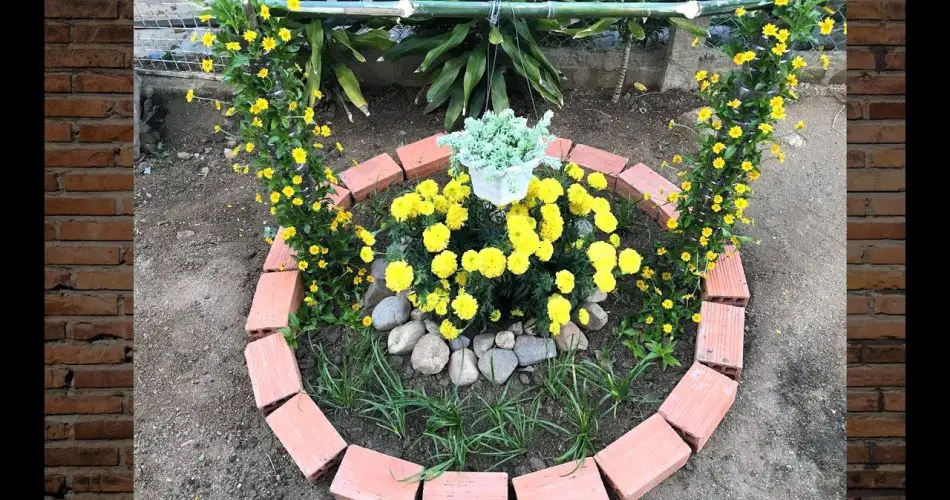
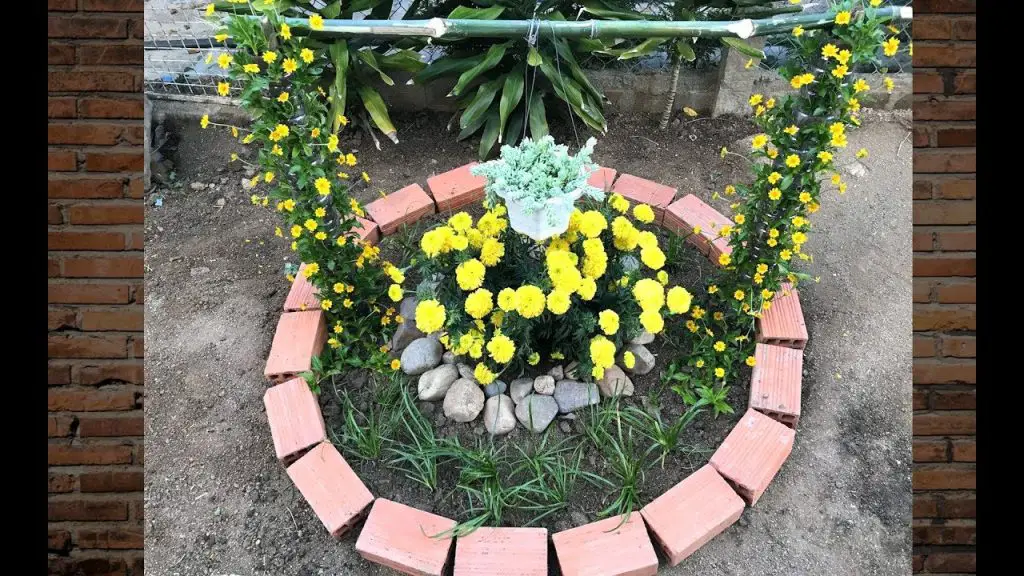
- Decorate: Add decorative elements like flowering plants, vines, or a faux pump to enhance the visual appeal.
4. Maintenance Tips
A. Regular Cleaning
- Debris: Regularly remove debris and leaves from the well to keep it clean and functional.
- Inspection: Periodically inspect the well for any signs of damage or wear and perform repairs as needed.
B. Water Use
- Watering: Use the well to water your garden plants, ensuring the water is fresh and clean.
- Replenish: If the well is primarily decorative and not functional, ensure it’s regularly filled with clean water to maintain its appearance.
5. Benefits of a DIY Garden Well
- Aesthetic Appeal: Adds a unique, charming feature to your garden that enhances its overall look.
- Functionality: Provides a practical water source for garden maintenance, especially in dry seasons.
- Cost-Effective: Building a well yourself can be a more affordable option compared to purchasing pre-made garden features.
In Summary
A DIY garden well is an excellent addition to any garden, offering both practical and aesthetic benefits. By carefully planning, choosing the right materials, and following the construction steps, you can create a beautiful and functional well that enhances your garden’s charm and utility. Embrace this creative project to enjoy a unique and personalized feature in your outdoor space.


