Propagating roses from cuttings is one of the most rewarding and cost-effective ways to grow beautiful new plants. If you’ve ever wondered how to get new rose plants without spending a fortune, you’re in the right place! This method allows you to create strong, healthy rose plants from your existing ones with little to no cost. Below, we’ll share some easy tips for propagating roses that will result in many roots and lush growth.
Why Propagate Roses?
Propagating roses can be an incredibly satisfying experience. Instead of buying new plants, you can multiply your rose collection by simply using cuttings. Plus, it’s a great way to preserve varieties of roses you already love. Whether you want to increase your garden size or share the beauty of your roses with friends and family, propagation is the way to go. Best of all, this method is completely cost-free!
Materials You’ll Need
To propagate roses at no cost, here’s a list of items you’ll need:
- Healthy rose stems (cuttings from your own rose plants)
- A sharp knife or pruning shears
- A clean jar or container (for rooting the cuttings)
- Water (tap water works fine)
- Optional: Cinnamon powder or honey (natural rooting hormones)
- A plastic bag or a plastic bottle to create a mini greenhouse effect
- A well-draining pot for transplanting once rooted
Steps for Propagating Roses
Step 1: Select and Cut the Rose Stem
- Choose a healthy rose stem with no signs of disease or pests. It’s best to cut from a mature rose bush that is actively growing.
- Using your sharp knife or pruning shears, cut a 6-8 inch piece of the stem. Make sure to cut just below a leaf node (where leaves or buds sprout).
- The cutting should have at least 3-5 leaves on it. Make sure the cut is clean and precise, as jagged cuts can impede successful rooting.
Step 2: Prepare the Cutting
- Remove any lower leaves from the stem, leaving only the top 2-3 leaves. Be careful not to damage the delicate growing points.
- Optionally, you can dip the cut end of the stem in cinnamon powder or honey. Both of these natural substances act as rooting hormones, helping the stem develop roots faster and preventing rot.
Step 3: Place the Cutting in Water
- Take a clean jar or container and fill it with water. Place the cutting in the jar, ensuring the cut end of the stem is submerged in the water while the leaves stay above the waterline.
- Ensure the container is in a bright, indirect light location. Too much direct sunlight can scorch the cutting, so choose a spot with just enough light to encourage root growth.
Step 4: Change the Water Regularly
- Change the water every few days to keep it fresh and oxygenated. This is crucial for healthy root development.
- Over time, you’ll notice roots starting to grow from the cut end of the stem. This process usually takes around 2-4 weeks, depending on the rose variety and the environment.
Step 5: Create a Mini Greenhouse (Optional)
- To speed up the rooting process, you can create a mini greenhouse effect around the cutting. Simply cover the jar with a plastic bag or place the cutting in a plastic bottle (cut the bottle in half to create a dome).
- This will help retain moisture and create a humid environment for the cutting to thrive in. Just make sure the bag or bottle doesn’t touch the leaves, as it can lead to rot.
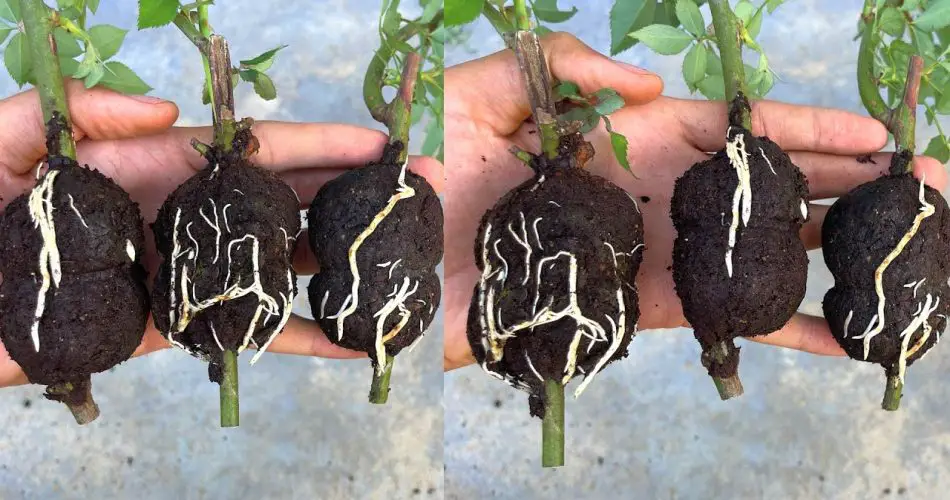
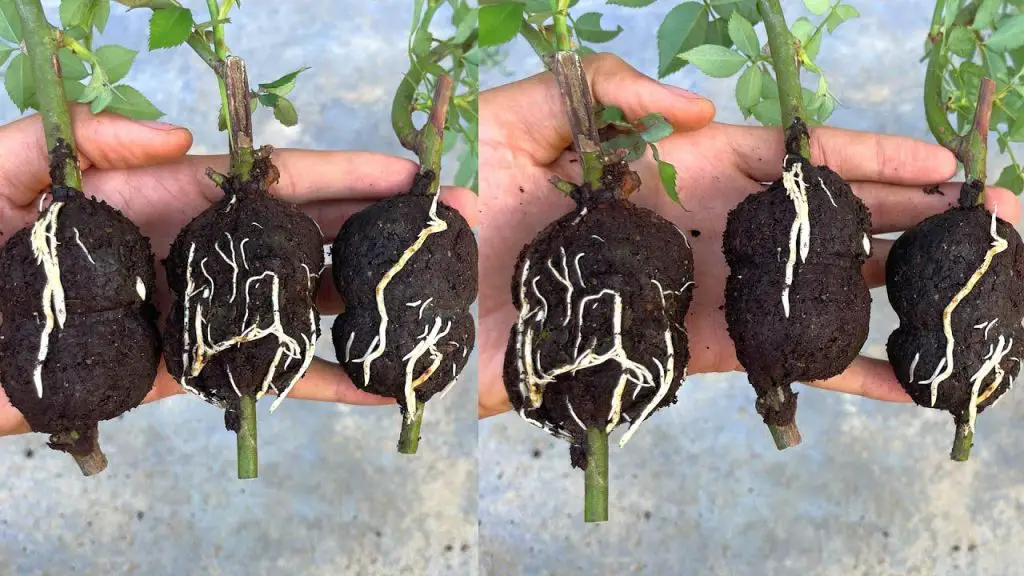
Step 6: Transplanting the Rooted Rose Cutting
- Once the cutting has developed strong roots, it’s time to transplant it into soil.
- Prepare a well-draining pot with rose soil or a general-purpose potting mix. Make a hole in the center of the soil, and carefully plant the cutting, making sure the roots are spread out.
- Gently water the cutting after planting, and place it in a sunny spot to encourage further growth.
Tips for Successful Rose Propagation
- Use Healthy Cuttings: Always choose healthy, disease-free stems for propagation. Avoid using old, woody stems as they are less likely to root.
- Rooting Hormones: If you don’t have cinnamon powder or honey, you can use store-bought rooting hormone. However, cinnamon and honey are great natural alternatives that work just as well and are chemical-free.
- Keep it Moist: If the air is dry, the cutting may not root properly. Use a plastic bag or greenhouse cover to maintain a high humidity level around the cutting.
- Patience: Rose cuttings take time to root, so be patient. Roots can take anywhere from 2 to 4 weeks to develop, but some varieties may take longer.
- Don’t Overwater: While the cutting is rooting in the water, make sure it doesn’t stay submerged for too long, as it can lead to rot. Change the water regularly to keep it fresh and oxygenated.
The Benefits of Propagating Roses
- Cost-effective: Propagating roses from cuttings is a budget-friendly way to grow new plants.
- Share with Others: Once you have a few rooted cuttings, you can share them with friends and family. It’s a great way to spread the beauty of roses!
- Create New Varieties: You can create new rose plants by propagating from your existing collection, allowing you to have more varieties of roses in your garden.
Conclusion
Propagating roses from cuttings is a simple and rewarding process that requires little to no cost. By following these easy tips, you can grow healthy, strong rose plants with extremely many roots and enjoy the beauty of new roses for years to come. So grab a few cuttings, place them in water, and watch your garden bloom!