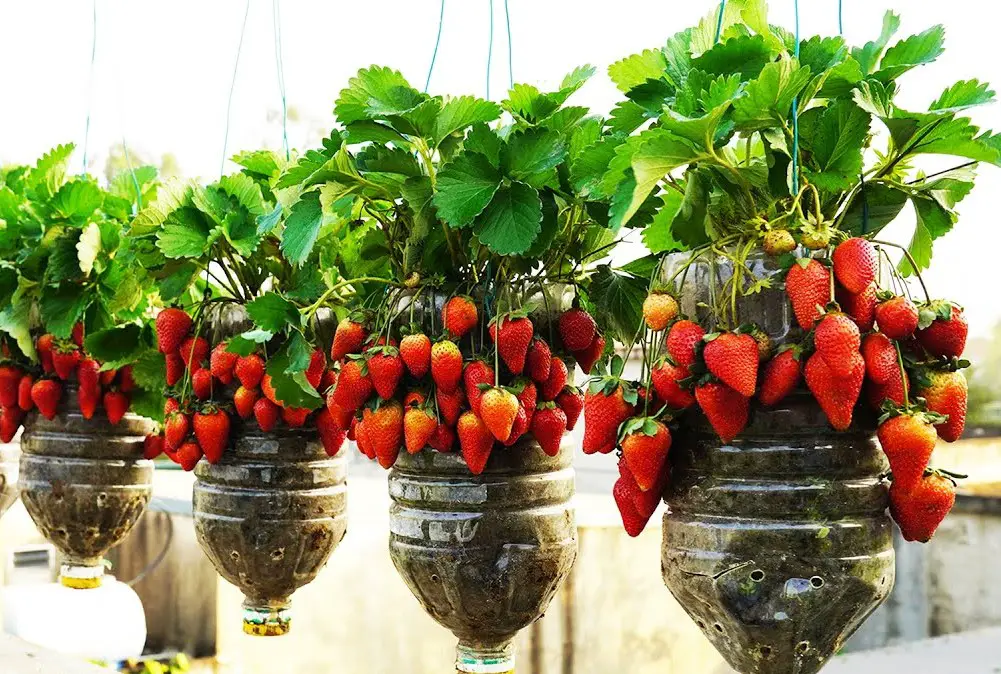
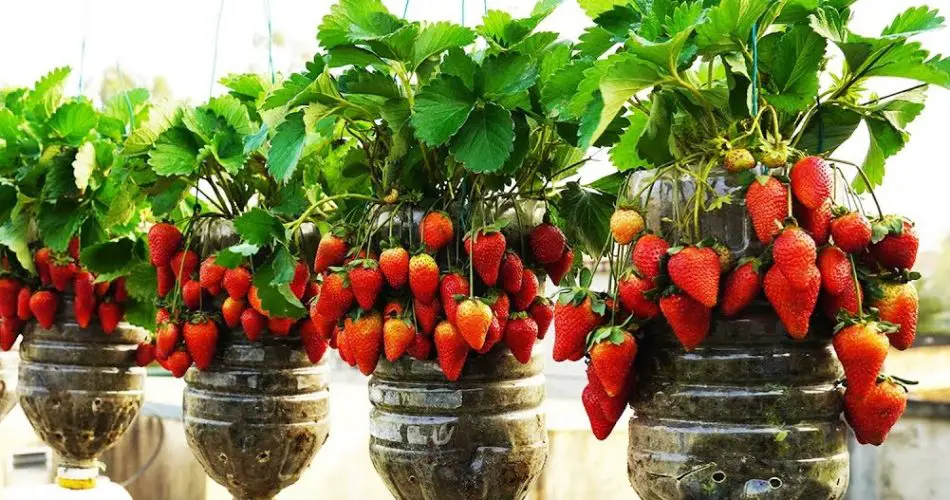
Did you know you can grow strawberries in plastic bottles and still get lots of delicious fruit? Whether you have limited space, a small balcony, or just want a fun DIY gardening project, this method is an easy and effective way to grow fresh, juicy strawberries right at home.
With just a few recycled bottles, nutrient-rich soil, and proper care, you can enjoy a bountiful strawberry harvest without needing a traditional garden!

Why Grow Strawberries in Plastic Bottles?
✔ Space-Saving – Perfect for balconies, patios, or small gardens.
✔ Cost-Effective – Use recycled plastic bottles instead of expensive pots.
✔ Eco-Friendly – Reduce waste while creating a sustainable garden.
✔ High Yield – Get continuous fruit production in a compact setup.
✔ Easy to Maintain – Minimal watering and weeding needed.
💡 Tip: Choose everbearing strawberry varieties for longer harvest periods.
Materials Needed to Grow Strawberries in Plastic Bottles
✅ Large plastic bottles (2L or bigger)
✅ Sharp knife or scissors for cutting the bottles
✅ Rich potting mix with compost or organic fertilizer
✅ Healthy strawberry seedlings
✅ Watering can or small drip irrigation system
✅ Strong support hooks or a vertical rack (for hanging bottles)
💡 Tip: If using multiple bottles, arrange them vertically on a wall or fence to save space.
Step-by-Step Guide to Growing Strawberries in Plastic Bottles
🍓 Step 1: Prepare the Plastic Bottles
- Cut rectangular openings in the sides of the plastic bottles, leaving enough space for the plants to grow.
- Poke small drainage holes at the bottom to prevent waterlogging.
- Keep the bottle cap loosely attached to allow slight drainage without losing too much soil.
🌱 Step 2: Fill with Nutrient-Rich Soil
- Use well-draining potting mix with compost or organic fertilizer.
- Add crushed eggshells to boost calcium and strengthen plant growth.
- Avoid compacting the soil—strawberries need good aeration for root development.
🌞 Step 3: Plant the Strawberry Seedlings
- Place one seedling per bottle opening, ensuring the roots are covered.
- Gently press the soil around the base to hold it in place.
- If hanging bottles vertically, plant on the sides to allow proper growth.
💧 Step 4: Watering and Care
- Water lightly but regularly to keep the soil moist but not soggy.
- Use a drip irrigation system or water from the top, allowing it to trickle down.
- Keep bottles in a sunny location (at least 6-8 hours of sunlight daily).
🪴 Step 5: Support and Maintenance
- Hang or stack the bottles securely on a wall, fence, or balcony railing.
- Regularly remove dead leaves and runners to promote better fruit production.
- Apply organic fertilizer every two weeks for healthy growth.
🍓 Step 6: Harvesting Your Strawberries
- Once berries turn bright red, gently pick them without pulling the stem.
- Harvest frequently to encourage more fruiting.
- Enjoy fresh, homegrown strawberries in your smoothies, desserts, or as a snack!
Tips for a Super Productive Strawberry Bottle Garden
✔ Choose compact, everbearing varieties for continuous fruit production.
✔ Rotate the bottles occasionally for even sunlight exposure.
✔ Mulch with dried leaves or straw to retain moisture and prevent overheating.
✔ Use coffee grounds or banana peels as natural fertilizers.
✔ Keep an eye on pests – Aphids and slugs love strawberries!
Final Thoughts
Growing strawberries in plastic bottles is an easy, fun, and productive way to enjoy fresh fruit at home—even if you don’t have a garden! This eco-friendly, space-saving technique allows you to harvest sweet, juicy strawberries with minimal effort.
🌿 Start your DIY strawberry bottle garden today and enjoy homegrown goodness all year round! 🍓✨


