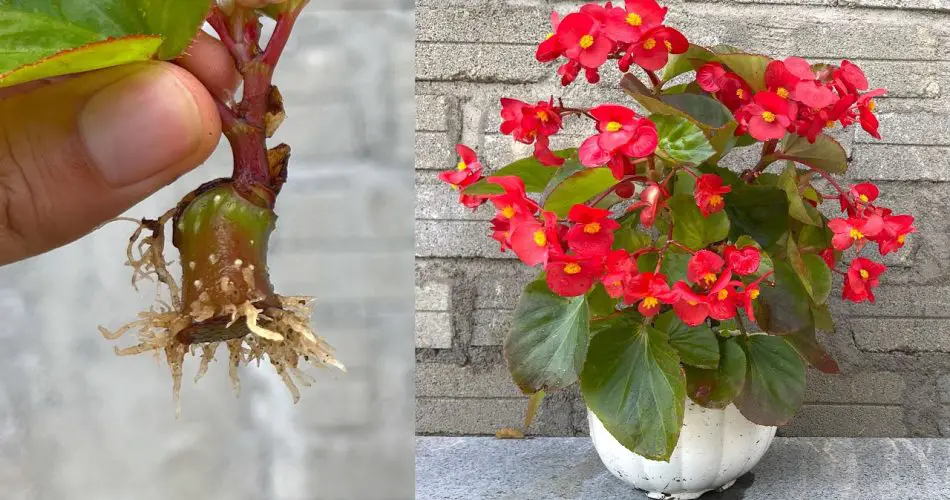
If you’re looking to add a splash of color and beauty to your home, Begonias are an excellent choice. These vibrant flowers are not only easy to care for but can also be easily propagated at home. Whether you’re a seasoned gardener or a beginner, breeding Begonias can be a fun and rewarding experience. In this article, we will walk you through the simple steps to propagate Begonias and grow new plants from your existing ones.
Why Choose Begonias for Your Home?
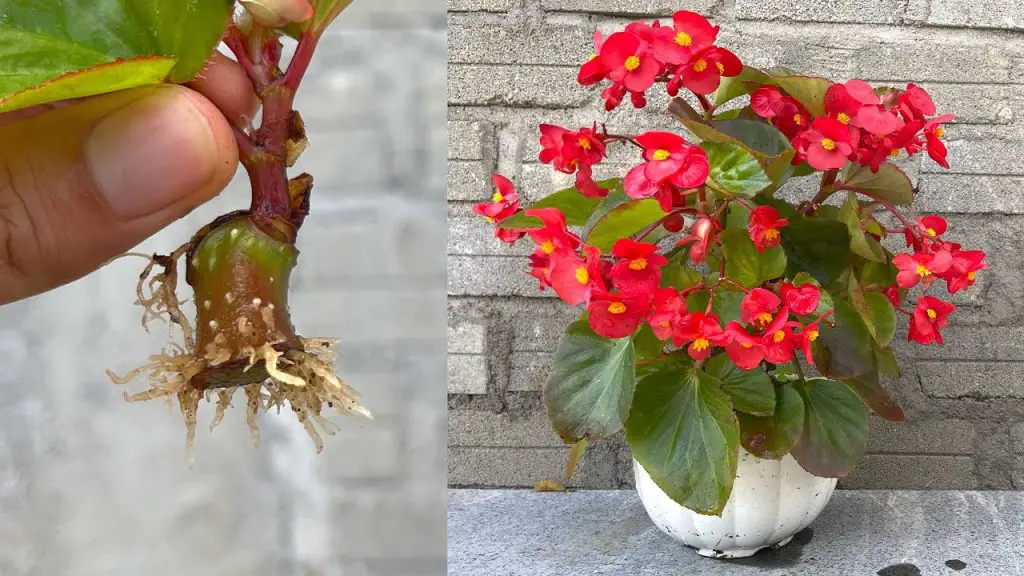
Begonias are beloved for their stunning blooms and easy maintenance. Here are a few reasons why these flowers are ideal for home propagation:
- Variety of colors: Begonias come in an array of vibrant hues, from red, pink, and orange to white, making them perfect for brightening up any room or garden.
- Low-maintenance: They require minimal care and can thrive in various indoor environments.
- Easy to propagate: Growing new Begonias from cuttings or leaves is simple, making them an ideal plant for gardeners of all experience levels.
Step-by-Step Guide to Breeding Begonias at Home
Step 1: Choose the Right Begonia Type
Before you begin, it’s important to know which type of Begonia you want to propagate. The most common types for breeding are:
- Fibrous-rooted Begonias: Known for their compact growth and vibrant flowers.
- Tuberous Begonias: These have larger blooms and tend to bloom during the colder months.
- Rhizomatous Begonias: They have attractive leaves and smaller flowers.
Make sure to choose a healthy Begonia plant to take your cuttings from, as this will increase the chances of successful propagation.
Step 2: Take the Cutting
To propagate your Begonias, the most common method is to take a cutting. Here’s how to do it:
- Select a healthy leaf: Choose a mature, healthy leaf with no spots or damage. If you’re propagating leaf cuttings, select a leaf that is firm and not too old.
- Use a sharp knife or scissors: Cut the leaf or stem at the base, ensuring a clean, angled cut. If you are using a stem cutting, make sure it’s at least 2-3 inches long.
- Remove excess leaves: Trim off the excess leaves from the cutting, leaving just a few to allow for proper growth.
Step 3: Rooting the Cutting
Now that you have your Begonia cutting, it’s time to root it. There are a couple of ways to do this:
- In Water: Place the cutting in a jar of water, ensuring that only the stem or base of the leaf is submerged. Change the water every few days to keep it clean. After 1-2 weeks, roots should begin to form.
- In Soil: Alternatively, you can place the cutting directly into a pot filled with well-draining soil. Gently press the cutting into the soil and water it lightly. Keep the soil moist but not soggy.
To enhance rooting, you can cover the cutting with a clear plastic bag or use a plastic dome to maintain humidity. This will help create a mini greenhouse effect.
Step 4: Transplanting Your Begonias
Once the cutting has developed a strong root system (usually within 2-4 weeks), it’s time to transplant it into a larger pot with fresh soil. Choose a well-draining soil mix that is specifically designed for Begonias. Gently remove the rooted cutting from its water or soil container and place it in the new pot.
Make sure the new pot has drainage holes to prevent water from accumulating at the bottom, as Begonias do not like to sit in water.
Step 5: Care for Your New Begonia Plant
Now that your Begonia is in its new home, you’ll need to care for it properly to ensure it thrives:
- Watering: Keep the soil moist but not soggy. Water the plant when the top of the soil feels dry to the touch.
- Light: Begonias thrive in bright, indirect light. Place them near a window with filtered sunlight or under a grow light if indoors.
- Temperature: Keep the plant in a warm, humid environment. Begonias prefer temperatures between 60-75°F (15-24°C).
- Fertilization: Feed your new Begonia with a balanced fertilizer every 2-4 weeks during the growing season to promote healthy growth.
Additional Tips for Breeding Begonias
- Stem vs. Leaf Cuttings: While leaf cuttings are a popular method, you can also propagate Begonias from stems if they have a strong, healthy base. Make sure to cut just below a node (the area where leaves attach to the stem).
- Humidity: Begonias love high humidity. To increase humidity around the plant, you can place a humidifier nearby or mist the leaves regularly with water.
- Pests: Keep an eye out for pests such as aphids or mealybugs, which can damage your plants. If you spot any, remove them by gently wiping the leaves with a damp cloth or using an insecticidal soap.
Conclusion: Breeding Begonias at Home Made Easy
Propagating Begonias at home is a fun and rewarding way to grow new plants and fill your garden or home with colorful blooms. By following these simple steps—selecting the right cutting, rooting the cutting, and caring for the new plant—you’ll be able to enjoy a continuous supply of beautiful Begonias all year long.
Whether you’re an experienced gardener or just starting out, breeding Begonias is an easy and fulfilling process that will bring beauty and joy to your home. Happy planting!