Growing plants with abundant roots can be an exciting and rewarding process, especially when using a simple and natural method—water propagation. This technique allows you to root cuttings from various plants without needing soil, and it’s an ideal way to create multiple plants or propagate your favorites. In this guide, we’ll show you how to successfully extract plants with water propagation, ensuring your plants grow healthy roots and thrive.
Why Use Water for Rooting Plants?
Water propagation is one of the easiest and most effective methods for growing plants from cuttings. The process involves placing a cutting from a parent plant into water, where it will develop roots over time. Some of the key benefits of using water for plant propagation include:
- No need for soil: Perfect for people without access to a garden or who prefer indoor propagation.
- Clear visibility: You can see the roots developing, allowing you to monitor progress.
- Simple and low-cost: Just water and a container are all you need to get started.
Water propagation is ideal for houseplants, herbs, and indoor plants. Plus, it’s incredibly easy to do, even for beginners!
What Plants Can You Propagate in Water?
Many plants can be propagated in water, but here are some of the most popular ones:
- Pothos
- Philodendrons
- English Ivy
- Spider plants
- Coleus
- Sweet potatoes
- Herbs (like mint, basil, rosemary)
These plants readily form roots when placed in water, making them perfect candidates for this method. However, it’s important to note that not all plants are suited for water propagation, so always do some research before trying.
How to Extract Plants with Water and Grow Healthy Roots
Follow these simple steps to extract and propagate plants with water for a robust root system:
Step 1: Select Healthy Cuttings
Choose a healthy plant from which to take a cutting. You want to select a stem or branch that is disease-free, healthy, and robust. Here’s how to do it:
- Cut below a node: The node is where leaves or roots grow, and it’s crucial for successful propagation. Use a clean, sharp pair of scissors or pruning shears to make a clean cut just below the node.
- Cut length: For most plants, cuttings between 4-6 inches long are ideal. Make sure the cutting has at least one or two nodes.
Step 2: Remove Excess Leaves
If there are any leaves that would sit below the waterline, gently remove them. This step helps prevent the leaves from rotting in the water, which could cause bacteria or mold growth.
Step 3: Place Cuttings in Water
Put your cuttings into a container filled with clean water. Ensure the node(s) are submerged but the rest of the cutting is above the waterline. A glass jar, mason jar, or small vase works great for this purpose. Here are a few tips for success:
- Water level: Make sure the water covers the nodes where the roots will grow.
- Change the water regularly: Change the water every few days to keep it fresh and prevent stagnation, which can lead to root rot.
- Sunlight: Place your cuttings in a spot with bright, indirect sunlight. Direct sun can harm the cutting, so opt for a bright windowsill or counter.
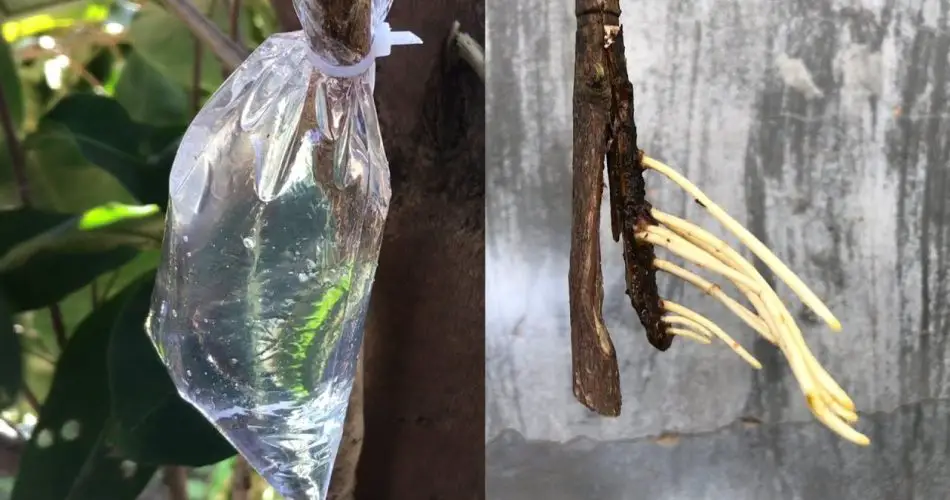
Step 4: Wait for Roots to Grow
Patience is key when propagating in water. In about 2-4 weeks, you should start to see roots growing from the submerged nodes. Some plants may take longer, while others root faster. The water provides the nutrients the cutting needs to form strong roots and establish itself.
Step 5: Transplant When Roots Are Established
Once the roots are several inches long (typically 1-2 inches), it’s time to transplant your cutting into soil. At this point, the plant is ready to grow in its new home, where it can flourish. Be sure to choose a well-draining potting mix and a container with drainage holes.
Tips for Successful Water Propagation
- Use filtered or distilled water to avoid chemicals and impurities that could harm the plant.
- Keep an eye on the temperature: Avoid placing your water propagation setup in areas with extreme temperatures or drafts.
- Consider supporting the cutting with a small stake if the stem is too weak to stay upright in the water.
- If your cutting does not root after several weeks, try re-cutting the stem and starting fresh. Sometimes the initial cutting may not be viable.
Signs Your Cutting Is Ready to Transplant
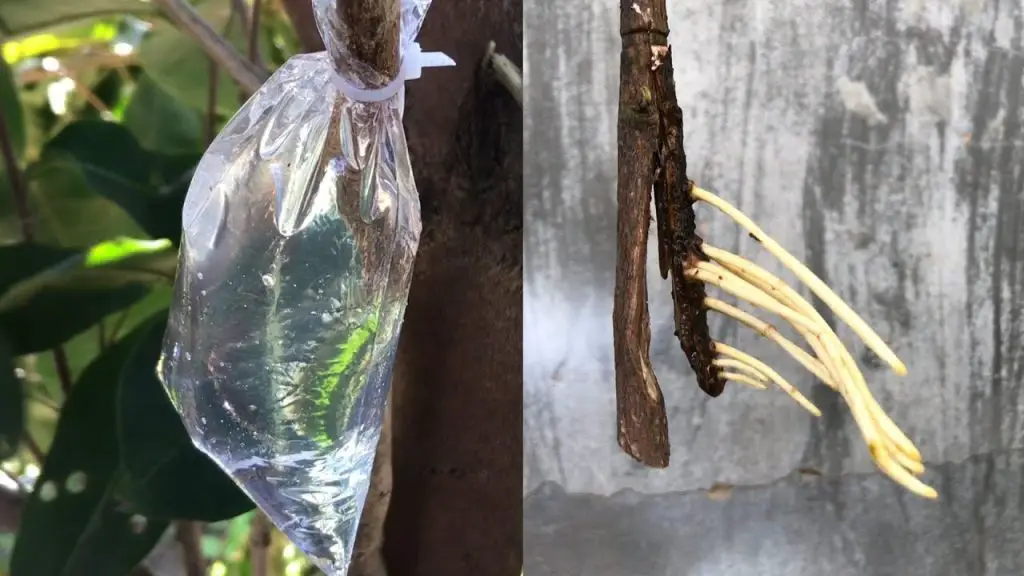
When your cutting has developed strong, healthy roots, it’s time to transplant it into soil. Signs that your cutting is ready include:
- Roots are at least 1-2 inches long.
- Roots appear white or light-colored (dark roots may indicate rot).
- The plant begins to grow new leaves or show signs of new growth.
Common Mistakes to Avoid
While water propagation is simple, there are a few common mistakes to avoid to ensure the best results:
- Using dirty containers or tools: Always clean your tools and containers to prevent bacterial contamination.
- Not changing the water often enough: Stale water can encourage mold or algae growth. Change the water at least once a week.
- Submerging too many leaves: Ensure the leaves do not touch the water to prevent rotting.
- Too much sunlight: While cuttings need light, direct sunlight can scorch them. Opt for indirect sunlight instead.
Benefits of Growing Plants with Water Propagation
- Simple and cost-effective: No need to buy rooting hormones or fancy equipment.
- Clear monitoring: You can see the roots develop, ensuring healthy propagation.
- Multiple plants from a single cutting: This method is perfect for creating multiple new plants from just one parent plant.
Conclusion
Water propagation is an incredibly simple and effective method for extracting and growing plants with abundant roots. By following the steps outlined in this guide, you can grow new plants without needing soil. With a little patience and care, you’ll soon have a thriving collection of plants, all started from the comfort of your own home.
Now that you know how to extract plants with water and grow roots easily, why not give it a try? Watch as your cuttings develop into full-grown, healthy plants!


