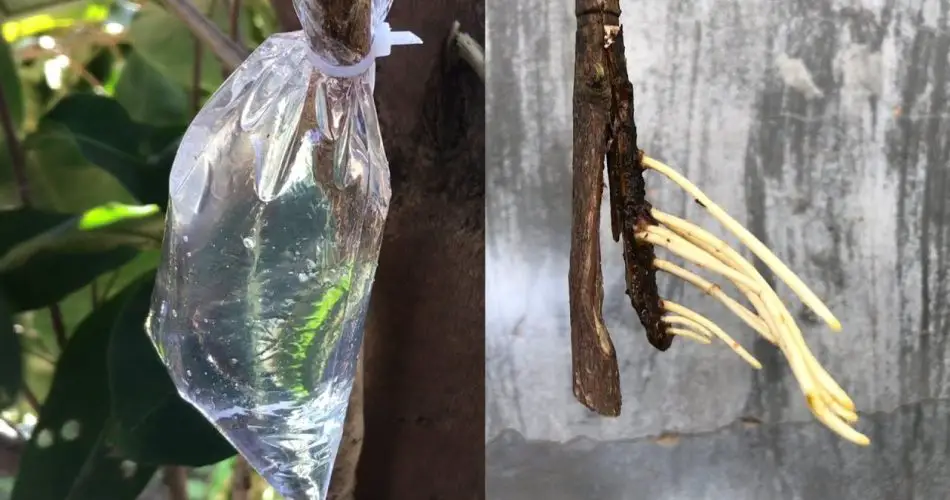
Transplanting plants can be a delicate process, especially when you want to ensure that you preserve their roots and encourage healthy growth in their new environment. One effective method for extracting plants is using the water-in-a-plastic-bag technique. This method not only helps to keep the roots moist but also makes the transplanting process smoother. Here’s a step-by-step guide on how to do it effectively.
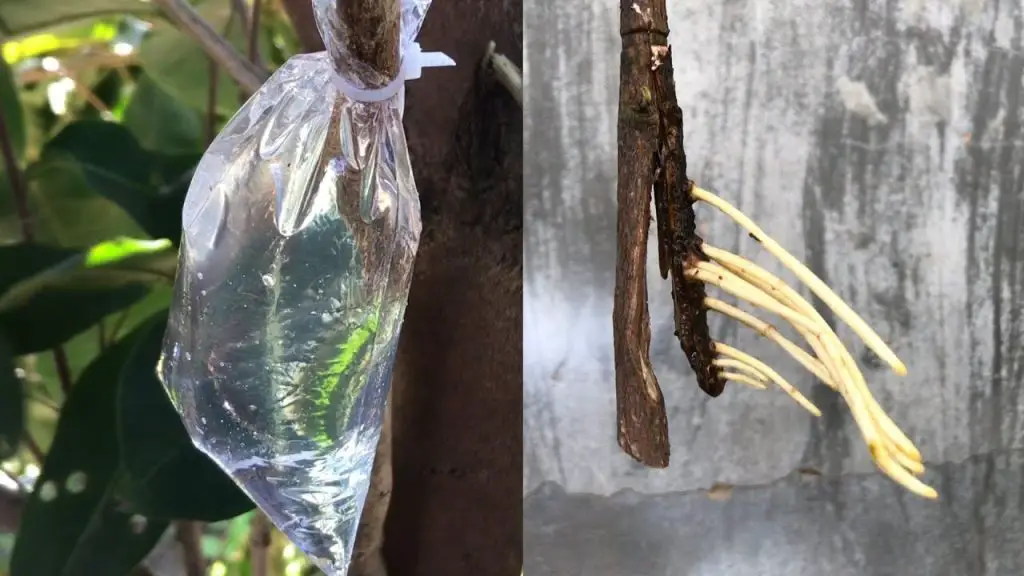
Why Use the Water-in-a-Plastic-Bag Method?
Using a plastic bag filled with water for extracting plants offers several benefits:
- Moisture Retention: Keeping the roots submerged in water prevents them from drying out during the extraction process.
- Reduced Shock: This method minimizes transplant shock by providing a continuous supply of water and nutrients to the plant while it is being moved.
- Healthier Roots: Ensuring that the roots remain in a moist environment helps maintain their health and encourages new root growth.
Materials Needed
Before you begin, gather the following materials:
- Plastic bag (preferably a sturdy resealable bag)
- Water (enough to cover the roots)
- Trowel or spade (for digging up the plant)
- Scissors (if needed for cutting roots)
- New pot or planting location (for transplanting)
Step-by-Step Guide to Extracting Plants
1. Prepare Your Plastic Bag
- Choose the Right Size: Select a plastic bag that is large enough to hold the plant roots comfortably without crowding. A gallon-sized bag works well for most small to medium plants.
- Fill with Water: Fill the plastic bag with clean water, leaving enough space for the roots.
2. Water the Plant
- Hydrate Before Extraction: A few hours before extraction, water the plant thoroughly to ensure that it is well-hydrated. This helps reduce stress on the plant during the extraction process.
3. Dig Up the Plant
- Loosen the Soil: Use a trowel or spade to carefully dig around the base of the plant. Start about 6-12 inches away from the stem to avoid damaging the roots.
- Lift Gently: Once you have loosened the soil, gently lift the plant out of the ground, keeping as much of the root ball intact as possible.
4. Place Roots in the Plastic Bag
- Submerge the Roots: Carefully place the plant’s roots into the plastic bag filled with water. Ensure that the roots are fully submerged to keep them moist.
- Seal the Bag: Gently squeeze out any excess air from the bag and seal it. This will help maintain humidity and keep the roots hydrated.
5. Transplant the Plant
- Prepare New Location: While the plant is in the bag, prepare the new pot or planting location by adding fresh potting soil or enriching the soil with compost.
- Transfer to New Location: Once you’re ready, open the bag and gently remove the plant. Place it in the new pot or planting hole, ensuring that the roots are spread out and not cramped.
6. Water After Transplanting
- Give it a Drink: After placing the plant in its new home, water it well to help settle the soil around the roots and eliminate any air pockets. This is crucial for the plant’s recovery and root establishment.
Conclusion
Using the water-in-a-plastic-bag method for extracting plants is an effective way to ensure that your plants thrive during and after the transplanting process. By following these steps, you can successfully move your plants with very much roots intact, minimizing stress and promoting healthy growth in their new environment. Embrace this technique for your next planting project, and watch your plants flourish!