Bougainvillea glabra, known for its vibrant and colorful bracts, is a stunning plant that can brighten up any garden. One of the most exciting ways to enhance the beauty of this flowering plant is by grafting it. Grafting allows you to create a Bougainvillea with multiple colors, adding more visual appeal and variety to your garden. In this article, we’ll explore how to graft Bougainvillea glabra to produce a beautiful plant with several colors of flowers, step by step.
1. Why Graft Bougainvillea Glabra?
Grafting is a technique used to combine two plants into one. By grafting Bougainvillea glabra, you can achieve a multicolored flowering effect by combining different color varieties on a single plant. Some of the benefits of grafting Bougainvillea include:
- Multiple colors: Grafting allows you to have various flower colors on one plant, such as purple, pink, white, or red blooms.
- Better disease resistance: The rootstock (the plant onto which the scion is grafted) can offer greater resistance to disease and pests.
- Faster growth: The grafted plant may grow faster and flower more abundantly than a single-variety plant.
Grafting can be a rewarding technique if done correctly, resulting in a striking plant with an array of colors in its flowers.
2. Choosing the Right Bougainvillea Varieties for Grafting
Before you begin grafting, it’s essential to choose the right varieties of Bougainvillea glabra to graft. You’ll need two plants:
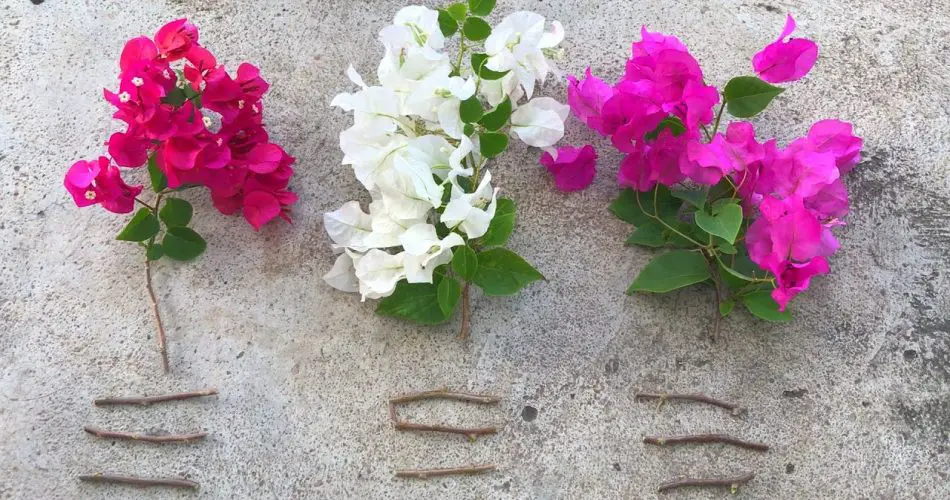
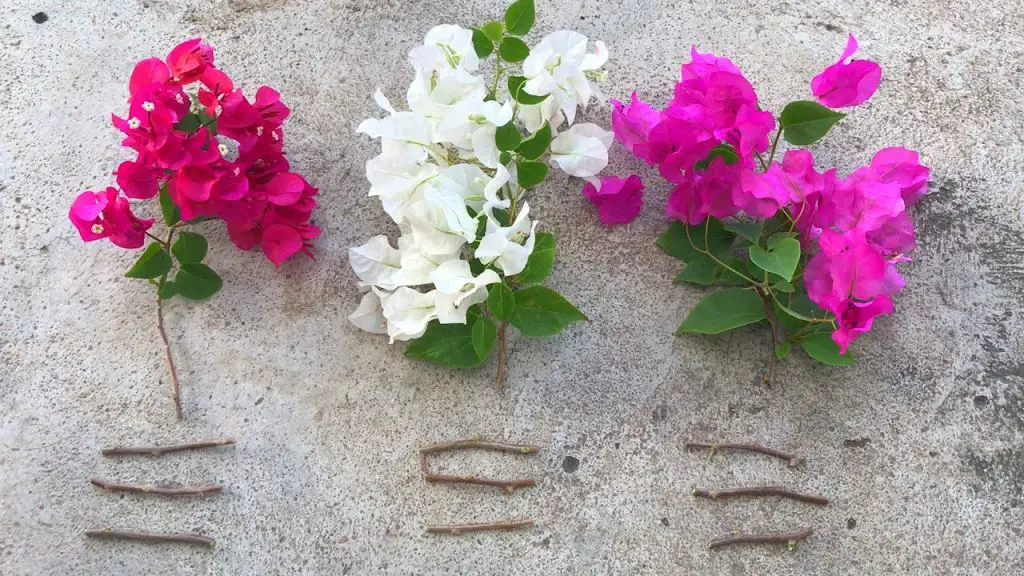
- Scion: This is the part of the plant that will grow into the desired flower color. Choose healthy, young branches with well-developed flower buds. For example, if you want a plant with red and purple flowers, use a red Bougainvillea as your scion and a purple Bougainvillea for the rootstock.
- Rootstock: This is the base plant that will support the scion. Choose a strong, healthy Bougainvillea glabra rootstock with a robust root system to ensure that your graft takes successfully.
The key to success lies in ensuring both the scion and rootstock are compatible, meaning they belong to the same species and are of similar thickness.
3. Materials You Will Need for Grafting
Here’s a list of the basic materials you’ll need for grafting:
- Sharp knife or pruning shears: For cutting the scion and rootstock cleanly.
- Grafting tape or grafting rubber: To hold the scion and rootstock together while they heal.
- Grafting wax or grafting compound: To seal the graft and prevent infection.
- Rubbing alcohol: To sterilize your tools and prevent the spread of disease.
4. Step-by-Step Guide to Grafting Bougainvillea Glabra
Step 1: Prepare the Rootstock
Start by selecting a healthy Bougainvillea glabra plant for the rootstock. Cut the plant down to the desired height, leaving a smooth, clean surface where you’ll graft the scion.
- Sterilize your tools with rubbing alcohol to avoid contaminating the plant.
- Cut the top of the rootstock at an angle, creating a clean, flat surface for the scion to attach to.
Step 2: Prepare the Scion
Next, prepare the scion, the branch that will provide the flowers in the colors you desire.
- Choose a healthy, young, non-flowering shoot from a Bougainvillea of your desired color.
- Make a clean diagonal cut at the base of the scion, ensuring it fits snugly onto the rootstock.
- The cut on the scion should match the cut on the rootstock to maximize the chances of the graft taking.
Step 3: Graft the Scion onto the Rootstock
Now that both the rootstock and scion are prepared, it’s time to perform the graft.
- Align the cuts: Place the scion onto the rootstock so that the cut surfaces align perfectly. This ensures that the vascular tissues of both plants come into contact, allowing for the exchange of water and nutrients.
- Secure the graft: Use grafting tape or grafting rubber to hold the scion in place. Wrap the tape tightly around the graft union to keep the scion and rootstock in contact while they heal.
- Seal the graft: Apply grafting wax or a grafting compound to the graft union to seal it. This will help protect the graft from infections and pests while it heals.
Step 4: Care for the Grafted Plant
After grafting, the plant will need special care to ensure the graft heals properly.
- Place the grafted plant in a warm, shaded area with indirect sunlight. This reduces stress on the graft and allows it to establish itself.
- Water the plant gently, ensuring the soil stays slightly moist but not soggy. Overwatering can cause rot, especially around the graft.
- Check the graft regularly to make sure it’s healing properly. If the graft is successful, you’ll begin to see new growth from the scion in a few weeks.
Step 5: Remove Grafting Tape and Monitor Growth
Once the graft has healed and you notice new growth from the scion, you can begin to carefully remove the grafting tape. Be gentle to avoid damaging the graft.
- If you notice any weak growth or struggling grafts, you can rewrap the graft to help it heal further.
- As the plant matures, the grafted sections should develop into a beautiful, multicolored Bougainvillea glabra, showcasing a mix of flower colors.
5. Tips for Successful Bougainvillea Grafting
- Timing: The best time to graft Bougainvillea is during the warm months when the plant is actively growing. This ensures that the graft has the best chance of healing.
- Proper cleaning: Keep your tools clean and sterilized to reduce the risk of infection or disease.
- Avoid stress: After grafting, minimize the stress on the plant by providing it with a stable environment, including moderate temperatures and humidity.
6. Conclusion
Grafting Bougainvillea glabra with multiple colors is a fun and creative way to enhance the beauty of your garden. By following the proper steps and using the right techniques, you can enjoy a stunning plant with various colors blooming from a single stem. Whether you’re a beginner or experienced gardener, grafting offers a unique opportunity to experiment and expand your garden’s color palette. Give it a try and see how easy it is to create a multicolored Bougainvillea that will stand out as the highlight of your outdoor space!


