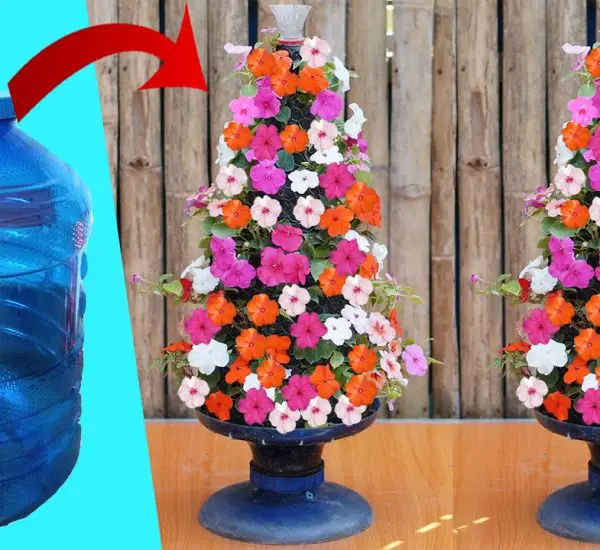
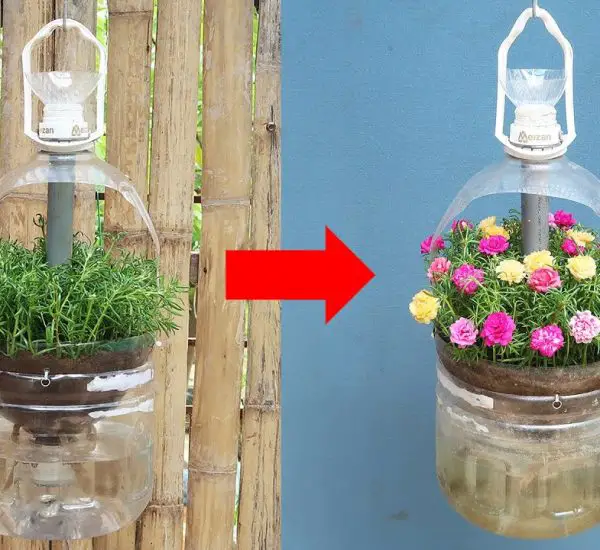
Orchids are one of the most beautiful and delicate flowers, loved for their stunning blooms and exotic appearance. However, orchids can be a bit tricky to grow, and they require the right environment, especially when it comes to the pot they are planted in. While traditional orchid pots are often specialized and expensive, there is an easy, eco-friendly solution using plastic bottles. In this guide, we’ll show you how to make your own orchid pots from recycled plastic bottles, giving your plants the perfect environment while helping the planet!

Why Use Plastic Bottles for Orchid Pots?
Before diving into the DIY process, let’s discuss why plastic bottles make great orchid pots:
- Cost-Effective: Plastic bottles are widely available and cost nothing if you already have them at home. This makes them a budget-friendly alternative to expensive orchid pots.
- Eco-Friendly: Recycling plastic bottles helps reduce waste and is a sustainable way to use what would otherwise end up in a landfill.
- Breathability: Orchids thrive in pots with good airflow and drainage, and with a little creativity, plastic bottles can be modified to provide these conditions.
- Customizable: You can cut and design plastic bottles to create a pot that perfectly suits your orchid’s needs, whether it’s for vandas, phalaenopsis, or any other variety.
Now that you know the benefits of using plastic bottles, let’s explore how to make your own orchid pots.
Materials You Will Need:
- Plastic bottles (2-liter soda bottles or similar work well)
- Scissors or a utility knife
- Drill or a sharp object (for creating holes)
- Potting mix for orchids (specifically designed for orchids)
- Small rocks or gravel (optional for extra drainage)
- Decorative elements (optional, such as paint, ribbons, or fabric for a customized look)
Step-by-Step Guide: How to Make Orchid Pots from Plastic Bottles
Step 1: Prepare the Plastic Bottle
Start by cleaning the plastic bottle thoroughly. Remove the cap and label. Make sure the bottle is free of any residue or dirt. Once clean, you are ready to begin transforming it into an orchid pot!
Step 2: Cut the Bottle to Size
- Using your scissors or a utility knife, carefully cut the plastic bottle in half. You can also choose to cut it into a third if you prefer a shallower pot.
- Tip: You want to make sure that the top portion of the bottle will serve as the container, while the bottom part will function as a tray to catch excess water. Keep the top portion slightly taller to ensure your orchid has enough space for its roots.
Step 3: Create Drainage Holes
Orchids need excellent drainage to prevent root rot, so it’s crucial to create plenty of holes in the bottom of your plastic bottle.
- Use a drill or a sharp object to create several small holes at the bottom and around the sides of the pot.
- Tip: The more drainage holes, the better. Orchids prefer their roots to be dry between waterings, so good drainage ensures the roots don’t sit in water, which could lead to root rot.
Step 4: Add a Layer of Gravel or Small Rocks
To promote even better drainage and prevent the potting mix from clogging the holes, add a layer of gravel or small rocks to the bottom of the pot. This layer helps excess water flow out of the pot and provides a sturdy base for the orchid’s roots.
Step 5: Fill with Orchid Potting Mix
Now it’s time to fill your plastic bottle pot with potting mix designed specifically for orchids. Orchid mixes are typically more aerated and coarse compared to regular soil, and they allow for proper root health.
- Fill the bottle with enough mix to accommodate the roots of your orchid.
- Make a small hole in the center where you can insert your orchid’s root system. Place the orchid carefully into the pot, ensuring the roots are spread out comfortably.
Step 6: Secure the Orchid
Once your orchid is planted, you may need to support it with a stake or twist tie until it becomes more stable. You can insert a small wooden stick or bamboo stake into the pot, gently tying the orchid’s stem to it for added support as it grows.
Step 7: Final Touches and Decoration
If you want your orchid pot to look more stylish, feel free to decorate the outside of the bottle. You can paint the bottle with waterproof paint, wrap it in fabric, or even cover it with decorative tape or ribbons for a more elegant look. This gives your recycled orchid pot a more polished appearance that will complement your home décor.
Care Tips for Orchids in Plastic Bottle Pots
After creating your plastic bottle orchid pots, here are some care tips to help your orchids thrive:
- Watering: Be sure to water your orchid regularly, but allow the water to drain completely before adding more. Orchids should never sit in standing water, as it can cause root rot.
- Light: Orchids need bright, indirect light. Place your orchid pot in a spot where it can receive the right amount of light.
- Humidity: Orchids love humidity, so consider placing your orchid pot on a humidity tray or misting the air around it regularly.
- Repotting: Orchids generally need to be repotted every couple of years. When this happens, simply remove the orchid, refresh the potting mix, and replant it in the same plastic bottle pot or a new one.
Benefits of Using Plastic Bottles for Orchid Pots
- Sustainable and Eco-Friendly: Repurposing plastic bottles helps reduce waste and gives new life to materials that would otherwise end up in a landfill.
- Customizable: Plastic bottles can be easily cut and shaped to fit the needs of your orchid, allowing for more flexible growing conditions.
- Affordable: This DIY orchid potting method is incredibly inexpensive and perfect for gardeners on a budget.
- Drainage: Plastic bottles can be easily modified to ensure excellent drainage, an essential factor in orchid care.
Conclusion
Creating orchid pots from plastic bottles is a simple, cost-effective, and eco-friendly way to grow your beautiful orchids at home. By following this DIY process, you can create a perfect environment for your orchids to thrive, all while recycling and repurposing materials. With a little creativity and care, your orchids will flourish and reward you with stunning blooms. 🌸


