Mini roses are a delightful addition to any garden or home décor, offering vibrant colors and a compact size. If you’re looking to create stunning pots for your mini roses, transplanting them into a new container is the key to their success. In this guide, we’ll show you how to pair mini roses into super beautiful pots and ensure their health and longevity through the process of rose transplanting.

Step 1: Select the Right Pot
The first step in creating a beautiful display for your mini roses is choosing the perfect pot. Ideally, the pot should be made of well-draining material like terracotta or ceramic. A pot with drainage holes is essential to prevent waterlogging, which can lead to root rot. Make sure the pot is large enough to allow the roots to spread but not so large that the soil stays too wet for too long.
Step 2: Choose the Right Soil
When transplanting mini roses, using the right soil is crucial for their growth. Well-draining, nutrient-rich soil is the best option for mini roses. You can buy specialized rose soil or create your own mix by combining potting soil with sand and organic compost to improve aeration and water retention. Ensure the soil is slightly acidic to neutral, as roses thrive in such conditions.
Step 3: Preparing the Mini Roses for Transplant
Before transplanting, gently remove the mini roses from their current pots. Lightly shake off any excess soil and inspect the roots. Trim any damaged or dead roots to encourage healthy growth. If you notice the roses are root-bound (where the roots have outgrown their current pot), gently loosen the roots with your fingers or a small tool. This step will help the rose establish itself in its new pot.
Step 4: Transplanting the Mini Roses
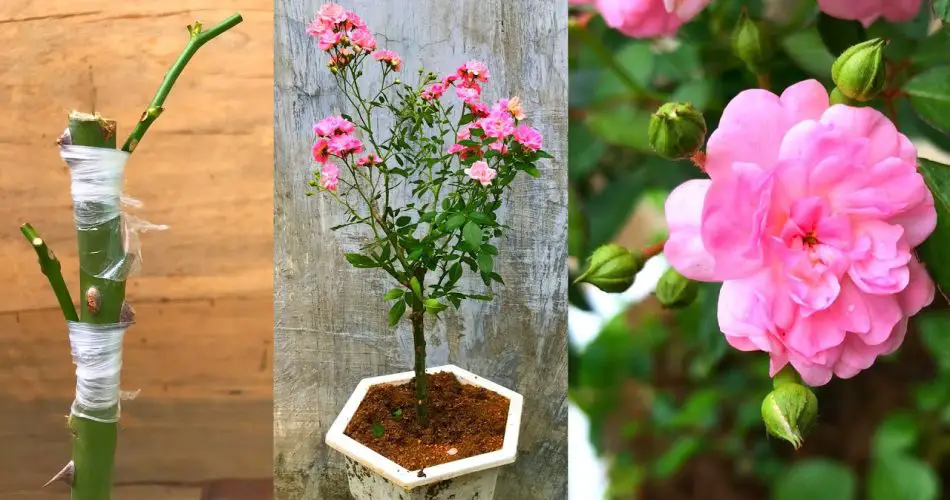
Now that your pot and soil are ready, it’s time to transplant the mini roses. Start by placing a layer of soil at the bottom of the pot. Position the mini rose in the center and fill the sides with soil, ensuring that the root ball is level with the top of the pot. Avoid burying the rose too deeply, as this can stunt growth. Gently press down on the soil to eliminate air pockets and water the plant generously after planting.
Step 5: Pairing Roses for a Beautiful Display
To create a stunning display, consider pairing different mini rose varieties together in a single pot. Choose complementary colors and forms that will enhance each other’s beauty. For example, pair a deep red mini rose with soft pink or white roses for a lovely contrast. You can also mix mini roses with other plants like succulents, lavender, or violets to add variety and texture to the arrangement. Just ensure the plants have similar care needs, such as light and water requirements.
Step 6: Providing Proper Care Post-Transplant
After transplanting your mini roses into their new pot, it’s important to provide proper care to help them thrive. Place the pot in a location with plenty of indirect sunlight, as roses typically require 4–6 hours of sunlight daily. Keep the soil consistently moist but not soggy, and make sure to water at the base of the plant to avoid wetting the leaves, which can lead to disease.
Additionally, fertilize the roses regularly using a balanced, water-soluble fertilizer to encourage robust growth and abundant blooms. Deadheading spent flowers will also encourage new growth and prolong the blooming period.
Step 7: Maintaining the Beauty of Your Mini Rose Pots
As the mini roses grow, continue to monitor their health. Prune any dead or diseased stems and remove any leaves that appear yellow or damaged. If your pot is overcrowded, consider repotting the roses into a larger container or dividing the plants to give them more space. Regularly check for pests, such as aphids or spider mites, and treat them promptly with organic pest control methods if necessary.
By following these simple steps, you can successfully pair mini roses into super beautiful pots that will not only enhance your home décor but also provide you with long-lasting, vibrant blooms. With the right care and attention, your mini roses will flourish in their new containers and become a stunning focal point in any space.


