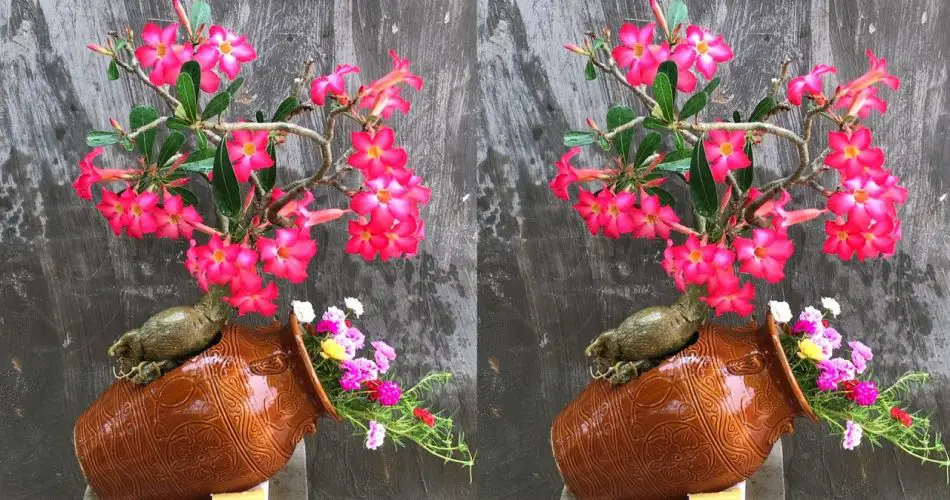
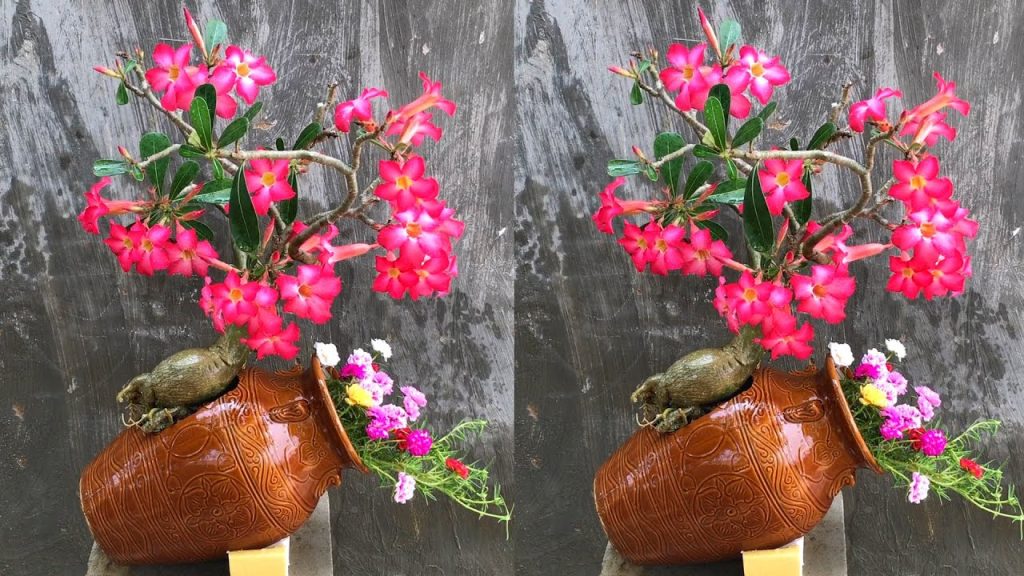
Instead of discarding your old, unused vases, why not recycle them into stunning flower pots? Not only is this an environmentally-friendly choice, but it also adds a personalized touch to your home decor. With just a few simple steps, you can turn any vase into a gorgeous pot for your favorite plants. In this article, we’ll guide you through the process of transforming your vase into a beautiful flower pot that will showcase your plants in style.
Why Recycle a Vase into a Flower Pot?
Recycling an old vase into a flower pot has several benefits:
- Eco-friendly: You’re reusing an item that would otherwise be thrown away.
- Cost-effective: It saves you from purchasing new flower pots.
- Unique: You can customize the pot to match your personal style and create a one-of-a-kind piece for your garden or home.
- Creative outlet: This project gives you a chance to express your creativity and try out different design ideas.
What You’ll Need
Before starting, gather the following materials:
- Old vase: Any shape or size of vase can work, but one with a wide opening is ideal for larger plants.
- Drill: To create drainage holes (important for plant health).
- Pebbles or small stones: For the drainage layer.
- Potting soil: To fill the vase.
- Plants or flowers: Choose plants that fit the size of your vase.
- Paint or decorative materials (optional): To add some flair to your new flower pot.
- Sponge or cloth: To clean the vase.
Step-by-Step Guide to Recycle a Vase into a Flower Pot
1. Clean the Vase
Start by thoroughly cleaning the vase. Wash it with warm, soapy water to remove any dust, dirt, or old floral remnants. A sponge or cloth can help reach those hard-to-clean areas. Once clean, dry the vase completely before moving on to the next step.
2. Add Drainage Holes
Proper drainage is essential for the health of your plants, as it prevents root rot. If your vase doesn’t have drainage holes, you’ll need to create them:
- Use a drill with a small drill bit to carefully create 1-3 holes at the bottom of the vase. Be sure to drill slowly and steadily to avoid cracking the glass or ceramic.
- If your vase is made of fragile material (like glass), consider using a diamond-tipped drill bit for precision.
3. Create a Drainage Layer
To help water drain effectively, add a layer of pebbles or small stones to the bottom of the vase. This will provide a space for excess water to collect, preventing your plant’s roots from sitting in stagnant water.
4. Add Potting Soil
Now it’s time to fill the vase with potting soil. Make sure to leave some space at the top for the plant. You want the soil level to be just below the lip of the vase. If you’re planting a larger plant, choose a soil that retains moisture but also drains well to promote healthy root growth.
5. Plant Your Flowers or Plants
Carefully place your plant into the vase, gently spreading the roots if necessary. Fill the surrounding space with more potting soil, ensuring the plant is stable. Lightly press the soil down to remove any air pockets, but don’t compact it too much.
- If you’re planting succulents or cacti, choose a well-draining soil mix.
- For flowering plants, select a fertilized potting mix to encourage healthy blooms.
6. Decorate Your Flower Pot (Optional)
To make your flower pot even more unique, you can decorate the vase:
- Paint: Use acrylic paint to customize the vase’s color. You can create a pattern or simply paint it a solid color to match your decor.
- Decorative Materials: Wrap twine or ribbon around the neck of the vase, or use mosaic tiles or stones to add texture and visual interest.
- Glitter or Decals: For a fun touch, you can add glitter or stick-on decals to make your flower pot stand out.
7. Water and Care for Your Plant
After transplanting the plant into your newly recycled flower pot, be sure to water it thoroughly. Ensure the soil is moist but not soggy. Keep the pot in a location that gets the right amount of light for your chosen plant type.
- For sun-loving plants, place the pot in a sunny window.
- For low-light plants, an area with indirect light will be ideal.
Tips for Maintaining Your Recycled Flower Pot
- Check the drainage regularly to ensure that water isn’t pooling at the bottom.
- Repot the plant when it outgrows the vase, making sure the new pot has adequate drainage.
- Keep an eye on soil moisture. Plants in smaller pots tend to dry out faster, so check the soil frequently and water accordingly.
Conclusion
Recycling an old vase into a beautiful flower pot is an easy and fun DIY project that allows you to personalize your plants and save money. With just a few simple steps, you can turn an unused vase into a stunning home accent that showcases your favorite plants in style. Whether you’re planting flowers, succulents, or herbs, this recycled flower pot will make a statement in any room. Happy planting! 🌿🌸


