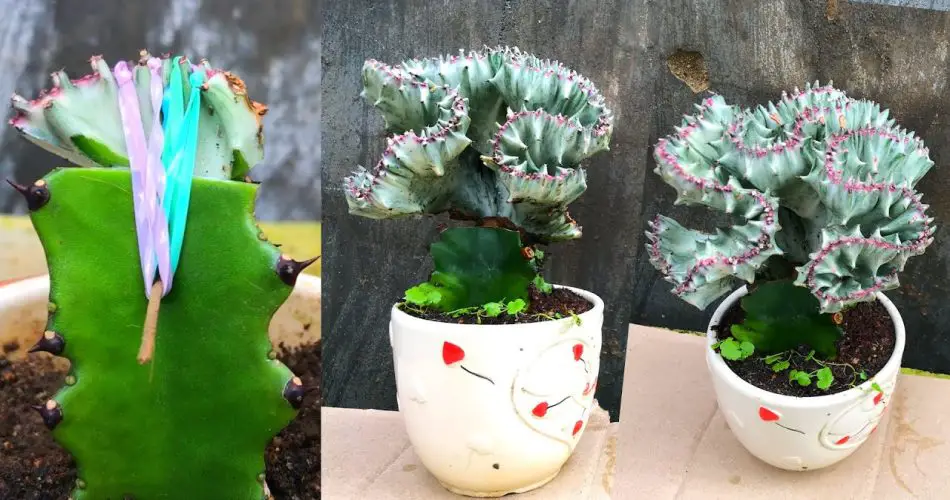
Transplanting a Euphorbia Lactea, commonly known as the white ghost cactus, can be a rewarding experience. This unique and stunning plant, with its distinctive white and green branches, thrives in well-drained soil and requires careful handling to ensure its continued growth. Whether you’re moving your cactus to a larger pot or creating a new home for it in your garden, following the right steps is crucial for a successful transplant.
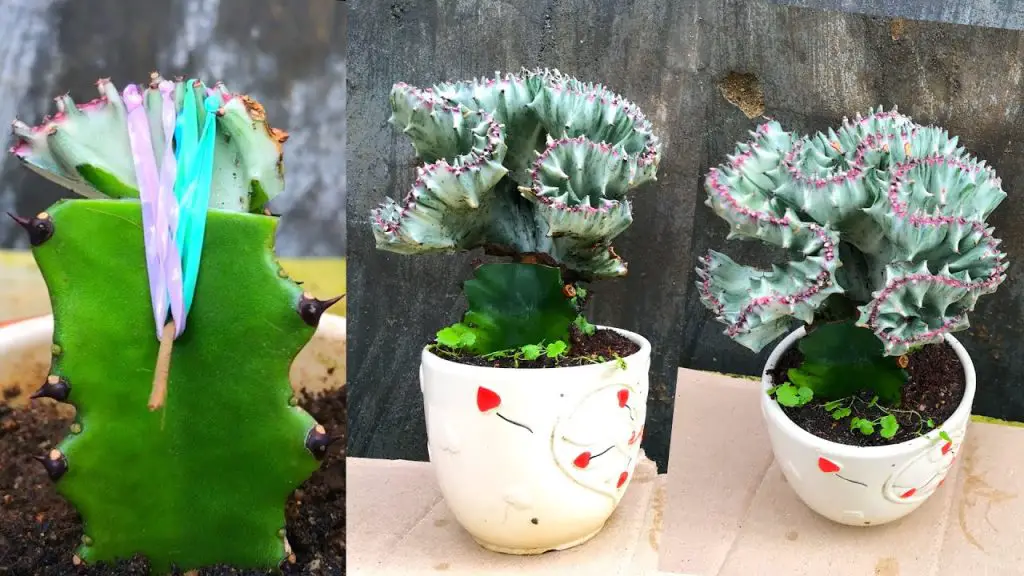
In this article, we’ll provide you with a detailed guide on how to properly transplant Euphorbia Lactea cactus to ensure it thrives in its new location.
Why Transplant Euphorbia Lactea Cactus?
Euphorbia Lactea can outgrow its current pot over time, causing root crowding and poor drainage. Transplanting this cactus helps provide it with enough space for healthy root growth and better access to nutrients. Additionally, moving it to a new container can improve the aesthetic and growth rate of the plant.
Here are some common reasons to transplant your Euphorbia Lactea:
- The cactus has outgrown its current pot.
- The soil is no longer providing proper drainage.
- You need to revitalize the soil for better plant health.
- You’re propagating a new cactus from a cutting.
When to Transplant Euphorbia Lactea Cactus?
The best time to transplant your Euphorbia Lactea is during the spring or early summer months. This is when the plant is entering its active growth period, allowing it to recover more easily from the stress of transplantation.
Avoid transplanting during the winter or fall, as the plant may be in a dormant phase and less likely to adapt well to its new environment.
What You’ll Need to Transplant Euphorbia Lactea Cactus
Before you start the transplant process, gather the following materials:
- New pot (1-2 inches larger in diameter than the current one)
- Well-draining cactus soil or succulent mix
- Gardening gloves (for safety)
- Shovel or small gardening tool
- Tongs or towel (optional for handling the cactus)
- Cactus fertilizer (optional)
- Water (to hydrate the plant)
Step-by-Step Guide to Transplanting Euphorbia Lactea Cactus
Follow these steps to ensure a smooth transplant for your Euphorbia Lactea cactus:
Step 1: Prepare the New Pot
Choose a pot that is 1-2 inches larger in diameter than the current pot to provide enough room for the roots to spread. Make sure the new pot has drainage holes at the bottom to prevent water from accumulating, which can lead to root rot.
Fill the bottom of the pot with a layer of well-draining cactus soil or succulent mix. You can also add some perlite or sand to improve drainage further.
Step 2: Water the Cactus Lightly
Before transplanting, lightly water the Euphorbia Lactea about a day or two before you plan to move it. This will help loosen the roots and make it easier to remove the cactus from its current pot. Avoid overwatering, as the plant’s roots should not be soaking wet.
Step 3: Handle the Cactus Carefully
Use gardening gloves, tongs, or a towel to carefully handle the cactus. The spines of Euphorbia Lactea can be sharp, so it’s essential to protect your hands and skin. If the cactus is large, you may want to ask for help in supporting its weight.
Step 4: Remove the Cactus from the Old Pot
Gently tap the sides of the old pot to loosen the cactus and its root ball. Carefully slide the cactus out of the pot, supporting it from the base. If the cactus is stuck, you can carefully use a small shovel or a gardening tool to loosen the edges.
Step 5: Inspect the Roots
Once the cactus is out of its pot, check the roots for any signs of damage or root rot. Trim away any brown, mushy roots with a sterilized pair of scissors or pruning shears. Healthy roots should be white or light tan and firm to the touch.
Step 6: Place the Cactus in the New Pot
Position the Euphorbia Lactea cactus in the center of the new pot. Fill the remaining space with more well-draining cactus soil around the root ball, ensuring that the cactus is sitting at the same level it was in the previous pot. Gently tap the sides of the pot to settle the soil and remove air pockets.
Step 7: Water and Settle the Plant
After transplanting, water the cactus lightly to help the soil settle around the roots. Be sure not to overwater, as Euphorbia Lactea is a drought-tolerant plant that doesn’t need excessive moisture. Allow the soil to dry out before watering again.
Step 8: Place the Cactus in a Suitable Location
Place the newly transplanted cactus in a bright location with indirect sunlight. Avoid direct sunlight for a few days after transplanting, as the plant may be stressed and could get sunburned. Gradually reintroduce the cactus to its normal light conditions.
Post-Transplant Care for Euphorbia Lactea
After transplanting, your Euphorbia Lactea cactus may experience some initial stress. To help it recover and thrive:
- Avoid overwatering: Water only when the soil is completely dry.
- Monitor the cactus for signs of stress, such as wilting or yellowing.
- Fertilize with a balanced cactus fertilizer once a month during the growing season (spring and summer).
- Ensure good air circulation around the cactus to prevent fungal infections.
Conclusion
Transplanting Euphorbia Lactea cactus is a straightforward process when done carefully and thoughtfully. By choosing the right pot, using well-draining soil, and handling the plant gently, you can help ensure its healthy growth and continued beauty. Keep an eye on the plant’s needs after transplantation, and it will reward you with its stunning, unique white and green branches. Whether you’re repotting to provide more space or propagating new plants, the Euphorbia Lactea cactus will thrive with the proper care.