When it comes to propagating roses, the process can sometimes feel a bit tricky, with many factors influencing whether your cuttings will take root. While water quality might not be the first thing that comes to mind, using filtered water can actually make a significant difference. If you’ve been struggling to propagate your roses or simply want to improve your success rate, using filtered water might be the secret you’ve been looking for.
Why Filtered Water Works for Rose Propagation
The key to successful rose propagation is giving your cuttings the best environment to grow roots. Water quality plays a critical role in this process. Regular tap water can contain chlorine, fluoride, and minerals that may hinder root growth or even damage delicate rose cuttings. By using filtered water, you eliminate these harmful chemicals, providing your cuttings with a cleaner, healthier environment to thrive.
Here’s why filtered water works so well for propagating roses:
- Prevents Root Damage: Chemicals like chlorine can stress out the plant and prevent root formation. Filtered water, free from these chemicals, creates a gentler environment for the cutting to develop healthy roots.
- Improves Water Absorption: Filtered water tends to have a better balance of minerals that roses need, without the harmful chemicals that may inhibit the plant’s ability to absorb water efficiently.
- Encourages Stronger Growth: By removing impurities from the water, filtered water helps maintain the right balance of nutrients for the rose cutting. This promotes faster and healthier root development.
Steps to Propagate Roses Using Filtered Water
If you’re ready to try using filtered water for rose propagation, here’s a step-by-step guide to get started:
- Choose Healthy Cuttings: Start with a healthy rose stem and cut a 6-inch piece just below a leaf node. Remove any excess leaves and thorns from the bottom half of the cutting.
- Place the Cutting in Filtered Water: Fill a clean jar or glass with filtered water and place the rose cutting in it, ensuring that the bottom part of the cutting is submerged in the water, but the leaves are above the water line.
- Keep the Cutting in a Bright, Indirect Light: Place the jar in a spot with bright, indirect sunlight. Avoid direct sunlight, as it can cause the water to heat up and damage the cutting.
- Change the Water Regularly: Refresh the water every 2-3 days to keep it clean and free of bacteria. Using filtered water ensures that the cutting isn’t exposed to harmful chemicals during the process.
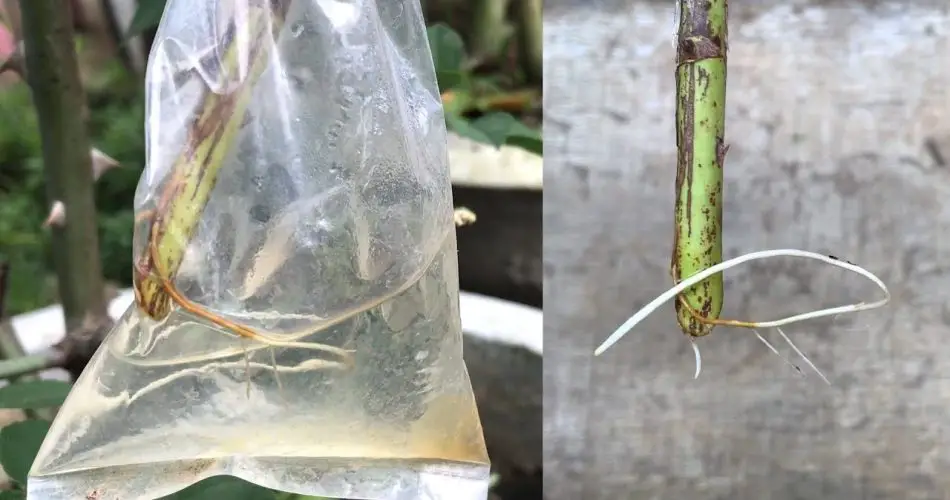
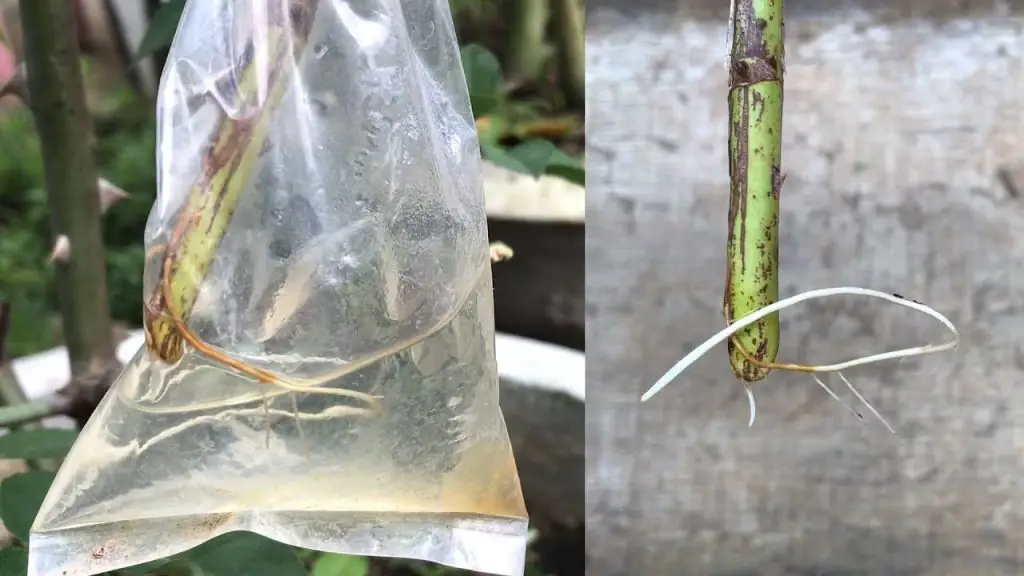
- Wait for Root Growth: After a few weeks, you should start seeing roots forming on the bottom of the cutting. Once the roots are at least an inch or two long, the cutting can be planted into soil.
- Transplant to Soil: After the cutting has developed a strong root system, you can transplant it into soil to continue growing as a full rose plant.
Why It’s So Effective
Filtered water removes the impurities and chemicals found in tap water that can otherwise stunt the growth of your rose cuttings. By providing the cutting with cleaner, healthier water, you encourage root growth and help the plant establish a strong foundation for future development. Plus, the absence of harsh chemicals means the cutting will focus more on developing new roots rather than recovering from water stress.
Conclusion
If you’ve struggled with propagating roses in the past or are looking for a more reliable way to grow them, give filtered water a try. This simple change can make a huge difference in the success rate of your rose cuttings, allowing you to enjoy a beautiful new rose plant in no time. With cleaner water and proper care, you’ll be on your way to propagating roses like a pro!


