Propagating roses can be a rewarding experience, especially when you use a simple and effective method like cutting roses in a glass of water. This technique allows you to grow new rose plants from existing branches with minimal equipment. Here’s a step-by-step guide on how to plant rose branches successfully using this method.
Why Use a Glass of Water for Rose Cuttings?
Using a glass of water for rose cuttings offers several benefits:
- Easy Monitoring: You can easily observe the development of roots through the clear glass.
- Cost-Effective: It requires minimal supplies, making it a budget-friendly propagation method.
- Simple Process: This technique is straightforward and ideal for beginner gardeners.
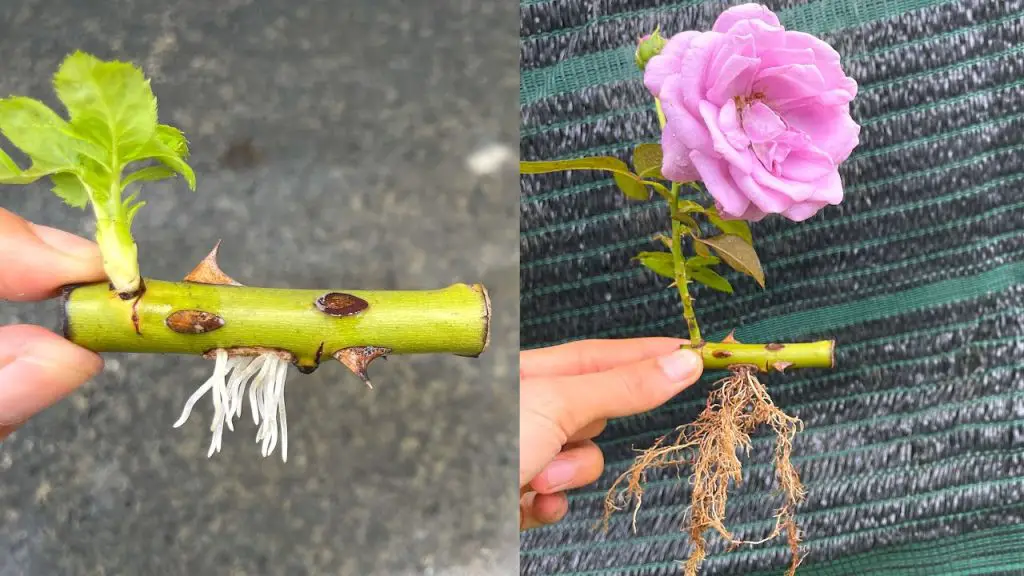
Step-by-Step Instructions for Cutting Roses in a Glass of Water
- Select Healthy Rose Branches: Choose healthy rose branches that are about 6-8 inches long. Look for stems that are not too woody and have at least a couple of leaves.
- Prepare the Cuttings: Using a sharp knife or pruning shears, make a clean cut at a 45-degree angle just below a leaf node. Remove any flowers and excess leaves from the lower part of the stem to avoid rotting.
- Place in Water: Fill a glass or jar with enough room-temperature water to submerge the bottom 2-3 inches of the rose cutting. Place the cutting into the glass, ensuring that the cut end is submerged but not the leaves.
- Choose the Right Location: Position the glass in a bright, indirect light location. Avoid direct sunlight, as it can cause algae growth and heat stress.
- Change the Water Regularly: To prevent bacterial growth and ensure a clean environment, change the water every few days. Make sure the water level remains consistent.
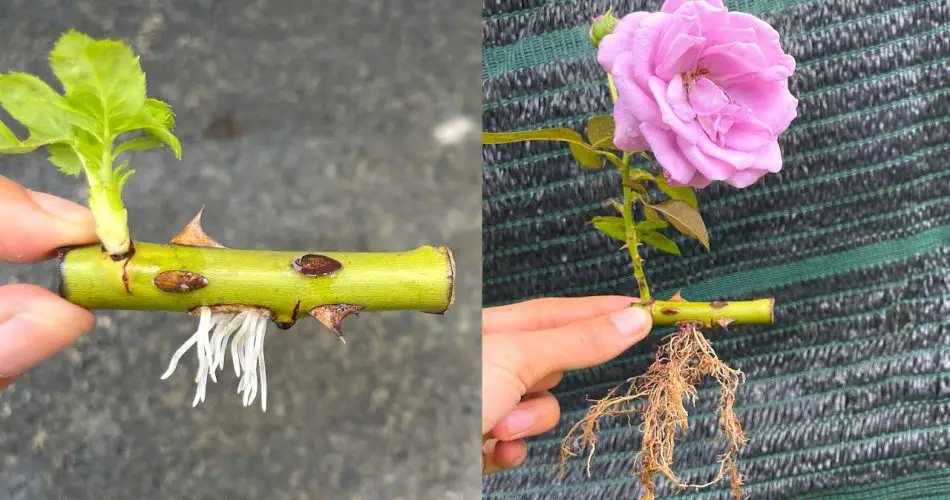
- Wait for Roots to Develop: After a few weeks, you should begin to see roots forming. Once the roots are about 1-2 inches long, the cuttings are ready to be planted in soil.
Planting Rose Branches After Rooting
- Prepare the Soil: Use a well-draining potting mix for planting. A mix of peat moss, perlite, and compost works well for roses.
- Transplant the Cuttings: Gently remove the rooted rose cuttings from the glass. Make a hole in the soil with a stick or pencil, place the cutting in the hole, and gently firm the soil around it.
- Water and Care: Water the newly planted rose branches thoroughly. Keep the soil moist but not waterlogged. Place the pot in a location with bright, indirect light and provide regular waterings.
- Monitor Growth: Continue to care for your rose plants by providing adequate water, sunlight, and occasional fertilization. With time, your rose branches will grow into healthy, blooming plants.
Benefits of This Method
- Simple and Effective: Propagating roses in water is a straightforward method that requires minimal supplies.
- Visual Feedback: Observing root development in a glass provides clear indications of progress.
- Increased Success Rate: This method helps ensure that cuttings are well-rooted before transferring them to soil, increasing the likelihood of successful planting.
By following these instructions for cutting roses in a glass of water, you can propagate new rose plants with ease. This method not only simplifies the propagation process but also offers a rewarding way to grow beautiful roses for your garden. Happy planting!
Copy
Show Comments