Transform your gardening game with Minion ten-hour flower pots crafted from plastic bottles! This fun and creative project not only adds a whimsical touch to your garden or home decor but also promotes recycling and sustainability. Here’s how to create these adorable flower pots that will brighten up your space.

Why Choose Minion Flower Pots?
1. Eco-Friendly
Using plastic bottles reduces waste and gives a second life to materials that would otherwise end up in landfills. It’s a great way to promote environmental awareness!
2. Unique Decor
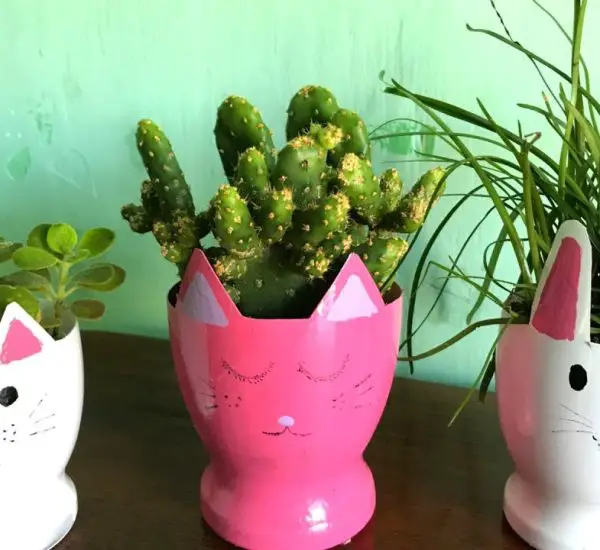
These Minion flower pots are not only functional but also serve as charming decor pieces. Their playful design is perfect for both children and adults alike, adding a cheerful vibe to any area.
3. Easy to Make
With just a few simple materials, you can create your own Minion pots in no time. It’s a great DIY project for a weekend or a fun activity with kids!
Materials Needed
To create your Minion ten-hour flower pots, gather the following materials:
- Plastic bottles (preferably 1-2 liters)
- Yellow paint (acrylic or spray paint)
- Black and white paint (for eyes and accessories)
- Paintbrushes
- Scissors
- Soil for planting
- Plants or flowers of your choice
- Water for the plants
Step-by-Step Guide
Step 1: Prepare the Bottles
- Clean the Bottles: Rinse and remove labels from the plastic bottles to ensure a clean surface for painting.
- Cut the Bottles: Depending on how tall you want your Minion pots, cut the bottles in half or leave them whole. You can create different sizes for variety.
Step 2: Paint the Base Color
- Paint Yellow: Using yellow paint, cover the exterior of the bottle completely. Allow it to dry thoroughly.
- Second Coat: If necessary, apply a second coat of yellow for an even finish.
Step 3: Add Eyes and Features
- Paint the Eyes: Use white paint to create two large circles for the eyes. Once dry, add smaller black circles for pupils.
- Add Details: Use black paint to draw the Minion’s signature goggles, mouth, and any other features you’d like, such as overalls.
Step 4: Prepare for Planting
- Drainage Holes: If you cut the bottle, ensure there are drainage holes at the bottom to prevent waterlogging.
- Fill with Soil: Add a layer of soil to the bottle, filling it about halfway.
Step 5: Planting
- Choose Your Plants: Select flowers or plants that will thrive in your climate. Succulents, herbs, or colorful annuals work well.
- Planting: Gently place the plants into the soil and cover the roots with more soil. Water lightly.
Step 6: Display Your Minion Pots
- Placement: Position your Minion flower pots in a sunny spot or decorate your indoor space. They can also make great gifts for friends and family!
Care Tips
- Watering: Ensure your plants receive adequate water but avoid overwatering. Check the soil moisture regularly.
- Sunlight: Place the pots in a location that receives the appropriate amount of sunlight for the plants you chose.
Conclusion
Creating Minion ten-hour flower pots from plastic bottles is a fun, eco-friendly project that adds a burst of joy to any space. With just a bit of creativity and some simple materials, you can turn everyday items into delightful decor. Get started today, and let your Minion garden grow!