Kalanchoe plants are popular for their vibrant flowers, easy care, and low-maintenance growth. What makes them even more appealing is that they can be propagated from leaves, allowing you to create new plants from an existing one. Whether you’re a seasoned gardener or a beginner, propagating Kalanchoe flowers from leaves is a rewarding and simple process.
In this article, we’ll walk you through the steps for planting Kalanchoe flowers from leaves and offer some helpful tips for ensuring your new plant grows beautifully and stays healthy for years to come.
Why Choose to Propagate Kalanchoe with Leaves?
Kalanchoe is a succulent plant that thrives in many environments, making it an ideal choice for propagation. By planting Kalanchoe flowers from leaves, you’re essentially growing new plants from a cutting, which gives you a chance to expand your collection without purchasing new plants. This method is not only easy but also a cost-effective way to grow more of these colorful and hardy plants.
When done correctly, growing Kalanchoe from leaves can result in healthy plants that bloom profusely, adding bright flowers to your home or garden year after year.
How to Propagate Kalanchoe from Leaves: Step-by-Step Guide
Here’s a simple, step-by-step guide to help you successfully propagate Kalanchoe flowers from leaves:
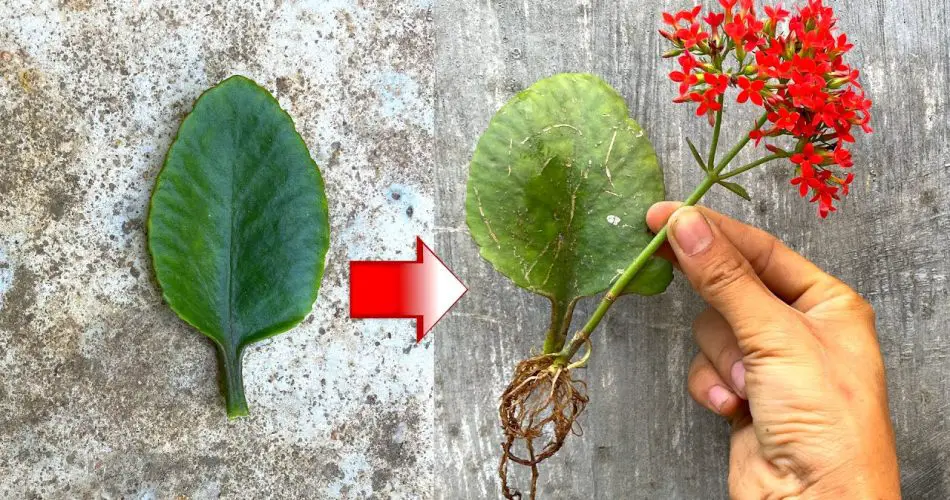
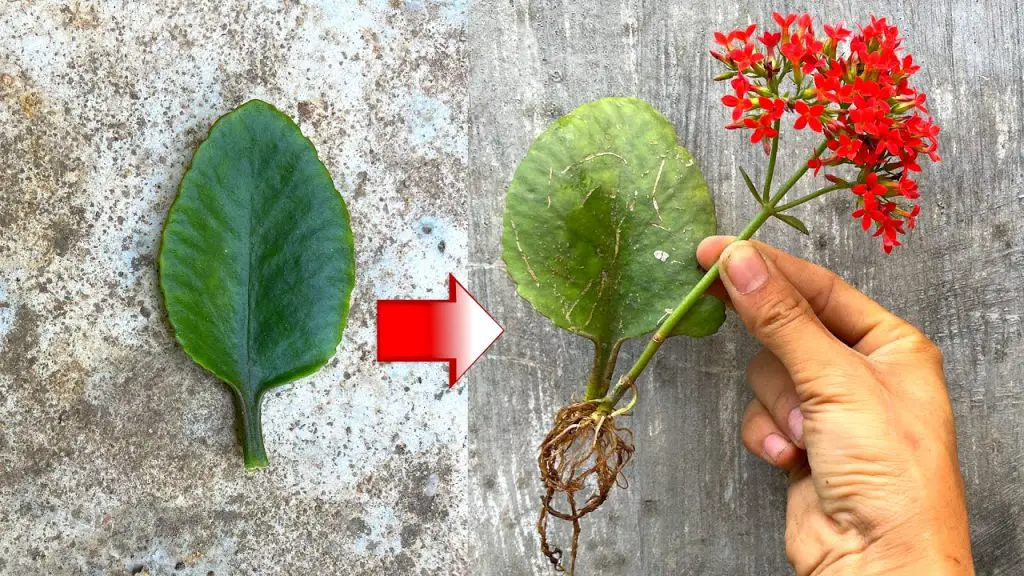
Step 1: Choose a Healthy Leaf
The first step in planting Kalanchoe flowers from leaves is selecting a healthy, mature leaf from your existing plant. Look for a plump, green leaf that is free from any damage or disease. Avoid leaves that are yellowed or have spots, as they may not propagate successfully.
Step 2: Prepare the Leaf for Propagation
Once you’ve chosen a good leaf, gently remove it from the main plant. It’s important to do this carefully to avoid damaging the leaf or the stem. You can either cut the leaf off with a clean pair of scissors or gently twist it off by hand.
Step 3: Let the Leaf Callus Over
After removing the leaf, place it in a dry, shaded area for a few days. This will allow the cut edge of the leaf to callus over, preventing it from rotting once planted. Callusing is an essential step in preventing moisture loss and infection.
Step 4: Prepare the Pot and Soil
Choose a shallow pot or container with good drainage. Succulents like Kalanchoe don’t like to sit in waterlogged soil, so make sure your pot has drainage holes.
Fill the pot with well-draining soil, such as a cactus mix or a blend of potting soil and sand. This will ensure the leaf doesn’t rot and can establish healthy roots.
Step 5: Plant the Leaf
Once the leaf has dried and callused, it’s time to plant it. Simply place the leaf on the soil surface, with the cut end facing down. Do not bury the entire leaf into the soil. Instead, gently press the cut edge into the soil, ensuring it has good contact with the surface. This contact is necessary for the rooting process.
Step 6: Watering and Care
After planting the leaf, lightly water the soil. Be careful not to overwater, as this can cause the leaf to rot. Mist the soil lightly every few days or water once the soil feels dry to the touch.
Place the pot in a location that receives indirect light, as too much direct sunlight can damage the leaf. Keep the temperature between 60°F and 85°F (15°C to 30°C), as Kalanchoe plants thrive in warm environments.
Caring for Your Kalanchoe Plants as They Grow
As your Kalanchoe leaf begins to root, you will notice small baby plants starting to grow around the base of the leaf. This is the sign that your propagation efforts have been successful! Over time, these new plants will grow into full-sized Kalanchoe plants with beautiful blooms.
Here are some care tips to ensure your new Kalanchoe plants thrive:
- Light: Provide plenty of indirect sunlight. Too much direct sun can cause the leaves to burn, while too little sunlight can slow growth.
- Watering: Water your Kalanchoe only when the soil is dry to the touch. Be sure to let the soil dry out between waterings to avoid rot.
- Temperature: Kalanchoe plants prefer warmer temperatures and should be kept in environments where the temperature doesn’t drop below 50°F (10°C).
- Fertilizing: Feed your plants with a balanced, diluted fertilizer every few weeks during the growing season to encourage healthy growth and vibrant flowers.
Benefits of Growing Kalanchoe from Leaves
- Cost-effective: You can propagate your existing plants for free, allowing you to grow more Kalanchoe without purchasing new ones.
- Sustainable: Propagating plants from leaves helps preserve resources and reduces waste.
- Customizable: As you propagate more Kalanchoe plants, you can experiment with different placements and designs, adding variety to your garden or home decor.
Conclusion
Planting Kalanchoe flowers from leaves is a simple and enjoyable process that anyone can do. By following the easy steps above, you can propagate your plants and enjoy a beautiful collection of Kalanchoe flowers in no time. With the right care and patience, these easy-to-grow plants will reward you with vibrant blooms year after year.


