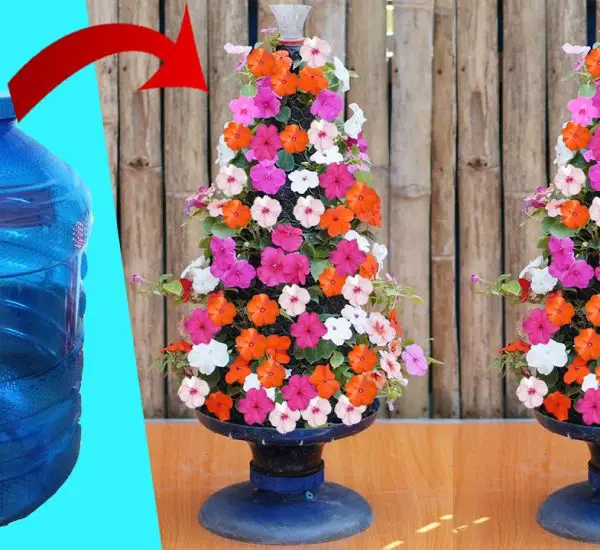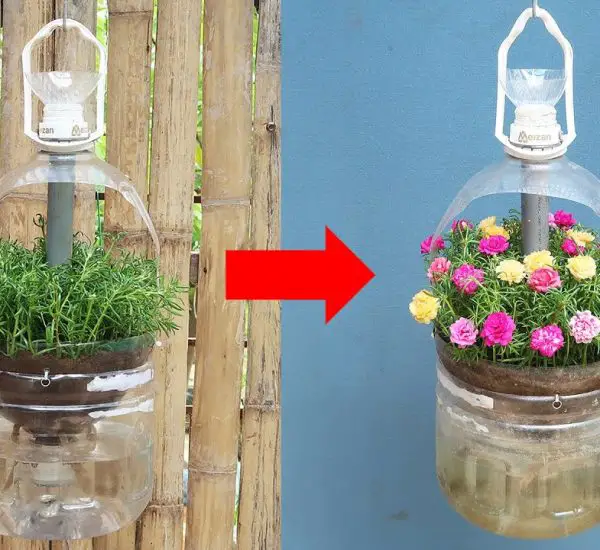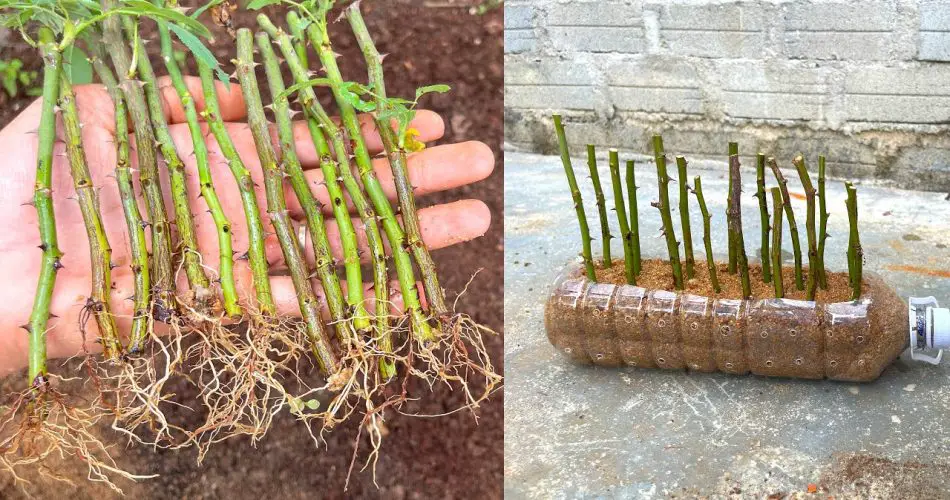
Growing roses from cuttings is a rewarding and budget-friendly way to propagate these stunning flowers, and with a little creativity, you can use recycled plastic bottles to create your own rose propagation pots. Not only does this method give new life to used plastic, but it also provides an ideal, low-cost solution for rooting your rose cuttings. Whether you’re a seasoned gardener or a beginner, this easy, eco-friendly approach will help you successfully grow healthy, beautiful roses from cuttings.

Why Recycle Plastic Bottles for Rose Propagation?
Using plastic bottles as propagation pots is a clever way to recycle materials while providing the perfect environment for your rose cuttings. Here are a few reasons why plastic bottles work so well for growing roses:
- Affordable: Instead of buying expensive propagation pots, you can use discarded plastic bottles that you likely have at home.
- Ideal Humidity: Plastic bottles can create a mini greenhouse effect that helps maintain high humidity levels, which is essential for rooting rose cuttings.
- Easy to Make: Creating your own rose propagation pots from plastic bottles is a simple process that requires minimal tools.
- Sustainable: Recycling plastic bottles reduces waste, making this a green gardening practice.
Materials You’ll Need:
- Plastic bottles (2-liter bottles work well, but you can use any size depending on the number of cuttings)
- Sharp scissors or a knife
- Drainage holes (a nail or small drill)
- Rose cuttings (typically 6-8 inches long)
- Rooting hormone (optional, but can help with quicker root development)
- Well-draining potting mix (a mix for roses or a standard potting soil with added perlite for better drainage)
- Clear plastic wrap or a plastic bag (optional, to increase humidity)
- Watering can or spray bottle
Step-by-Step Guide to Creating Rose Propagation Pots Using Plastic Bottles
Step 1: Prepare the Plastic Bottles
Start by selecting a clean plastic bottle. Cut the bottle in half to create two sections. The bottom section will be your propagation pot, and the top section can be used to create a humidity dome to encourage rooting.
- Cut the bottle about 4-6 inches from the base, or higher depending on how much space you need for your cuttings.
- Puncture drainage holes at the bottom of the bottle using a sharp object like a nail or scissors. This will allow excess water to drain and prevent the cuttings from sitting in water, which could cause rot.
Step 2: Add Soil to the Bottom Section
Next, fill the bottom half of the bottle with a well-draining potting mix. Roses need soil that drains well to prevent the roots from getting soggy. A mix made for roses or a standard potting soil combined with some perlite works great. The soil should be light and airy to encourage root development.
- Fill the bottle about halfway with soil, leaving enough space at the top for the cutting.
- Gently tamp the soil down to ensure it’s compact, but not too tightly.
Step 3: Prepare the Rose Cuttings
To propagate roses, you’ll need to take healthy rose cuttings. Here’s how to prepare the cuttings:
- Choose healthy stems: Look for stems that are about 6-8 inches long and have several sets of leaves. Avoid cuttings that are too young or too old.
- Make the cut: Use sharp pruning shears to make a clean cut just below a leaf node (where the leaves grow from the stem).
- Remove lower leaves: Strip off the leaves from the bottom half of the cutting, leaving just a few leaves at the top. This prevents the leaves from sitting in the soil and rotting.
- Apply rooting hormone (optional): Dip the cut end of the rose cutting into rooting hormone to encourage faster root development.
Step 4: Insert the Cutting into the Soil
Now, it’s time to insert the rose cutting into the prepared soil:
- Make a small hole in the soil using a stick or pencil.
- Gently place the cutting into the hole, ensuring the bottom of the cutting is in contact with the soil. Press the soil around the cutting to keep it upright.
Step 5: Create a Humidity Dome
One of the key elements to successfully propagating roses is maintaining a humid environment around the cutting to help it root. This is where the top half of the plastic bottle comes in.
- Take the top part of the plastic bottle (the part you cut off earlier) and place it upside down over the bottom section with the cutting. The neck of the bottle should be facing down, creating a mini greenhouse effect.
- If you don’t have a top half of the bottle, you can also cover the cutting with clear plastic wrap or a plastic bag, making sure it doesn’t touch the cutting directly. This will help keep the humidity high and protect the cutting from drafts.
Step 6: Watering and Care
Once your rose cutting is set up, you’ll need to maintain proper care to ensure successful rooting:
- Water regularly: Keep the soil moist, but not soggy. You can use a watering can with a fine nozzle or a spray bottle to gently mist the soil. Be careful not to overwater, as too much water can cause the cutting to rot.
- Place in indirect light: Your cutting will need light to encourage growth, but avoid placing it in direct sunlight, as this can overheat the mini greenhouse and dry out the cutting. Place it in a bright spot with indirect light for best results.
- Monitor humidity: Check the humidity inside the plastic bottle regularly. If it gets too humid, you can open the top slightly to allow for better air circulation. If the bottle seems too dry, mist the cutting or close the bottle again.
Step 7: Wait for Roots to Develop
With proper care, your rose cutting should begin to develop roots in about 3-6 weeks. You can test for root growth by gently pulling on the cutting—if you feel resistance, the roots are forming. You can also carefully remove the cutting from the soil to check the root development.
Step 8: Transplanting
Once the rose cutting has developed a healthy root system, it’s time to transplant it into a larger pot or directly into the garden. Remove the cutting from the plastic bottle and plant it in well-draining soil. Keep the plant in a shady spot for the first few days to help it acclimate before gradually moving it to a sunnier location.
Benefits of Using Recycled Plastic Bottles for Rose Propagation
- Eco-friendly: Recycling plastic bottles reduces waste and is a sustainable way to repurpose materials you already have at home.
- Cost-effective: Instead of buying expensive propagation equipment, you can use materials you have on hand.
- Ideal Growth Conditions: Plastic bottles create a controlled environment that promotes healthy rooting and faster growth.
- Customization: You can adjust the size of your propagation pot based on the number of cuttings or the size of the bottle.
Tips for Success
- Use fresh cuttings: Choose healthy, disease-free rose stems to ensure better success rates.
- Choose the right rose variety: Some roses are easier to propagate from cuttings than others. Hybrid tea roses, floribundas, and climbing roses are generally great choices for propagation.
- Be patient: Rooting can take time. Don’t rush the process—allow your cuttings to develop strong roots before transplanting them.
Conclusion
Recycling plastic bottles to create rose propagation pots is a simple, eco-friendly, and cost-effective way to propagate roses in your own home. By using this method, you can easily grow beautiful roses from cuttings, ensuring that your garden continues to flourish without spending a lot of money on commercial propagation tools. With a bit of patience and care, your rose cuttings will develop strong roots and grow into vibrant, blooming plants that will brighten your space and bring joy for years to come.