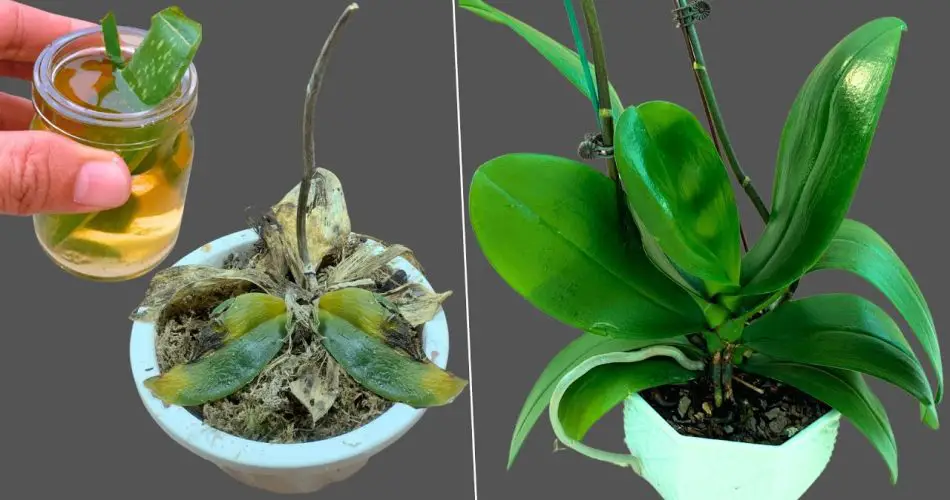
Orchids, with their delicate beauty and intricate care requirements, occasionally face challenges like leaf rot. This common issue, characterized by browning or wilting leaves, can be distressing for orchid enthusiasts. However, with the right approach, you can effectively revive your orchids and restore their health to full bloom.
- Early Detection and Removal: Promptly identify any signs of leaf rot. Trim affected leaves using sterilized scissors to prevent the spread of infection. Ensure cuts are clean and made at an angle to promote healing.
- Adjust Watering Practices: Evaluate your watering routine. Orchids are susceptible to leaf rot when exposed to excess moisture. Allow the top layer of the potting mix to dry between watering sessions. Ensure pots have proper drainage to prevent water stagnation.
- Improve Air Circulation: Enhance ventilation around your orchids. Good airflow discourages fungal growth and helps maintain optimal humidity levels. Consider placing orchids in areas with gentle air movement, avoiding stagnant corners.
- Sterilize Potting Medium: Replace or refresh the potting medium to eliminate fungal spores that may contribute to leaf rot. Use a well-draining mix suitable for orchids, ensuring it promotes root health and prevents waterlogging.
- Apply Fungicidal Treatment: Treat orchids with a suitable fungicide to combat existing fungal infections and prevent recurrence. Follow manufacturer instructions carefully and apply treatments as recommended to protect your orchids from further damage.
By following these straightforward tips, you can effectively address leaf rot in orchids and facilitate their recovery. Remember, proactive care and attention to detail are key to ensuring your orchids thrive with lush, healthy foliage and vibrant blooms. With patience and dedication, you can enjoy the enduring beauty of these remarkable plants in your home or garden.
Copy
Show Comments


