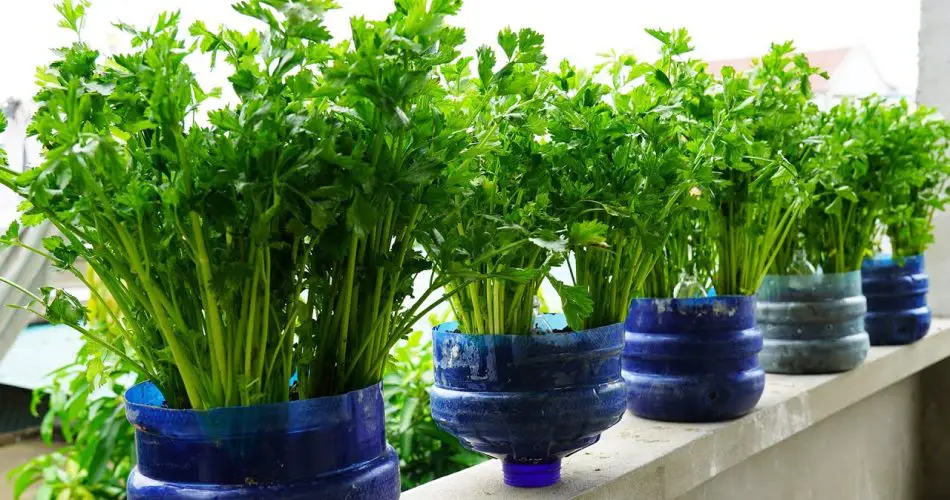
If you think you need a large garden to grow fresh, organic celery, think again! With a simple plastic bottle, you can enjoy a super productive harvest of nutritious celery right at home. This easy DIY gardening method is perfect for small spaces and ensures you have a steady supply of fresh greens for your kitchen.
Why Grow Celery in Plastic Bottles?
✅ Space-Saving – Ideal for balconies, terraces, and small gardens.
✅ Eco-Friendly – Recycle plastic bottles and reduce waste.
✅ Organic & Healthy – No harmful pesticides, just fresh, homegrown celery.
✅ High Yield – Grow more in less space with proper care.
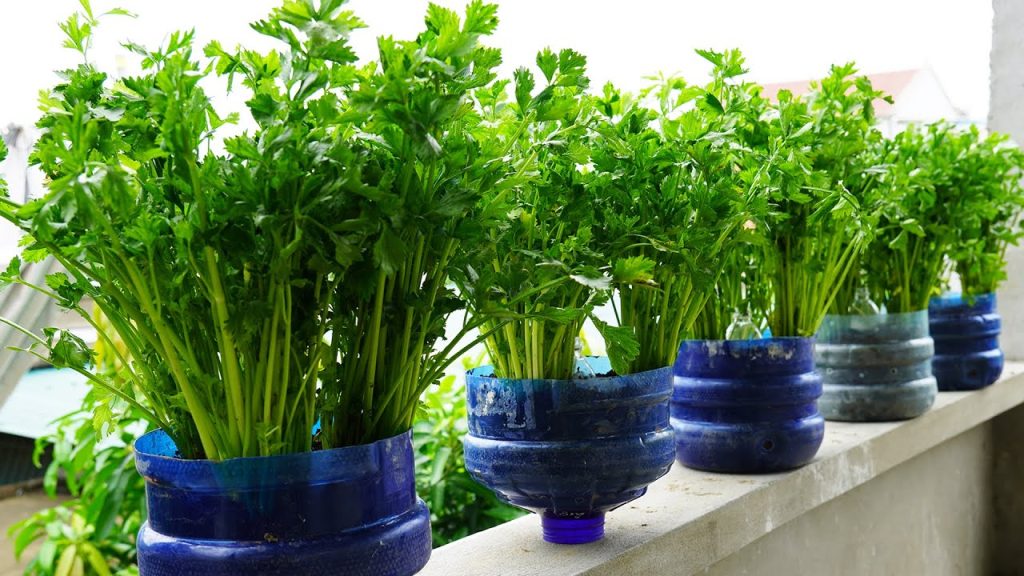
Step-by-Step Guide to Growing Celery in Plastic Bottles
1. Prepare the Plastic Bottle Planter
- Take a large plastic bottle (2L or more) and cut the top off.
- Poke drainage holes in the bottom to prevent waterlogging.
2. Choose the Right Celery Variety
- Self-blanching celery is best for containers.
- Pick a variety suited for small-space gardening.
3. Planting Celery from Scraps or Seeds
- Regrow from scraps: Cut 2 inches from the base of store-bought celery and place it in water. Once roots appear, plant it in soil.
- Grow from seeds: Soak seeds for 24 hours, then plant them ½ inch deep in the plastic bottle.
4. Providing the Best Care for Maximum Growth
- Sunlight: Place in a sunny spot (at least 6 hours daily).
- Watering: Keep the soil moist but not soggy.
- Fertilizing: Use compost or rice water every 2 weeks to boost growth.
5. Harvesting Your Homegrown Celery
- In 80–100 days, your celery will be ready to harvest!
- Cut the outer stalks as needed and let the inner ones continue growing.
Grow Your Own Celery in Plastic Bottles Today! 🌱
This simple recycling garden idea is a great way to grow healthy celery while reducing waste. Give it a try and enjoy a super productive harvest of fresh, organic celery at home! Would you try this easy gardening method? Let us know! 🌿✨