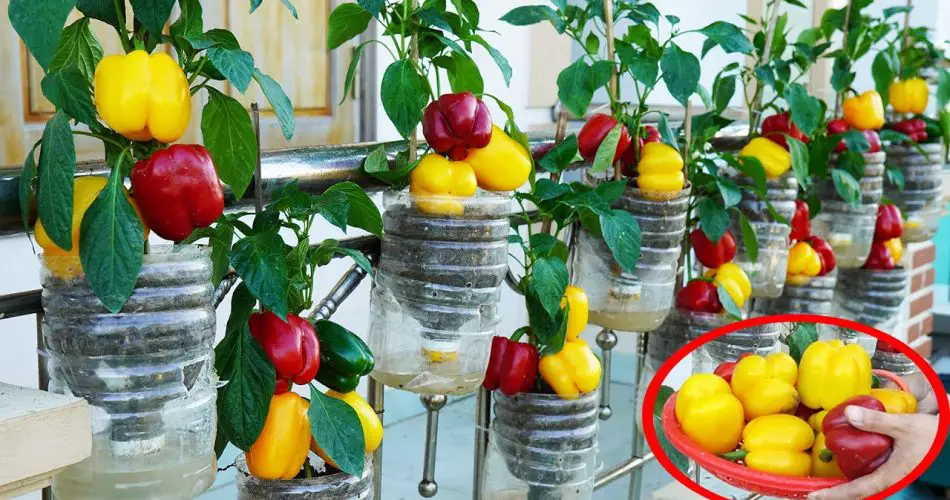
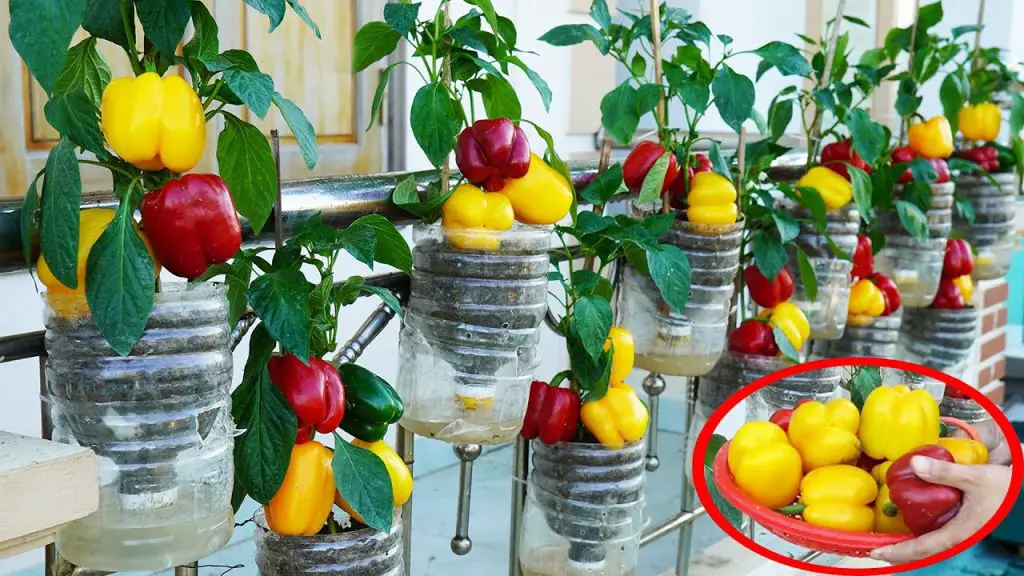
Growing bell peppers on your balcony is a fantastic way to enjoy fresh, homegrown vegetables without needing a large garden. With the right techniques, soil, and care, you can grow vibrant, flavorful peppers in pots or containers, even in a small space. This guide will take you through the step-by-step process to ensure a successful and productive balcony bell pepper garden!
1. Choosing the Right Bell Pepper Variety
Before planting, it’s important to choose the best variety for container gardening.
✅ Top bell pepper varieties for balcony gardening:
- California Wonder – A classic, sweet variety perfect for pots.
- Mini Bell Peppers – Small but high-yielding and great for compact spaces.
- Purple Beauty – Unique in color and rich in antioxidants.
- Hungarian Wax Peppers – Slightly spicy and easy to grow.
💡 Tip: If you love colorful peppers, plant red, yellow, and orange varieties for a stunning harvest!
2. Selecting the Best Containers
For healthy bell peppers, you need the right-sized pots or containers.
✔️ Ideal pot size: At least 3-5 gallons (12-16 inches deep).
✔️ Material options: Plastic, clay, or fabric grow bags.
✔️ Drainage: Ensure containers have drainage holes to prevent root rot.
💡 Tip: Use self-watering pots or add a layer of pebbles at the bottom to improve drainage.
3. Preparing the Soil for Maximum Growth
Bell peppers thrive in nutrient-rich, well-draining soil.
🌿 Best soil mix for bell peppers:
✅ 60% potting soil (light and airy)
✅ 20% compost (for nutrients)
✅ 20% coconut coir or perlite (for moisture retention)
💡 Tip: Mix in organic fertilizer (NPK 5-10-10) before planting for a nutrient boost.
4. Planting Bell Peppers from Seeds or Seedlings
🌱 Starting from seeds:
1️⃣ Soak seeds in warm water for 8 hours before planting.
2️⃣ Plant in small seed trays with moist soil and keep in a warm, sunny spot.
3️⃣ Transplant seedlings into larger pots once they reach 4-6 inches tall.
🌱 Using store-bought seedlings:
1️⃣ Choose strong, healthy plants with green leaves.
2️⃣ Plant them directly into containers with moist soil.
3️⃣ Keep 8-12 inches of space between each plant.
💡 Tip: Bell peppers love warmth, so wait until temperatures are above 60°F (15°C) before planting outdoors.
5. Watering and Fertilizing for High-Yield Peppers
💧 Watering schedule:
✔️ Water deeply 2-3 times per week (or when the soil feels dry).
✔️ Avoid overwatering—peppers dislike soggy roots!
✔️ Water at the base of the plant to prevent fungal diseases.
🌿 Fertilizing for big, healthy peppers:
✔️ Apply organic compost or banana peel fertilizer every 2 weeks.
✔️ Use NPK 10-10-10 or fish emulsion fertilizer during flowering.
✔️ Add eggshells to the soil for a natural calcium boost.
💡 Tip: Mulch the soil with straw or dry leaves to retain moisture and prevent weeds.
6. Sunlight and Temperature Needs
☀️ Sunlight: Bell peppers need at least 6-8 hours of direct sunlight daily.
🌡️ Temperature: Ideal growing temperature is 70-85°F (21-29°C).
🛡️ Protection: In extreme heat, provide shade cloth to prevent sunscald.
💡 Tip: If your balcony has limited sunlight, use LED grow lights to supplement light exposure.
7. Supporting and Pruning Your Bell Pepper Plants
✅ Use stakes or small trellises to support heavy plants.
✅ Prune lower leaves to improve airflow and prevent diseases.
✅ Pinch off the first few flowers to encourage stronger root development.
💡 Tip: Removing small, weak peppers early helps the plant focus energy on larger fruit.
8. Harvesting Fresh Bell Peppers
✔️ Bell peppers are ready for harvest in 60-90 days after planting.
✔️ Pick when they are firm, glossy, and fully colored.
✔️ Use scissors or garden shears to cut peppers—avoid pulling them off the plant.
💡 Tip: Green bell peppers are less sweet, while red, orange, and yellow ones are fully ripened and sweeter.
Final Thoughts
A balcony bell pepper garden is an easy, rewarding, and space-efficient way to grow fresh, organic vegetables at home. With proper care, sunlight, and watering, you can enjoy delicious, homegrown bell peppers throughout the season! 🌶️🌱
Happy Gardening! 🌿✨