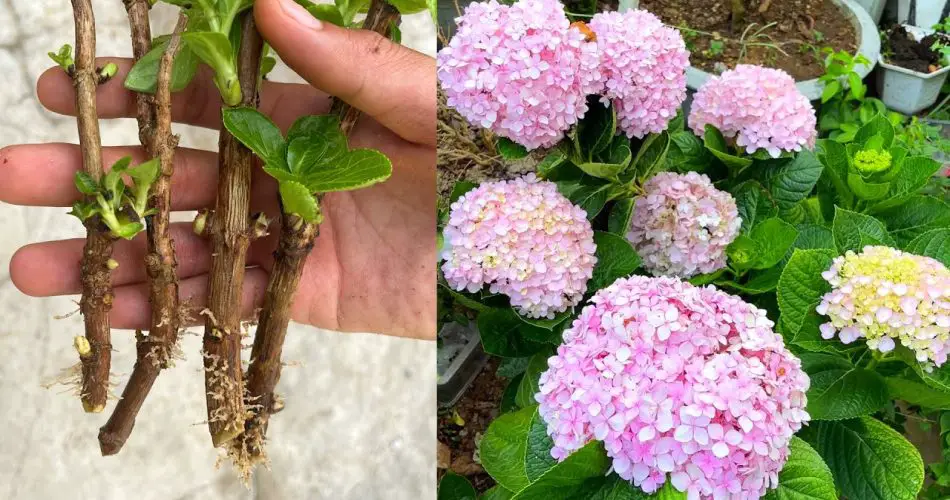
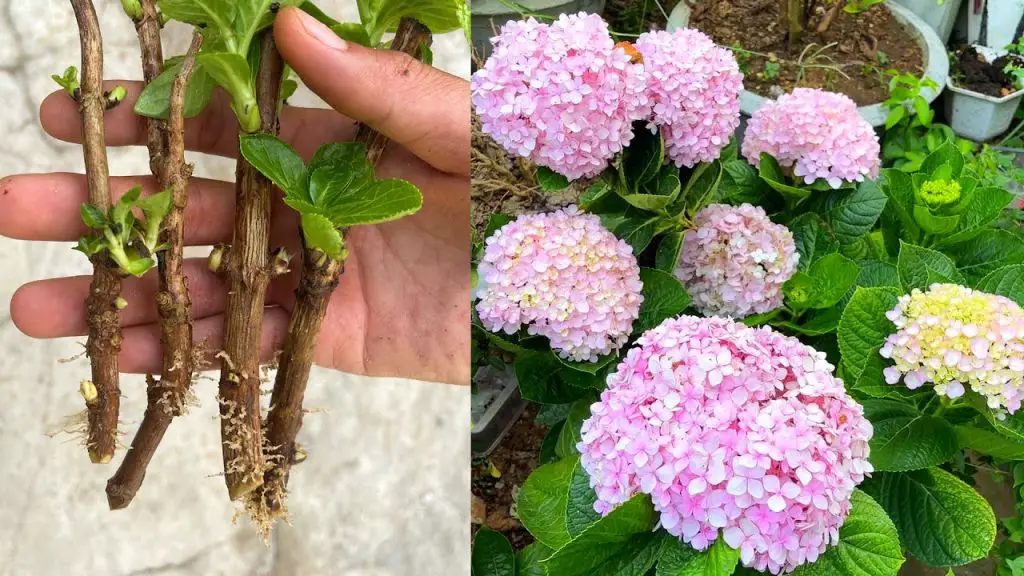
Hydrangeas are among the most beloved flowering plants for gardens, known for their large, showy blooms and vibrant colors. Whether you’re planting a single bush or creating a beautiful hydrangea hedge, these flowers can transform any garden into a stunning floral display. One of the most unique and creative ways to grow these magnificent plants is by planting hydrangeas in the sand—a technique that can improve drainage and promote healthy growth. In this article, we’ll discuss the wings of hydrangeas in the sand and provide you with essential tips for planting hydrangea flowers in sandy soil.
1. Why Plant Hydrangeas in the Sand?
While hydrangeas are known for their love of moist, well-draining soil, planting them in sandy soil offers some surprising benefits:
- Improved drainage: Sandy soil allows water to drain quickly, preventing the roots from sitting in water, which can lead to root rot.
- Better aeration: Sand promotes better air circulation around the roots, ensuring that the plant’s root system receives enough oxygen for healthy growth.
- Easy root development: The loose texture of sandy soil makes it easier for hydrangea roots to grow deep and spread out, encouraging stronger plant growth.
By planting hydrangeas in the sand, you can create an ideal environment for strong, thriving plants that produce abundant flowers.
2. Choosing the Right Location for Planting
When planning to plant hydrangeas in the sand, it’s important to choose the right location:
- Full to partial sunlight: Hydrangeas generally prefer bright, indirect sunlight or partial shade. Too much direct sunlight can scorch the leaves, while too little light can stunt their growth and prevent blooming.
- Sheltered from strong winds: Sandy soil tends to dry out faster, so it’s important to plant hydrangeas in a location where they are protected from strong winds that could further dry out the soil.
Choosing the right planting site ensures that your hydrangeas have access to the light and conditions they need for vibrant blooms.
3. Preparing the Sand and Soil for Planting
Before planting hydrangeas, it’s essential to prepare the sandy soil properly. While sandy soil offers excellent drainage, it can often be low in nutrients. Here’s how you can improve it:
Step 1: Mix in Organic Matter
- Add compost, peat moss, or organic mulch to the sandy soil to improve its nutrient content and water retention. This will also help the soil retain enough moisture to keep the hydrangeas hydrated.
- Mix the organic matter thoroughly into the sand to create a balanced growing medium that offers both drainage and sufficient moisture retention.
Step 2: Adjust pH Levels
- Hydrangeas prefer slightly acidic soil (pH 5.5 to 6.5). You can test the pH of the soil and, if needed, amend it with sulfur or peat moss to lower the pH. If the soil is too acidic, add lime to raise the pH to the desired level.
Step 3: Create a Well-Draining Bed
- Hydrangeas need soil that drains well to prevent waterlogged roots, so it’s important to create a raised bed or mound of soil, especially if you’re planting in an area with very loose sand.
- Adding a layer of gravel or small stones at the bottom of the planting hole can also enhance drainage and prevent the roots from sitting in stagnant water.
4. Planting Hydrangeas in the Sand
Now that your soil is prepared, it’s time to plant your hydrangeas. Follow these steps to ensure that your hydrangea flowers grow strong and healthy:
Step 1: Dig the Hole
- Dig a hole that’s about twice the size of the root ball of the hydrangea plant. This gives the roots plenty of space to spread out and grow.
- Ensure that the hole is deep enough so the top of the root ball is level with the surrounding soil.
Step 2: Place the Plant in the Hole
- Carefully remove the hydrangea from its pot and gently loosen the roots. If the roots are tightly bound, cut them with clean scissors to encourage outward growth.
- Place the hydrangea in the hole, ensuring the root ball is at the right depth and the plant is standing straight.
Step 3: Backfill with Soil
- Backfill the hole with the prepared sand and organic mix. Gently firm the soil around the roots to eliminate air pockets.
- Avoid planting the hydrangea too deep, as this can lead to root rot. The top of the root ball should be just above ground level.
Step 4: Water Well
- After planting, water the hydrangea thoroughly to settle the soil and ensure good root-to-soil contact. This also helps the plant adjust to its new location.
- Keep the soil moist, but be careful not to overwater. Sandy soil drains quickly, so it’s important to maintain a consistent level of moisture without drowning the roots.
5. Caring for Hydrangeas Planted in the Sand
After planting, providing the right care is essential for ensuring healthy growth and vibrant flowers:
Watering
- Hydrangeas need consistent moisture, especially in sandy soil, which dries out quickly. Water the plant regularly, ensuring the soil stays moist but not soggy.
- During hot, dry spells, you may need to water more frequently to keep the plant hydrated.
Fertilizing
- Feed your hydrangea with a balanced fertilizer that’s rich in phosphorus to encourage healthy blooms.
- Fertilize in the spring and again after blooming to support the plant’s growth and flower production. Avoid over-fertilizing, as this can lead to excessive leaf growth with few blooms.
Mulching
- Applying a layer of organic mulch around the base of the plant will help retain moisture, keep the roots cool, and prevent weed growth.
- Refresh the mulch annually to ensure it continues to provide the necessary benefits.
Pruning
- Prune your hydrangea after blooming to remove spent flowers and shape the plant. Some types of hydrangeas bloom on old wood, so avoid heavy pruning in the spring, as this can remove potential blooms for the season.
6. Additional Tips for Growing Hydrangeas in Sandy Soil
- Monitor pH: Regularly check the soil’s pH to ensure it stays within the ideal range for hydrangeas.
- Avoid direct sunlight: If your area receives full sun, consider providing afternoon shade to protect the plant from scorching.
- Monitor for pests and diseases: Keep an eye out for common hydrangea pests like aphids or spider mites and treat with appropriate methods if necessary.
7. Conclusion
Planting hydrangea flowers in the sand can be a unique and effective way to improve drainage and promote healthy growth. By preparing the sandy soil with organic matter, adjusting the pH, and planting your hydrangeas correctly, you can enjoy beautiful, vibrant blooms year after year. With the right care and attention, hydrangeas will thrive in your garden, adding color and life to your outdoor space. Whether you’re looking to plant a few hydrangeas or create a stunning garden full of these flowers, this technique will help you achieve success.


