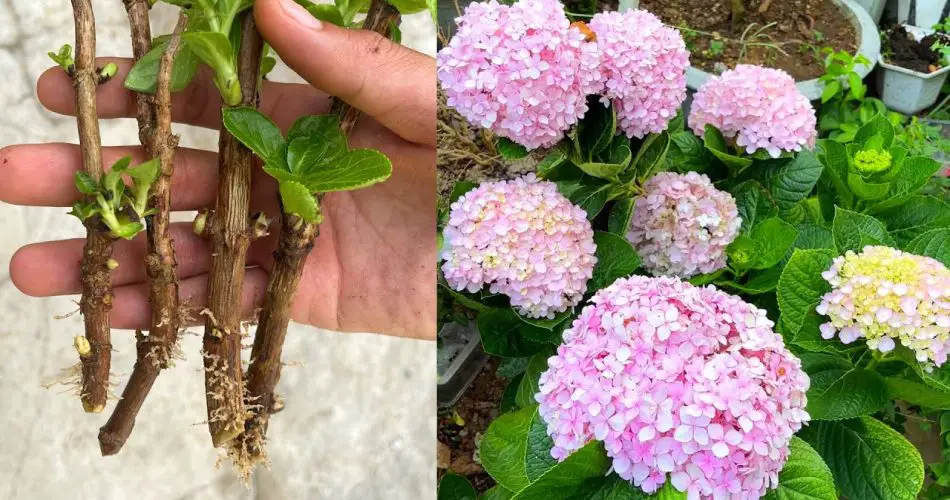
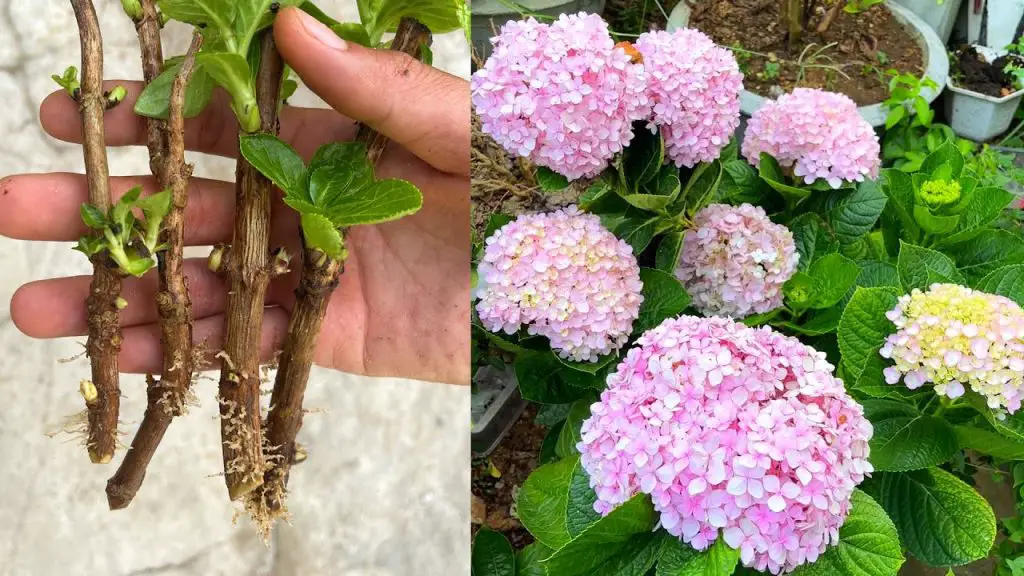
Hydrangeas, with their luxurious blooms and vibrant colors, are a favorite among gardeners looking to add a touch of elegance and beauty to their landscapes. Planting these stunning flowers in sandy soil presents a unique challenge, but with the right techniques, you can create a flourishing garden of hydrangeas that will thrive and captivate all who see them. Here’s a comprehensive guide on how to plant and care for hydrangeas in sandy soil.
Understanding Hydrangeas and Sandy Soil
Hydrangeas are known for their large, showy flowers and are relatively adaptable, but sandy soil can pose some challenges. Sandy soil tends to drain quickly, which can be both a benefit and a drawback. While good drainage helps prevent root rot, it also means that the soil may not retain enough moisture or nutrients.
Preparing the Site for Planting
- Choose the Right Location: Select a spot with partial to full sun. Most hydrangeas prefer morning sun and afternoon shade. Ensure the location has adequate air circulation to prevent fungal issues.
- Improve Soil Quality: Although hydrangeas can grow in sandy soil, it’s crucial to improve its nutrient content and moisture retention. Mix in organic matter such as compost or well-rotted manure to enhance the soil’s fertility and water-holding capacity.
- Prepare the Planting Hole: Dig a hole that is twice as wide and just as deep as the root ball of the hydrangea. This allows the roots to spread out easily and establish themselves.
Planting Hydrangeas
- Prepare the Hydrangea Plant: Remove the hydrangea from its container and gently loosen any tightly bound roots. This encourages the roots to spread out into the surrounding soil.
- Plant at the Right Depth: Place the hydrangea in the center of the hole, ensuring that the top of the root ball is level with the surrounding soil. Backfill the hole with a mixture of the original soil and additional organic matter.
- Water Thoroughly: After planting, water the hydrangea deeply to help settle the soil around the roots and reduce any air pockets. Keep the soil consistently moist, especially during the first growing season.
- Mulch: Apply a layer of organic mulch, such as bark or wood chips, around the base of the plant. This helps retain soil moisture, regulate soil temperature, and suppress weeds.
Caring for Hydrangeas in Sandy Soil
- Regular Watering: Sandy soil can dry out quickly, so it’s essential to monitor soil moisture. Water your hydrangeas deeply and consistently, especially during dry periods.
- Fertilization: Feed hydrangeas with a balanced, slow-release fertilizer in the spring to promote healthy growth and blooming. Follow the manufacturer’s instructions for the appropriate application rates.
- Pruning: Prune hydrangeas after flowering to remove spent blooms and shape the plant. This encourages new growth and can help maintain the plant’s overall health and appearance.
- Monitor for Pests and Diseases: Keep an eye out for common pests such as aphids or spider mites, and watch for signs of disease. Early intervention can help keep your hydrangeas healthy and vibrant.
Benefits of Growing Hydrangeas in Sandy Soil
- Improved Drainage: Sandy soil provides excellent drainage, which helps prevent root rot and other moisture-related issues.
- Adaptable Varieties: Many hydrangea varieties are adaptable to different soil conditions, including sandy soils, making them versatile garden choices.
- Stunning Blooms: With proper care, hydrangeas can produce large, colorful blooms that add beauty and charm to any garden.
Conclusion
Planting hydrangeas in sandy soil requires a bit of extra effort, but with the right preparation and care, you can create a thriving garden of beautiful and resilient hydrangeas. By improving soil quality, ensuring proper planting techniques, and providing consistent care, you’ll enjoy the lush, vibrant flowers of hydrangeas that will brighten your garden and capture the hearts of all who see them.
Happy planting!