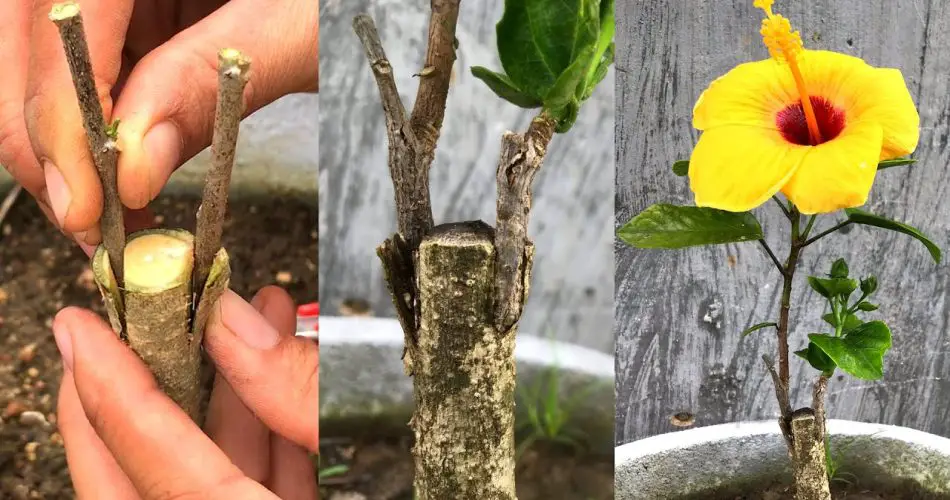
Transplanting your yellow hibiscus can be a delicate yet rewarding task, offering your plant the opportunity to thrive in a new space. Whether you’re moving your hibiscus for better sunlight or simply to a larger pot, proper care is essential for a successful transplant. This guide will walk you through the process of transplanting hibiscus flowers, ensuring your plant remains healthy and vibrant after the move.
Why Transplant Yellow Hibiscus?
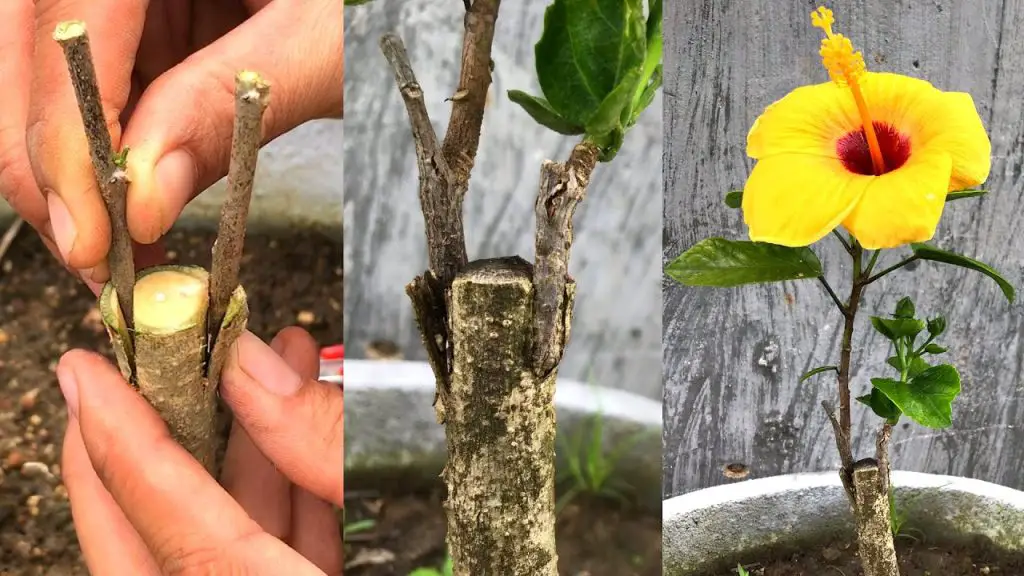
Yellow hibiscus, known for its vibrant blossoms and large, stunning flowers, requires ample space to grow. As your hibiscus matures, it may outgrow its current location, showing signs of restricted growth. Transplanting your hibiscus flower ensures:
- Better growth with more space for roots to expand.
- Improved sunlight exposure if the current location doesn’t provide enough light.
- Healthier blooms by relocating it to more suitable soil or conditions.
Transplanting also gives the opportunity to refresh the soil and control the growing environment to promote the best conditions for the hibiscus.
When is the Best Time to Transplant Yellow Hibiscus?
Timing plays a crucial role in transplanting hibiscus flowers. The best time to transplant is during the early spring or late fall, when the plant is not actively blooming. Avoid transplanting during the hot summer months or during flowering to reduce transplant shock. Transplanting when the plant is in a dormant phase gives it time to establish itself before the growing season.
Step-by-Step Guide to Transplanting Yellow Hibiscus
Step 1: Prepare the New Location
Before you move your yellow hibiscus, ensure that the new location has well-draining soil and adequate sunlight. Hibiscus plants thrive in full sunlight (at least 6 hours a day). If transplanting to a pot, choose a container that is 2-3 inches larger in diameter than the current one to give the roots plenty of room.
- Soil: Hibiscus prefer slightly acidic soil with good drainage. Consider using a mix of potting soil, compost, and perlite for better aeration.
Step 2: Water the Plant Before Transplanting
Water your yellow hibiscus thoroughly a day before the transplant. Moist soil will help the roots come out easily and reduce stress on the plant during the move. Avoid watering the plant right before transplanting, as wet soil may be heavy and difficult to work with.
Step 3: Carefully Remove the Hibiscus from Its Current Spot
When you are ready to transplant, gently loosen the soil around the base of the hibiscus. Be careful not to damage the root ball. You can use a spade or gardening fork to gently lift the plant out of the soil. Try to keep the root system intact to minimize damage.
Step 4: Prepare the New Hole or Pot
In the new location, dig a hole about twice the size of the root ball. For pots, ensure the bottom has drainage holes. Place a layer of gravel or small stones at the bottom to enhance drainage. Add some fresh soil, and make a small mound at the center of the hole or pot to support the root ball.
Step 5: Place the Hibiscus in the New Spot
Carefully place the hibiscus into the hole or pot, ensuring that it sits at the same depth as it was in its previous location. If transplanting to a pot, ensure the roots are evenly spread out in the soil. Fill in the surrounding space with soil, gently pressing down to eliminate air pockets.
Step 6: Water the Hibiscus Well
After transplanting, water the hibiscus thoroughly. This helps settle the soil around the roots and ensures that the plant has sufficient moisture to recover from the transplant shock.
Step 7: Care After Transplanting
For the first few weeks, monitor the hibiscus closely. Keep the plant in a shaded area for a few days to help it acclimate. Gradually introduce it to more sunlight as it settles into its new environment. Maintain a consistent watering schedule while being careful not to overwater. Make sure the soil remains moist, but not soggy, as hibiscus do not like standing water.
Common Issues to Watch for After Transplanting
- Wilting: Some wilting is normal as the plant adjusts to its new environment. However, if it persists, check if the soil is too dry or wet.
- Yellowing Leaves: This can indicate transplant shock, especially if the roots were damaged. Make sure to provide consistent care and avoid excessive stress on the plant.
- Pests: Transplanting can sometimes attract pests, so keep an eye out for signs of aphids, mealybugs, or spider mites.
Final Thoughts on Transplanting Yellow Hibiscus
Transplanting your yellow hibiscus can give your plant a new life and more space to flourish. With the right timing, tools, and care, you can successfully transplant your hibiscus flowers to a new location where they will continue to thrive. Remember, patience is key, and with proper care, your hibiscus will soon reward you with beautiful blooms and healthy growth.
Happy gardening! 🌼🌿