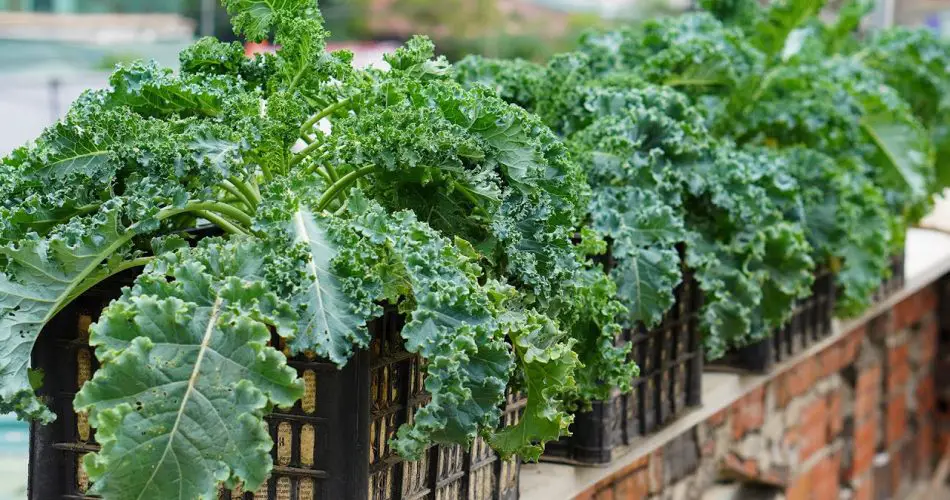
Did you know that you can grow kale in plastic containers and still achieve a high yield? This super nutritious leafy green is easy to grow, making it a great choice for home gardeners, especially those with limited space. Whether you have a balcony, patio, or small backyard, this method ensures you get fresh, organic kale right at home!
🌱 Why Grow Kale in Plastic Containers?
✔ Saves Space – Perfect for apartments and small gardens.
✔ Cost-Effective – Reuse plastic containers instead of buying expensive pots.
✔ Highly Nutritious – Kale is rich in vitamins A, C, and K, as well as iron and fiber.
✔ Easy to Grow – Requires minimal maintenance and thrives in various climates.
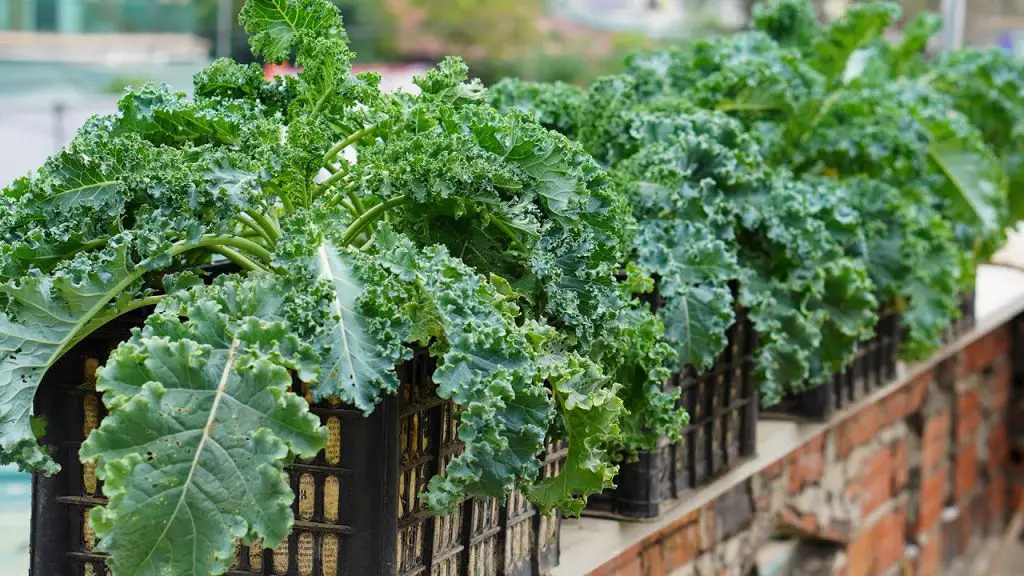
💡 Tip: Choose a deep container (at least 12 inches) to allow roots to grow properly.
🛠️ Materials Needed
🔹 Plastic container (minimum 12 inches deep with drainage holes)
🔹 High-quality potting soil (rich in nutrients)
🔹 Kale seeds or seedlings
🔹 Organic fertilizer (for healthy growth)
🔹 Mulch (to retain moisture)
💡 Tip: Recycle old buckets, tubs, or plastic bins—just ensure they have drainage holes at the bottom.
🌿 Step-by-Step Guide to Growing Kale in Plastic Containers
Step 1: Prepare the Container
🛠️ Drill drainage holes at the bottom of the plastic container to prevent waterlogging.
🛠️ Fill the container with nutrient-rich potting soil mixed with organic compost.
🛠️ Add a thin layer of mulch to help retain moisture.
💡 Tip: Place a layer of small rocks at the bottom to improve drainage and prevent root rot.
Step 2: Planting the Kale
🌱 If using seeds, plant them ½ inch deep and 2 inches apart.
🌱 If using seedlings, plant them 8-12 inches apart to allow proper growth.
🌱 Water lightly after planting.
💡 Tip: Kale grows best in cool weather, so plant in early spring or fall for the best results.
Step 3: Caring for Your Kale Plants
💦 Water Regularly – Keep the soil moist but not soggy. Water early in the morning.
☀ Provide Plenty of Sunlight – Place your container in a sunny location (at least 6 hours of sunlight per day).
🌿 Feed Your Plants – Use a balanced organic fertilizer every 3-4 weeks for optimal growth.
💡 Tip: Eggshells crushed and sprinkled around the base help prevent pests and add calcium to strengthen leaves.
Step 4: Harvesting Your Kale
🥬 Kale is ready to harvest in 45-60 days after planting.
🥬 Pick the outer leaves first, allowing the inner leaves to keep growing.
🥬 Use sharp scissors or garden shears to cut leaves 2 inches above the base.
💡 Tip: Regular harvesting encourages continuous growth, giving you a long-lasting supply of fresh kale!
🚫 Common Mistakes & How to Avoid Them
❌ Overcrowding – Give plants enough space to prevent stunted growth.
❌ Overwatering – Too much water leads to root rot; ensure proper drainage.
❌ Neglecting Pests – Kale can attract aphids and caterpillars; check leaves regularly and use organic pest control.
🌟 Final Thoughts
Growing kale in plastic containers is a simple and effective way to enjoy fresh, nutrient-packed greens at home. With just a little effort, you’ll have a high-yield harvest that provides healthy, organic vegetables for months!
🌱 Try this method today and enjoy homegrown kale! 🥬✨


