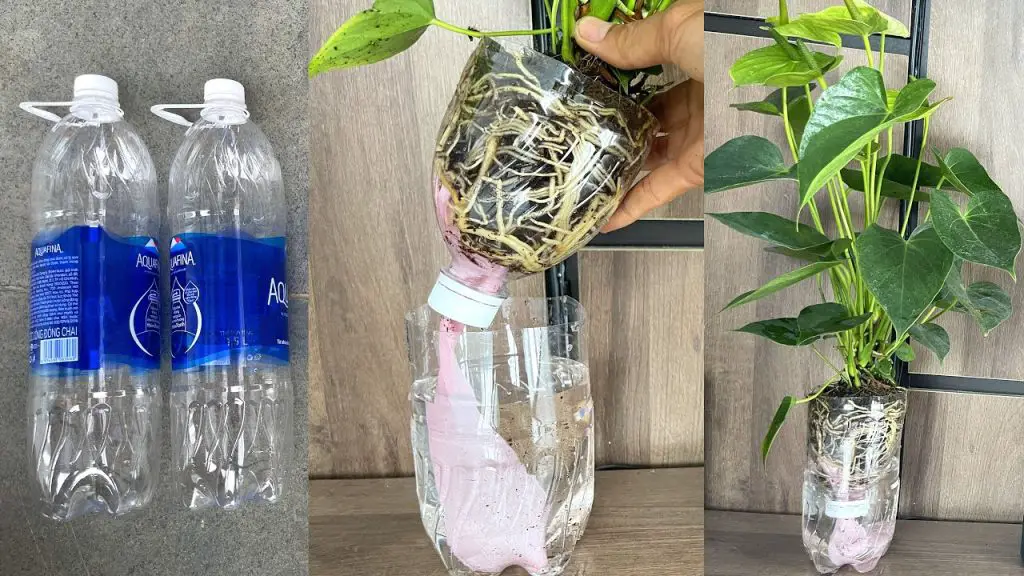
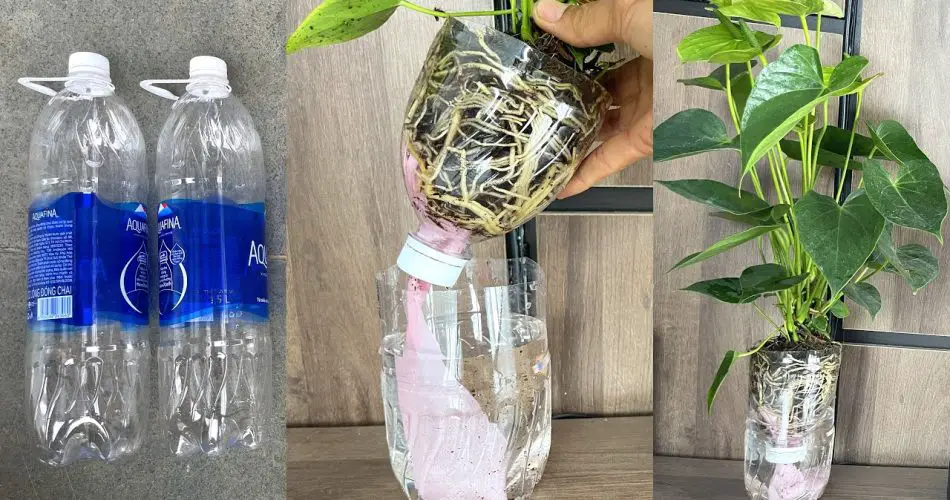
Plastic bottles are one of the most commonly used household items that often end up in the trash. However, with a little creativity, you can recycle plastic bottles and turn them into beautiful, functional flower pots. In this article, we will show you how to make flower pots from plastic bottles that don’t require frequent watering—perfect for those looking for an eco-friendly solution to gardening.

Why Use Plastic Bottles for Flower Pots?
Recycling plastic bottles into flower pots offers multiple benefits:
- Environmentally friendly: It reduces plastic waste and gives these bottles a second life.
- Cost-effective: No need to purchase expensive pots; you can create your own with items you already have at home.
- Versatile: Plastic bottles can be adapted to different sizes and shapes, making them perfect for a variety of plants.
- Low maintenance: The self-watering feature reduces the need for constant attention and makes gardening easier.
How to Make Flower Pots from Plastic Bottles Without Frequent Watering
To create self-watering flower pots from plastic bottles, follow these easy steps:
Materials You’ll Need:
- 1 or 2 plastic bottles (depending on the size of the pot you want)
- Sharp scissors or utility knife
- A piece of fabric or string (to serve as the wick)
- Soil (for planting)
- Plants or flowers (to grow)
- Water (for the self-watering system)
- Marker and ruler (for measurements)
Step-by-Step Instructions:
- Prepare the Plastic Bottles
- Start by cutting the plastic bottle in half using scissors or a utility knife. The top half will serve as the planter, while the bottom half will function as the reservoir for water.
- If using two bottles, you can combine their bottoms to create a deeper reservoir for more water storage.
- Create the Self-Watering System
- Use a piece of fabric or string to create a wick that will transfer water from the bottom reservoir to the soil. The wick should be long enough to touch the water in the bottom half and rise up to the soil in the top half.
- Insert one end of the fabric or string into the hole at the bottom of the top half (planter part), and ensure the other end reaches down into the bottom half (reservoir).
- This wick will keep the soil moist by drawing water from the bottom reservoir, ensuring the plant gets the right amount of moisture without overwatering.
- Drill Holes for Drainage
- Use a sharp object to drill small holes at the bottom of the top part of the bottle (planter). This allows excess water to drain into the reservoir, preventing the roots from becoming waterlogged.
- You can also add a few small holes on the sides of the reservoir to allow airflow, which helps with water circulation.
- Assemble the Pot
- Place the top half of the bottle (the planter) upside down inside the bottom half (the reservoir), ensuring that the wick is properly positioned to transfer water from the bottom to the soil.
- Fill with Soil and Plants
- Fill the top part of the bottle with potting soil. Press it down gently to avoid air pockets. After that, plant your flowers or plants into the soil.
- Be sure to plant the roots deep enough to ensure they will absorb water efficiently.
- Add Water to the Reservoir
- Pour water into the bottom half of the bottle (the reservoir). The wick will start drawing water up into the soil, keeping your plants hydrated.
- You don’t need to water the plant from the top anymore, as the self-watering system will do the job for you.
Tips for Success with Self-Watering Plastic Bottle Pots
- Choose the right wick material: Use a cotton cloth or nylon string, as they are highly absorbent and can effectively carry water.
- Monitor water levels: Make sure the reservoir has enough water to sustain the plant, but don’t overfill it. Too much water can lead to root rot.
- Pick the right plants: Some plants are better suited for self-watering pots than others. Herbs, succulents, and flowers that don’t need too much water work well in these homemade pots.
- Use organic soil: Opt for organic potting soil that provides essential nutrients for plant growth.
Advantages of Using Recycled Plastic Bottles for Flower Pots
- Eco-friendly: Using recycled plastic bottles helps reduce the amount of plastic waste, benefiting the environment.
- Low-maintenance: The self-watering feature ensures your plants stay hydrated with minimal effort.
- Cost-effective: These DIY flower pots cost almost nothing to make, using materials you likely already have around the house.
- Creative designs: You can customize these pots with paint, ribbons, or decorative elements to suit your garden’s aesthetic.
Conclusion
Making flower pots from plastic bottles is an excellent way to recycle and create beautiful planters while ensuring that your plants stay hydrated with minimal effort. This self-watering system is perfect for busy gardeners or anyone who wants a low-maintenance gardening solution. So, gather your empty plastic bottles, and start creating your own eco-friendly flower pots today! 🌱💧


