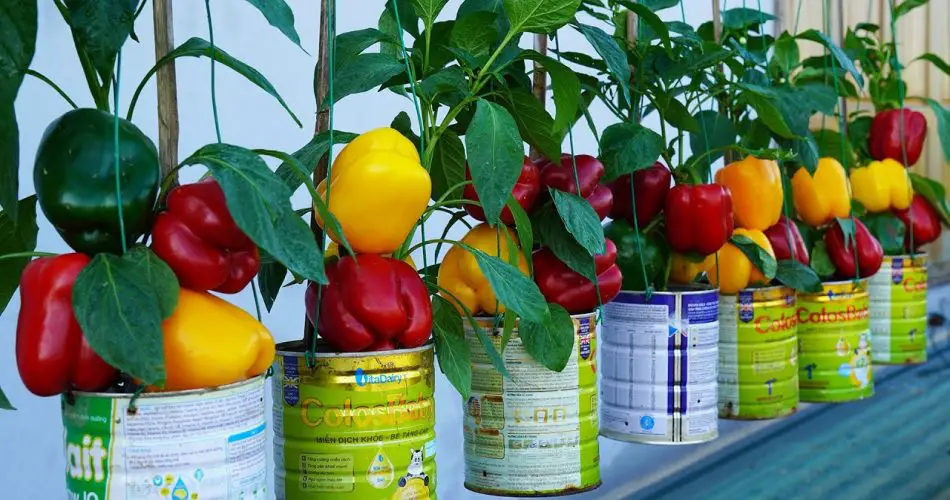
If you’re looking to maximize your gardening space and grow delicious bell peppers at home, you might want to consider a creative and space-saving solution: growing bell peppers in milk crates. This method not only helps you make the most of your space but also leads to an abundant fruit harvest without requiring a traditional garden. Whether you have a small patio, balcony, or even just a few square feet, this method is easy, cost-effective, and surprisingly productive. Read on to discover the secrets to successfully growing bell peppers in milk crates and harvesting plentiful fruits.
🌱 Why Grow Bell Peppers in Milk Crates?
Growing bell peppers in milk crates is a fantastic idea for several reasons:
✔ Space-saving – Perfect for small spaces like balconies, rooftops, or patios.
✔ Cost-effective – Milk crates are often easy to find and free, making this an affordable gardening option.
✔ Portable – You can move the crates around easily to find the ideal sunny spot for your peppers.
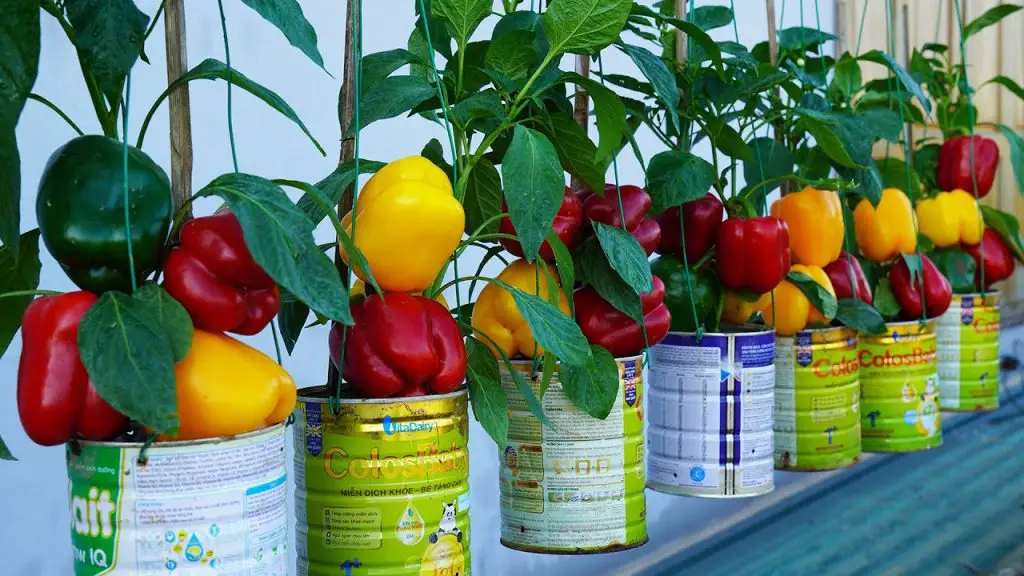
✔ High yield – With the right care, milk crates can provide abundant and healthy bell peppers.
✔ Good drainage – The open design of milk crates allows for proper water drainage, which is essential for healthy root growth.
🛠️ Materials Needed for Growing Bell Peppers in Milk Crates
Before you start your bell pepper garden, you will need a few materials:
1️⃣ Milk crates – These will serve as your planter boxes. You can use plastic or wooden milk crates depending on availability.
2️⃣ Potting soil – Choose a high-quality, well-draining potting soil that will nourish your plants.
3️⃣ Bell pepper seeds or seedlings – You can choose from various bell pepper varieties like red, yellow, green, or orange peppers.
4️⃣ Fertilizer – An organic all-purpose fertilizer will keep the soil rich in nutrients for optimal growth.
5️⃣ Watering can or hose – To keep the soil evenly moist.
6️⃣ Mulch – To help retain moisture and reduce weed growth around the plants.
🌿 Step-by-Step Guide to Growing Bell Peppers in Milk Crates
Follow these simple steps to create a thriving bell pepper garden in milk crates:
1. Prepare the Milk Crates
Start by ensuring your milk crates have proper drainage holes. Most milk crates already have openings, but if yours don’t, you can easily create additional holes in the bottom using a drill or a nail. This will prevent waterlogging and encourage healthy root development.
2. Add Soil
Fill your milk crates with high-quality potting soil. Leave about an inch or two from the top of the crate for easy watering. Make sure the soil is light and well-draining, as bell peppers prefer slightly acidic soil with a pH of around 6.0 to 6.8.
3. Plant the Bell Pepper Seeds or Seedlings
You can either start from seeds or use young seedlings for quicker results. If using seeds, plant them about 1/4 inch deep into the soil. For seedlings, plant each one with enough space between them—generally, 12 to 18 inches apart to give each plant room to grow. This ensures they receive enough light, air, and nutrients.
4. Watering and Maintenance
Bell peppers require consistent moisture, but be careful not to overwater. Water the plants deeply and allow the excess water to drain through the bottom of the crate. Keep the soil moist, but not soaking. You can water the peppers once or twice a week, depending on weather conditions.
🌞 Placement and Sunlight
Bell peppers thrive in full sunlight and need around 6 to 8 hours of direct sunlight each day. Make sure to place your milk crates in a sunny location, such as a balcony, patio, or rooftop where they will get plenty of light. If you’re growing them indoors, consider placing the crates near a south-facing window or under grow lights to ensure they get enough light for optimal fruit production.
🍅 Fertilization and Feeding
To keep your bell peppers growing strong and healthy, apply a balanced fertilizer every 4-6 weeks. Organic compost or worm castings work well as natural fertilizers. Bell peppers are heavy feeders, so providing them with the right nutrients will encourage them to produce larger fruits. Additionally, be sure to remove any weeds that may compete for nutrients, keeping your milk crate garden clean and tidy.
🌿 Caring for Your Bell Pepper Plants
As your bell pepper plants grow, keep an eye on their health and make adjustments as needed:
- Prune dead leaves to encourage new growth and improve airflow around the plants.
- Support the plants by using stakes or small trellises if necessary, especially as the peppers start to bear fruit.
- Check for pests, like aphids or spider mites, and address them promptly with natural pest control methods, such as neem oil or companion planting.
🌾 Harvesting Your Bell Peppers
Bell peppers are typically ready for harvest 60 to 90 days after planting, depending on the variety. When the fruits are firm, shiny, and have reached their full color, they are ready to be harvested. Simply cut the peppers from the plant using a sharp knife or scissors. If you harvest them before they turn their final color, you can let them ripen indoors.
💡 Tips for Maximizing Your Bell Pepper Harvest
✔ Rotate crops – After harvesting, consider planting a new crop in the milk crates to ensure continuous production.
✔ Use mulch – Apply mulch around the base of the plants to help retain moisture and regulate soil temperature.
✔ Plant companion plants – Growing herbs like basil or oregano near your bell peppers can help repel pests and enhance flavor.
🍅 Final Thoughts
Growing bell peppers in milk crates is an easy, effective, and space-saving method for those looking to produce an abundant harvest of fresh, nutritious peppers. Whether you have a small balcony, patio, or even just a few extra square feet of space, this method allows you to enjoy fresh peppers without needing a traditional garden. By following these simple tips, you can easily grow healthy, vibrant bell peppers and enjoy their delicious taste in your meals all season long.
So, grab some milk crates, get planting, and start growing your own bell peppers today! 🌶🌱


