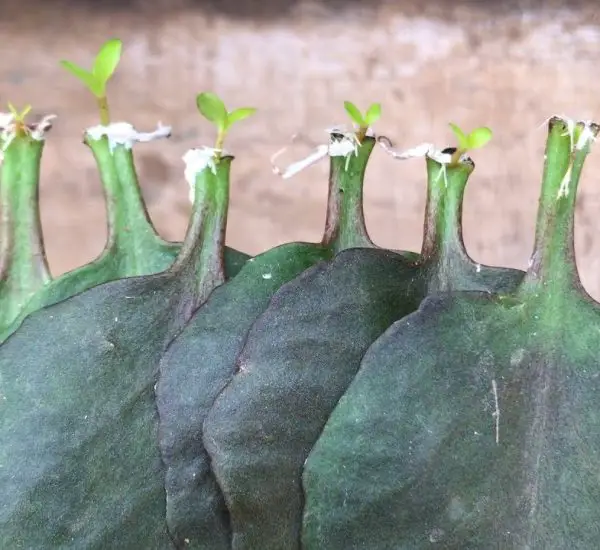
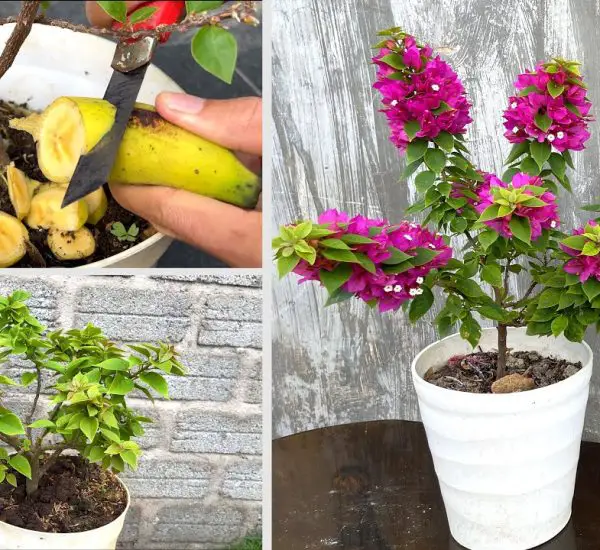
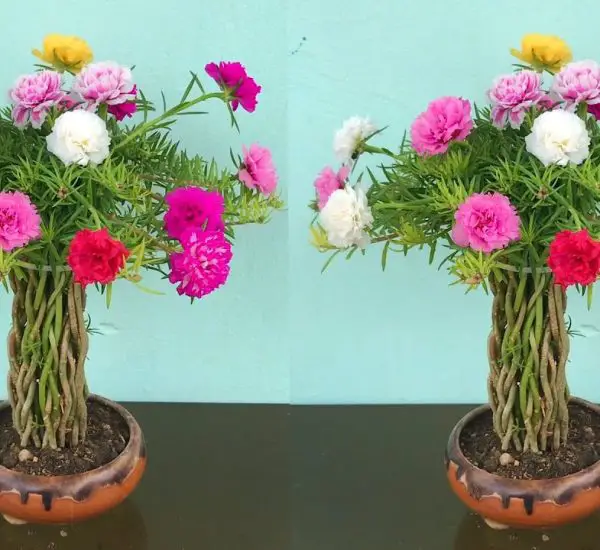
Propagating Kalanchoe leaves is an easy and effective way to grow new plants, and using plastic bottles as a breeding container offers a practical and sustainable solution. Whether you’re a seasoned gardener or a beginner, this method provides a simple way to multiply your Kalanchoe plants and watch them flourish.
Why Use Kalanchoe for Propagation?
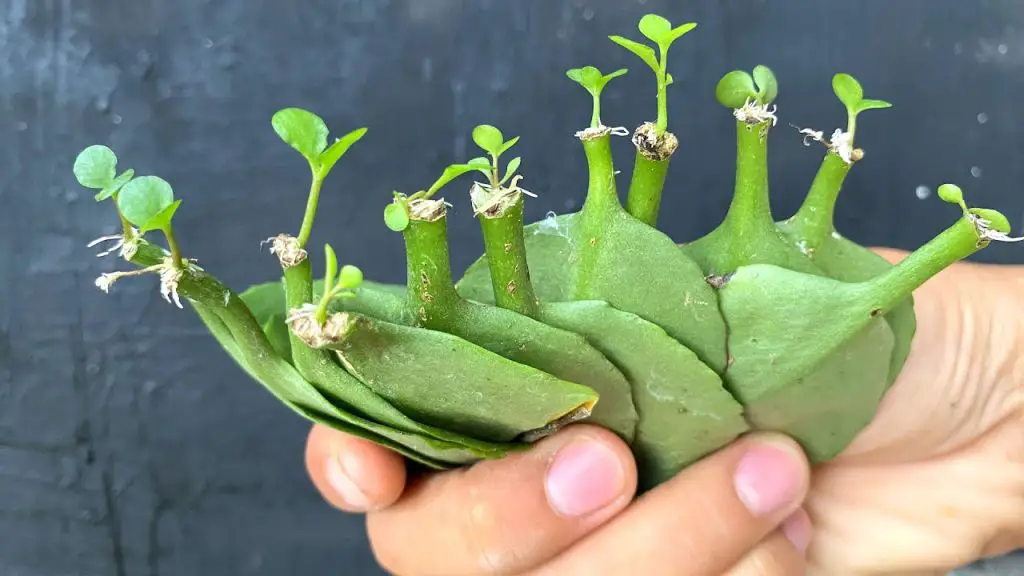
Kalanchoe is a popular succulent plant known for its vibrant, attractive leaves and clusters of small flowers. It’s incredibly easy to propagate, and using leaves for this purpose is a highly efficient method. Kalanchoe is not only a hardy plant, but it also requires minimal care, making it ideal for propagation, especially in plastic bottles.
Materials You’ll Need for Propagating Kalanchoe in Plastic Bottles:
- Healthy Kalanchoe leaves (free from disease or damage)
- Plastic bottle (with a lid or opening)
- Sharp knife or scissors
- Cactus or succulent potting mix
- A small container (for the leaves)
- Water spray bottle (to maintain humidity)
- Rooting hormone (optional, but it can speed up the rooting process)
Steps to Propagate Kalanchoe Leaves in Plastic Bottles
1. Choose a Healthy Kalanchoe Leaf
- Select a healthy, mature Kalanchoe leaf from the parent plant. Look for a leaf that is plump and free from any spots, discoloration, or pests. A leaf in good condition will have the best chance of rooting successfully.
2. Prepare the Leaf for Propagation
- Using a sharp knife or scissors, cut the leaf from the stem at the base, making sure to leave a small portion of the stem attached. It’s essential to avoid damaging the leaf during the cutting process.
- Allow the cut end of the leaf to callus over for 1-2 days. This prevents the leaf from rotting once it’s placed in the soil.
3. Prepare the Plastic Bottle Propagation Environment
- Take an empty plastic bottle and cut the top off to create a container that is large enough to hold the leaf and some potting mix.
- Fill the bottom of the bottle with well-draining potting mix designed for succulents or cacti. If you don’t have succulent soil, you can make your own mix using regular potting soil combined with sand or perlite for better drainage.
4. Insert the Leaf into the Soil
- After the cut end of the leaf has callused, place it on top of the prepared soil, ensuring that the leaf’s cut end is touching the soil. You can gently press the leaf into the soil to ensure it has good contact with the surface.
- If you want to speed up the rooting process, you can dip the cut end of the leaf in rooting hormone before planting it in the soil.
5. Create a Humid Environment with the Plastic Bottle
- Place the top of the plastic bottle over the base with the leaf and soil. This will act as a mini-greenhouse, trapping moisture and humidity inside to encourage faster rooting.
- Make sure the plastic bottle is ventilated by leaving a small opening for air circulation. You can also poke a few holes in the bottle for better airflow.
6. Care for the Leaf and Wait for Roots to Develop
- Keep the plastic bottle in a warm, bright location, but away from direct sunlight, which can overheat the leaves and cause them to dry out.
- Mist the leaf and soil lightly with a water spray bottle every few days to maintain the moisture level inside the bottle. Ensure the soil stays lightly moist, but never too soggy.
- Check for root development after a few weeks. Once you see small roots forming at the cut end of the leaf, you can remove the bottle top to prevent the leaf from becoming too humid.
7. Transplant the New Plant
- After a few months, the Kalanchoe leaf should have rooted and developed a small rosette of leaves. Once the plant looks established, you can transplant it into a small pot with more well-draining soil.
- Continue to care for the new plant by giving it bright, indirect sunlight and watering it when the soil has dried out.
Why Plastic Bottles Are Great for Propagation
Using plastic bottles for propagating Kalanchoe leaves is an environmentally friendly and cost-effective method. These bottles are readily available, and their clear nature allows you to monitor the progress of your plant’s roots. Plus, the humidity inside the bottle creates a perfect environment for the plant to thrive without the need for specialized equipment.
Additional Tips for Success:
- Patience is key: Kalanchoe propagation takes time, so be patient and avoid rushing the process.
- Check for pests: Even though Kalanchoe is generally pest-resistant, make sure to keep an eye out for aphids or mealybugs.
- Avoid direct sunlight: Too much sun can scorch the leaves in the early stages of growth. Keep the bottle in bright, indirect light.
Conclusion
Propagating Kalanchoe leaves in plastic bottles is a simple yet effective way to create new plants, saving money and allowing you to expand your garden collection. With just a little patience and care, you can turn a single leaf into a flourishing plant. By following the steps outlined above, you’ll be on your way to enjoying a thriving collection of beautiful Kalanchoe plants.
Happy gardening! 🌿