If you’re looking to propagate tree branches and ensure they develop roots successfully, one effective method is extracting the tree with water. This technique allows you to monitor root development in a clear and straightforward way. Here’s a step-by-step guide on how to use water to propagate tree branches and determine if they are forming roots.
Why Use Water for Propagating Tree Branches?
Using water for propagation offers several benefits:
- Visual Monitoring: Water propagation allows you to easily observe root development through the transparent container.
- Simple Process: It’s a straightforward method that doesn’t require special equipment or potting media.
- Healthy Roots: Water propagation helps avoid issues like soil-borne diseases and allows for a controlled environment.
Materials Needed
To propagate tree branches in water, you’ll need:
- Healthy Tree Branches: Select branches with a few nodes and healthy leaves.
- Transparent Container: A clear jar or glass to monitor root growth.
- Water: Fresh, room-temperature water.
- Sterilized Cutting Tool: For clean cuts.
Steps to Propagate Tree Branches with Water
- Prepare the Branches:
- Choose Healthy Branches: Look for branches that are firm, green, and free of pests or diseases.
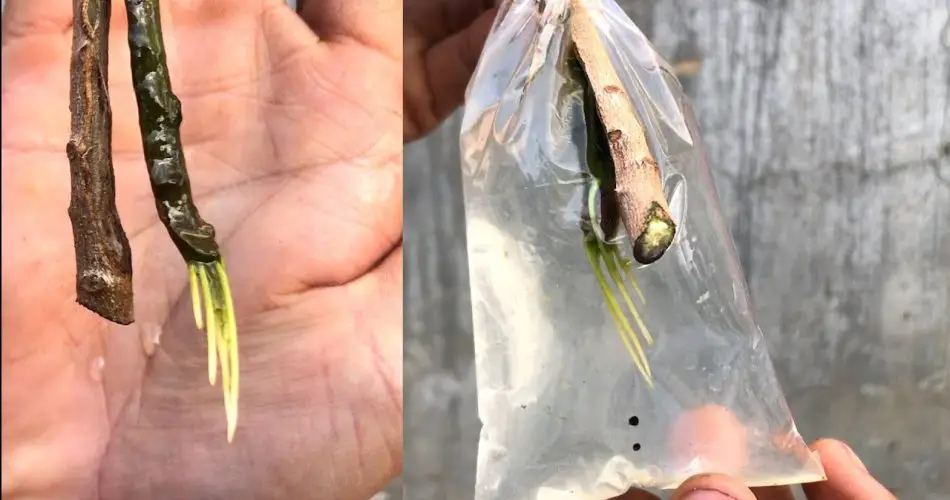
- Make the Cut: Use a sterilized cutting tool to cut the branch just below a node. The node is where roots will emerge, so it’s crucial to include it in your cutting.
- Remove Excess Leaves: Trim off any leaves or branches that will be submerged in water to reduce the risk of rot.
- Place the Cuttings in Water:
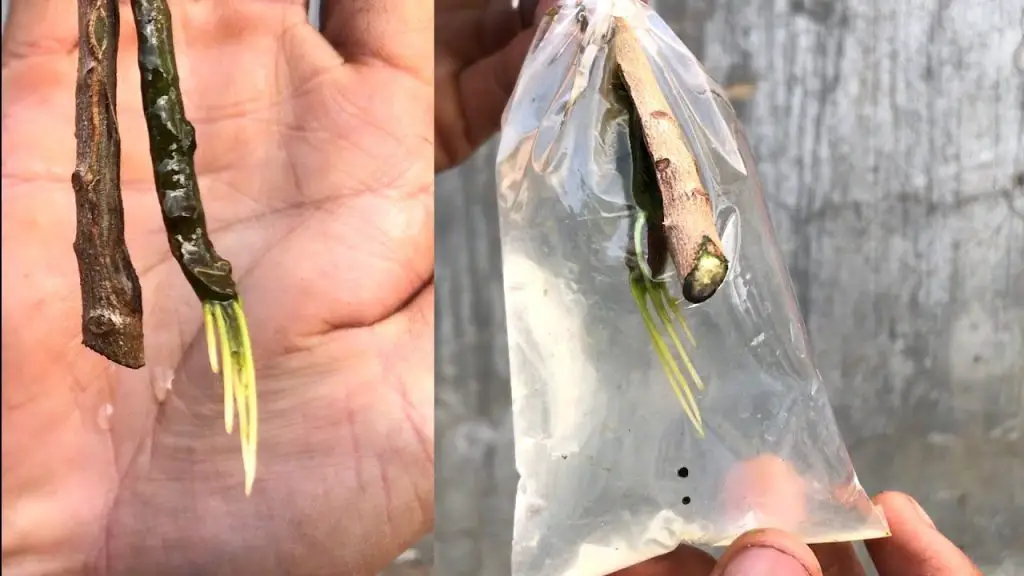
- Choose a Container: Place the cutting in a transparent container filled with room-temperature water. Ensure that only the node and a small portion of the stem are submerged.
- Position the Cutting: Place the container in a location with indirect light. Direct sunlight can cause excessive algae growth or overheating.
- Monitor and Care:
- Change Water Regularly: To prevent stagnation and ensure oxygen availability, change the water every few days.
- Watch for Roots: Over the next few weeks, you should begin to see roots developing from the node. This process typically takes a few weeks to a couple of months, depending on the tree species and environmental conditions.
- Check for Signs of Rot: Be attentive to any signs of rot or mold. If you notice any, remove the affected cuttings and clean the container thoroughly before placing new cuttings.
- Transplanting:
- When Roots Are Ready: Once the roots are well-established, typically when they are about 1-2 inches long, you can transplant the cutting into soil.
- Prepare the Soil: Use a well-draining potting mix suitable for the specific type of tree. Make a hole in the soil and gently place the rooted cutting.
- Water and Care: Water the newly planted cutting thoroughly and provide it with the appropriate care for its species.
Benefits of Water Propagation
- Easy Monitoring: You can directly observe root growth and overall health through the transparent container.
- Reduced Risk of Disease: Water propagation helps avoid soil-related issues and provides a clean environment for roots to develop.
- Cost-Effective: This method requires minimal materials and is easy to set up.
In Summary
Extracting the tree with water to check for root development is an effective and simple method for propagating branches. By using this technique, you can easily monitor root growth and ensure your cuttings are developing successfully. Follow these steps to propagate your tree branches with confidence and enjoy watching new roots form and thrive.


