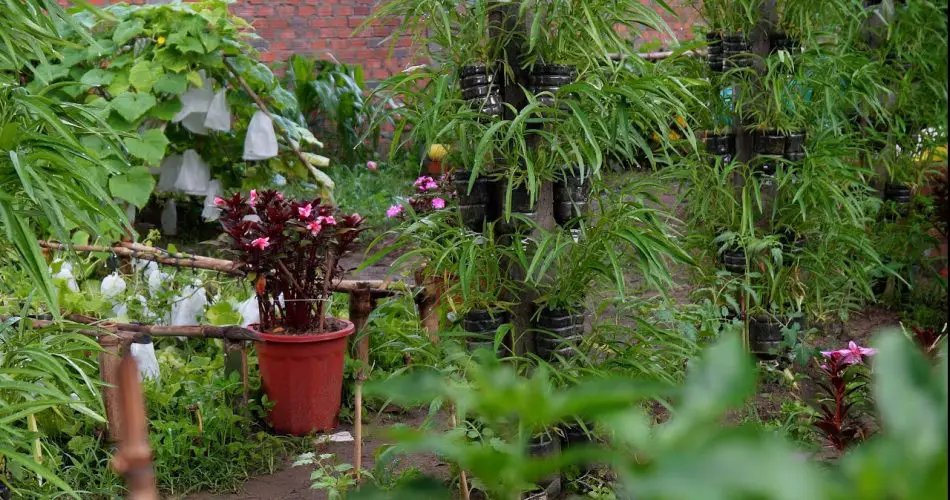
Transforming plastic bottles into a productive green spinach garden is a fantastic way to recycle waste and grow fresh produce at home. This eco-friendly gardening method not only reduces plastic waste but also provides you with a steady supply of nutritious spinach. Here’s a step-by-step guide on how to repurpose plastic bottles into planters and create a thriving garden for your spinach.
The Benefits of Using Plastic Bottles
- Eco-Friendly: Repurposing plastic bottles helps reduce environmental waste and minimizes your carbon footprint.
- Cost-Effective: Plastic bottles are readily available and free, making this a budget-friendly gardening solution.
- Space-Saving: This method is ideal for small spaces, allowing you to grow spinach in limited areas such as balconies or small gardens.
Materials Needed
- Plastic Bottles: Collect clean, empty plastic bottles with screw caps.
- Potting Mix: Use a well-draining potting mix suitable for vegetables.
- Spinach Seeds: Choose spinach seeds of your preferred variety.
- Drill or Sharp Object: For making drainage holes.
- Scissors or Utility Knife: To cut the bottles.
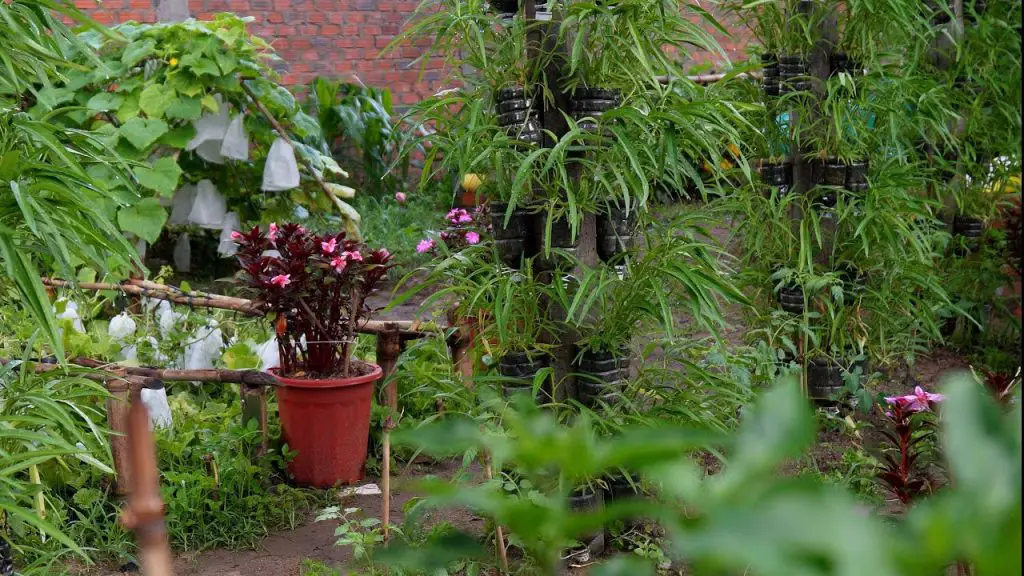
Steps to Create Your Plastic Bottle Spinach Garden
- Prepare the Bottles:
- Clean and Remove Labels: Thoroughly clean the plastic bottles and remove any labels or adhesive residues.
- Cut the Bottles: Use scissors or a utility knife to cut the bottles in half or just above the base. This will create a container for your spinach plants.
- Create Drainage Holes:
- Drill Holes: Use a drill or sharp object to make several small drainage holes in the bottom of each bottle. Proper drainage is crucial to prevent waterlogging and root rot.
- Add Potting Mix:
- Fill with Soil: Place a layer of potting mix into the bottom of each bottle. Fill the bottle with the mix, leaving a little space at the top for planting and watering.
- Sow Spinach Seeds:
- Plant the Seeds: Sow the spinach seeds on the surface of the soil. Follow the instructions on the seed packet for planting depth and spacing. Gently cover the seeds with a thin layer of soil.
- Water and Care:
- Water Lightly: Water the seeds gently to keep the soil moist but not soggy. Ensure that the water can drain freely through the holes.
- Provide Light: Place the bottles in a location with bright, indirect light. Spinach prefers cool temperatures and partial shade.
- Monitor Growth:
- Check Regularly: Keep an eye on the spinach seedlings as they grow. Ensure they receive adequate water and light. Thin out the seedlings if they are too crowded to promote healthy growth.
- Harvesting:
- Harvest Spinach: Once the spinach leaves reach a desirable size, you can start harvesting. Pick the outer leaves first, allowing the inner leaves to continue growing.
Tips for Success
- Support: If using larger bottles, consider adding support or stakes to help stabilize the plants as they grow.
- Fertilization: Apply a balanced liquid fertilizer every few weeks to provide essential nutrients.
- Pest Control: Watch for common pests like aphids or snails and treat them promptly if necessary.
Turning plastic bottles into a green spinach garden is a creative and sustainable way to grow your own fresh spinach at home. By following these steps, you can effectively recycle waste materials, create a functional garden space, and enjoy the benefits of home-grown spinach. This method not only contributes to environmental conservation but also provides a rewarding gardening experience. Embrace this innovative approach and watch your plastic bottles transform into a thriving garden of vibrant green spinach!