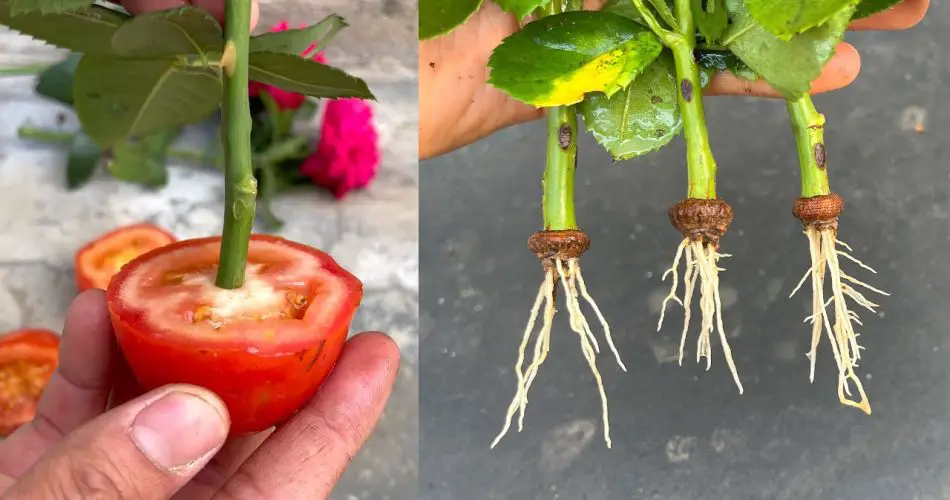
If you’re passionate about roses and eager to expand your collection, you’re in for a treat! While propagating roses by cuttings is widely known, there is another simple and effective method that many gardeners swear by: propagating roses through layering. This technique is not only easy but also highly successful for producing new rose plants without requiring specialized tools or rooting hormones. Let’s dive into how you can propagate roses through layering and grow a beautiful rose garden with minimal effort!

What is Rose Layering?
Layering is a method of propagation where a stem from the parent rose plant is buried in the soil while still attached to the main plant. Over time, the buried part of the stem will develop roots, allowing you to cut it from the mother plant and grow it as a separate rose bush. This technique mimics the natural process of plants producing new shoots from the ground, making it one of the easiest ways to propagate roses.
Why Layer Roses?
- Simple and Effective: Unlike rooting from cuttings, layering is a straightforward method that doesn’t require special equipment like rooting hormone or extra care with water levels.
- High Success Rate: Layering typically has a higher success rate than other methods of propagation, as the stem remains attached to the parent plant and continues to get nutrients while rooting.
- Natural Process: This technique mimics nature and often requires little intervention, allowing the rose plant to propagate itself in a healthy, natural environment.
Steps to Propagate Roses by Layering:
1. Choose the Right Rose Stem
Pick a healthy, flexible stem from your rose bush. The ideal stem should be about 12 to 18 inches long and free from diseases or damage. Ideally, the stem should be from the current year’s growth (not too old) but not tender, soft growth either.
2. Prepare the Soil and Location
- Pick a location near the base of the rose plant where you can bury the stem.
- Prepare the soil by loosening it around the area where the stem will be buried. Make sure the soil is well-draining and not too compacted.
3. Make a Small Wound on the Stem
To encourage root formation, make a small wound on the stem where it will be buried. You can do this by scraping off a small section of the bark or making a shallow cut. This wound encourages the plant to send out roots from that specific area.
4. Bend the Stem to the Ground
- Gently bend the chosen stem down to the ground.
- Bury the wounded part of the stem about 2 to 3 inches deep in the soil, ensuring that the cut section is completely covered. Leave the rest of the stem exposed above the soil line, with the leaves intact.
- Anchor the stem in place using a small rock, pin, or U-shaped wire to ensure it stays in contact with the soil. You can also use wooden stakes to support the stem if needed.
5. Water and Maintain Moisture
- Water the buried section of the stem thoroughly after burying it. Keep the soil moist but not waterlogged.
- Ensure that the rest of the rose plant continues to receive adequate sunlight, water, and care while the layering process occurs.
6. Wait for Roots to Develop
- Over the next several weeks to a few months, the buried part of the stem will begin to develop roots. You can check periodically to see if the roots are forming. Typically, this process takes about 2-3 months for roses.
- During this time, the stem will continue to be nourished by the parent plant, which supports successful root formation.
7. Separate the New Rose Plant
Once the roots are well-developed (you can gently pull on the stem to check for resistance), it’s time to separate the newly rooted rose from the parent plant.
- Cut the rooted stem from the parent plant and carefully dig up the new rose bush.
- Transplant it into a new pot or directly into the garden in a location with good sunlight.
8. Transplant and Care for the New Rose Plant
- After transplanting, give the new rose plant time to acclimate to its new environment.
- Continue to water it regularly and provide it with indirect sunlight until it becomes established.
- Once the plant shows healthy growth, you can move it to a full sun location to thrive.
Additional Tips for Successful Layering:
- Choose the right rose variety: Some roses are better suited for layering than others, so it’s important to consider the variety of rose you’re working with. Climbing roses are especially great for this method since their long, flexible stems can easily be bent to the ground.
- Be patient: Layering is a slow process, so patience is key. Keep the area well-watered and ensure the stem remains in contact with the soil.
- Maintain healthy conditions: A well-nourished, healthy rose plant will produce better cuttings and have a higher success rate in layering. Regular pruning and care will help encourage new growth, providing you with more potential stems for layering.
Conclusion:
Layering is an easy, natural, and effective method for propagating roses that ensures success with minimal effort. Whether you’re trying to expand your rose garden or want to preserve a beloved rose variety, layering gives you the opportunity to create new plants without the need for complex techniques. The process is simple, and it yields fantastic results for both beginners and experienced gardeners. Give this method a try, and soon you’ll have a beautiful collection of roses to enjoy! 🌹