Orchids are some of the most beautiful and exotic plants you can grow, but they can sometimes be a challenge to propagate. Fortunately, there’s a natural and effective way to propagate orchids using aloe vera and plastic bottles. Aloe vera is known for its healing properties, and it also contains nutrients that can promote the growth of new orchid roots. In this guide, we’ll show you how to successfully propagate orchids using aloe vera in a simple, sustainable manner with plastic bottles as a growing medium.
Why Aloe Vera Works for Orchid Propagation
Aloe vera is rich in vitamins, minerals, and enzymes, which make it an excellent natural growth stimulant for plants. The gel inside the aloe vera leaves contains compounds that help protect the orchid’s cutting from infection and encourage the development of new roots. By using aloe vera in the propagation process, you give your orchids a better chance of developing strong, healthy roots.
In addition to the aloe vera’s benefits, plastic bottles provide a practical and cost-effective way to create a mini-greenhouse for your orchid cuttings. The bottle acts as a humidity-controlled environment, keeping moisture levels high and creating the ideal conditions for the cutting to take root.
Materials You’ll Need
Before starting, gather the following materials:
- Healthy orchid cutting (ensure it has at least one healthy node)
- Aloe vera gel (fresh from the plant)
- Plastic bottle (a 2-liter or similar size works well)
- Sharp knife or scissors
- Potting mix (for orchids)
- Rubber bands or tape (to seal the plastic bottle)
Step-by-Step Guide to Propagating Orchids with Aloe Vera in Plastic Bottles
Step 1: Prepare the Orchid Cutting
- Choose a healthy orchid stem: Select an orchid stem with a healthy node. The node is where roots will eventually form.
- Cut the stem: Using a sharp knife or scissors, make a clean cut about 4-6 inches from the base of the orchid stem, ensuring that the cutting has at least one visible node.
Step 2: Prepare the Aloe Vera Gel
- Harvest the aloe vera gel: Cut a fresh leaf from an aloe vera plant. Slice open the leaf and scoop out the gel using a spoon or knife.
- Apply aloe vera gel: Rub a small amount of aloe vera gel directly onto the cut end of the orchid stem. The gel will help protect the cutting from bacteria and fungi, while promoting root growth.
Step 3: Prepare the Plastic Bottle
- Cut the plastic bottle: Cut the plastic bottle in half horizontally, just above the middle. You can use scissors or a sharp knife to do this. Keep the top part of the bottle for the propagation chamber.
- Create drainage holes: Using a small knife or scissors, make a few small holes in the bottom of the plastic bottle to allow for water drainage. Orchids need well-draining conditions to avoid rot.
- Add orchid potting mix: Fill the bottom half of the plastic bottle with orchid-specific potting mix. Orchid mix is typically composed of bark, perlite, and sometimes moss to provide proper aeration and drainage for the roots.
Step 4: Plant the Orchid Cutting
- Insert the orchid cutting: Place the orchid cutting into the prepared orchid mix inside the plastic bottle. Make sure the cut end of the stem, where the aloe vera gel was applied, is buried in the mix but not too deep. The node should be just below the surface of the soil.
- Secure the cutting: Gently pack the mix around the base of the cutting to ensure it is stable and upright. You can use a rubber band or tape to secure the top part of the plastic bottle around the orchid cutting, creating a mini greenhouse effect. This will help maintain humidity and encourage rooting.
Step 5: Create the Right Environment
- Position the bottle: Place the plastic bottle in a warm, bright location, but avoid direct sunlight. A spot with indirect light works best.
- Monitor humidity levels: Keep the inside of the plastic bottle humid, as orchids need a moist environment for rooting. Check regularly and mist the inside of the bottle with water if the humidity drops too low. Be sure not to overwater, as the orchid cutting needs to be kept moist but not soaked.
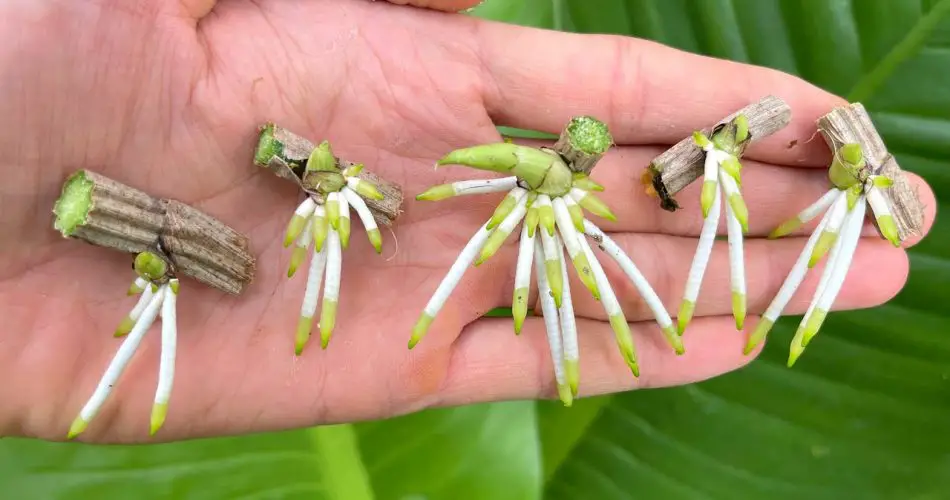
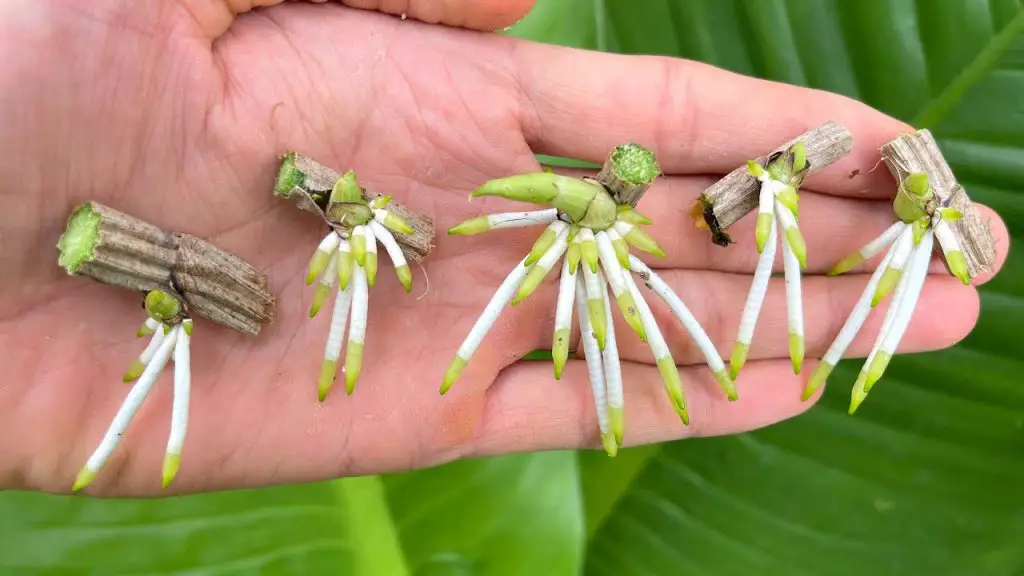
- Wait for roots to develop: In a few weeks, you should begin to see roots forming at the base of the orchid cutting. The aloe vera gel will help promote this root growth and protect the cutting from any potential infections.
Step 6: Transition to a Larger Pot
Once the orchid cutting has developed a healthy root system (which could take several weeks to months), it’s time to remove it from the plastic bottle. At this stage, the cutting can be transplanted into a larger pot with regular orchid potting mix.
Benefits of Using Aloe Vera and Plastic Bottles for Orchid Propagation
- Natural growth stimulant: Aloe vera provides essential nutrients and growth hormones that encourage root development.
- Affordable and sustainable: Using plastic bottles and aloe vera is a low-cost, eco-friendly way to propagate orchids.
- Controlled environment: The plastic bottle acts as a mini greenhouse, creating the ideal humidity and temperature for root growth.
- Increased success rate: By using aloe vera, the chances of successful rooting are higher, especially for delicate orchid varieties.
Conclusion
Propagating orchids with aloe vera in plastic bottles is a simple yet effective way to grow new orchids from cuttings. Aloe vera’s natural healing properties help stimulate root growth while the plastic bottle creates a perfect humidity-controlled environment for your orchid to thrive. This method not only helps you propagate orchids successfully but also allows you to recycle plastic bottles, making it an environmentally friendly gardening technique. So, gather your materials and give this easy propagation method a try to expand your orchid collection!